Now for something completely different — we’ve moved to a rural property!
Our new place is 2 hectares (5 acres) on the edge of the Southern Highlands—south of Sydney, in the cooler hills, with a drier, more temperate climate.
And what an amazing place this is!
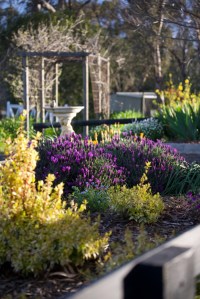
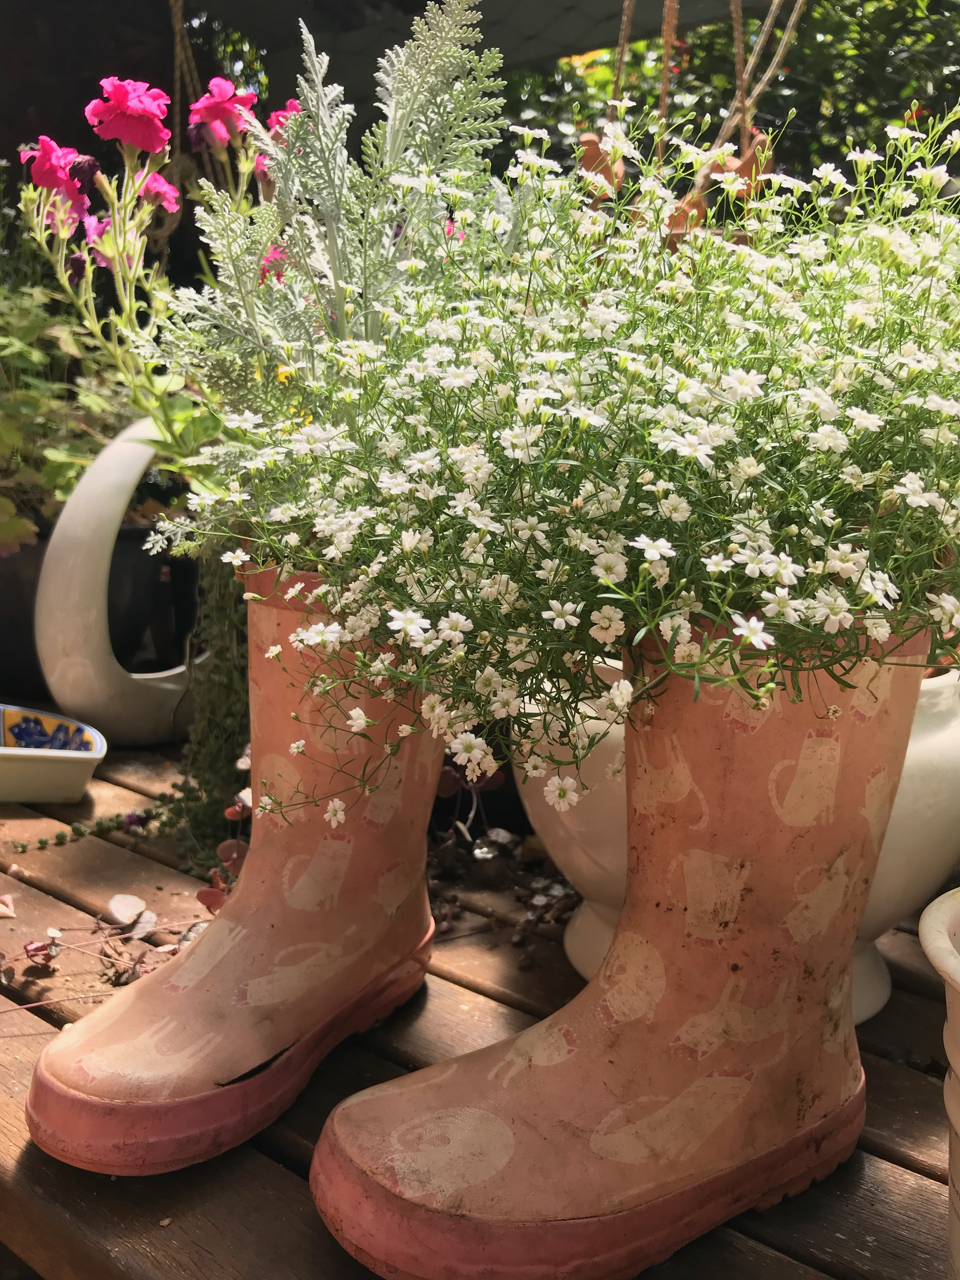
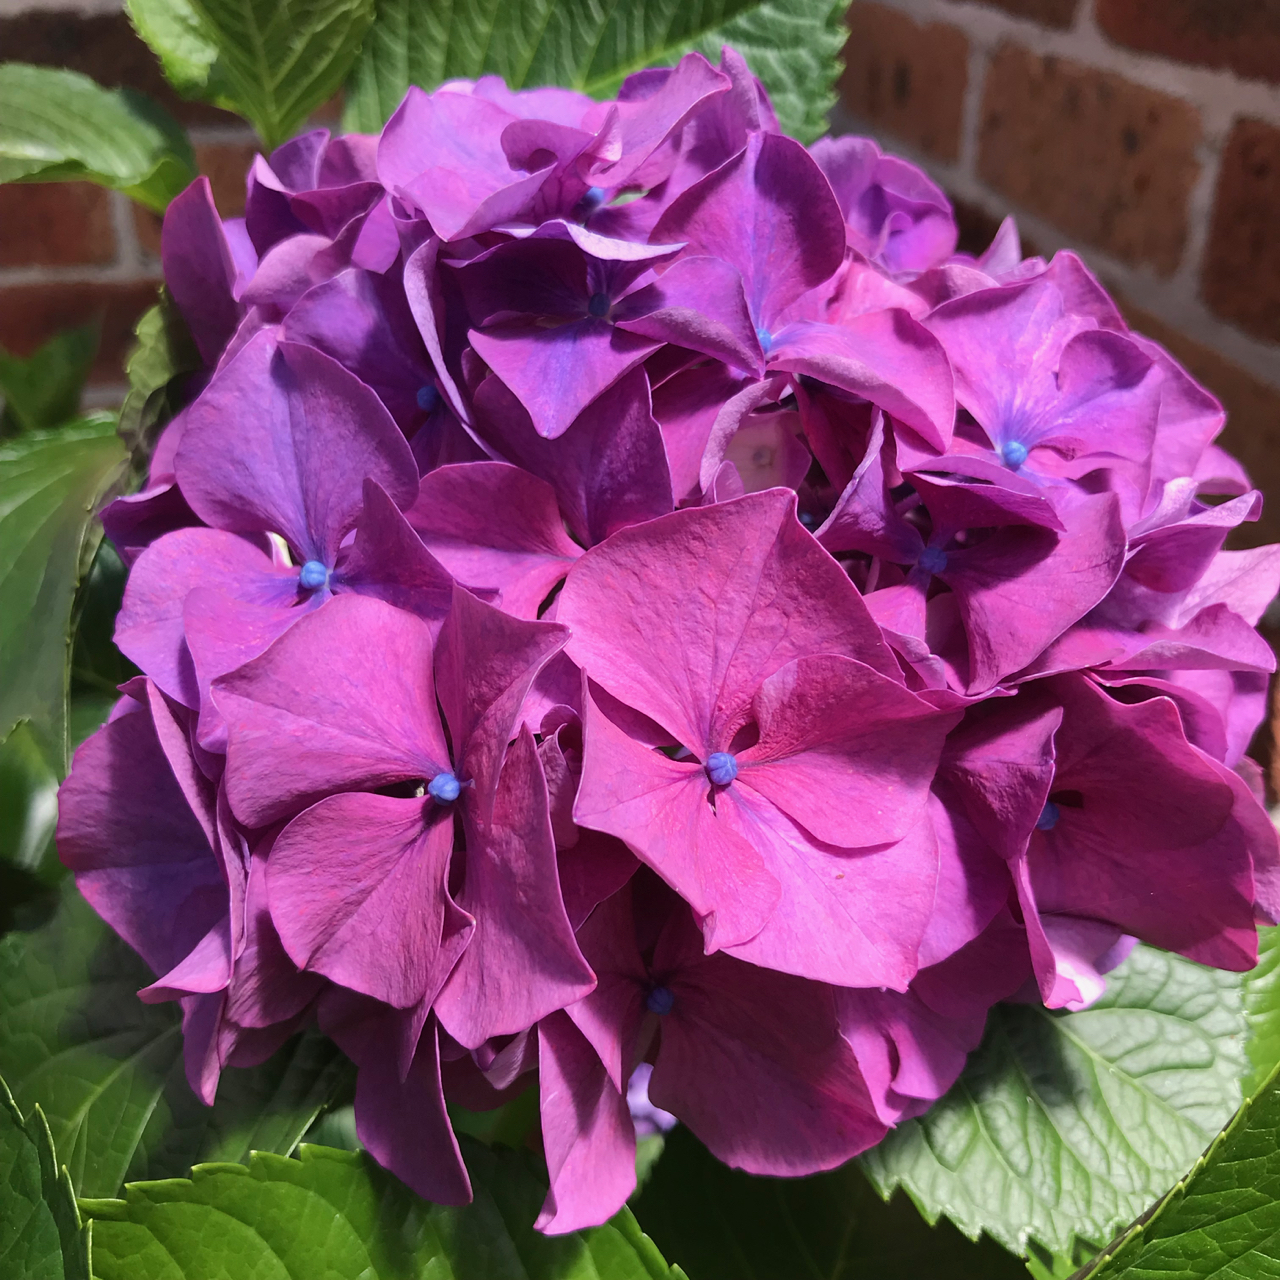
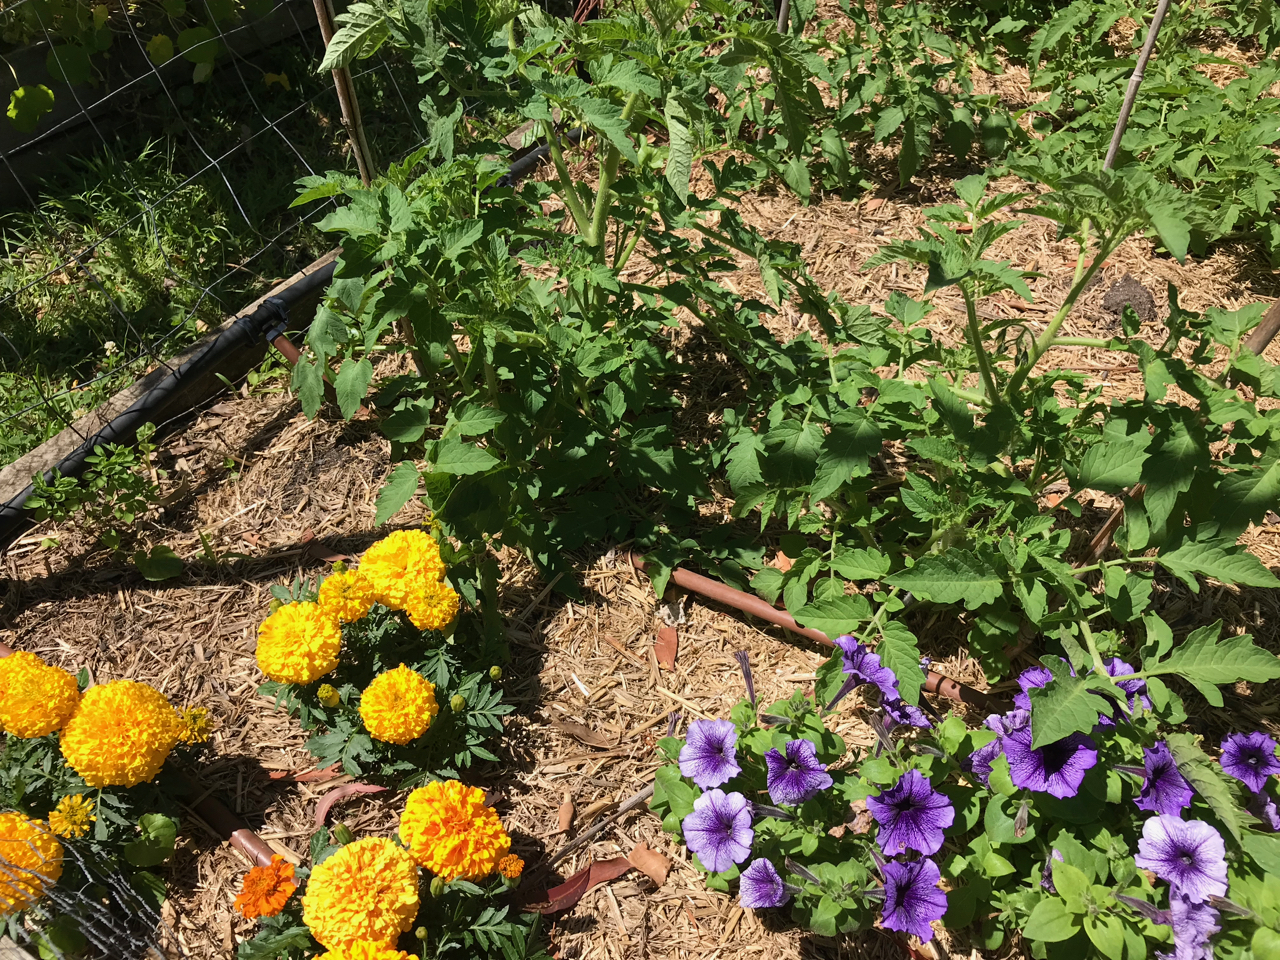
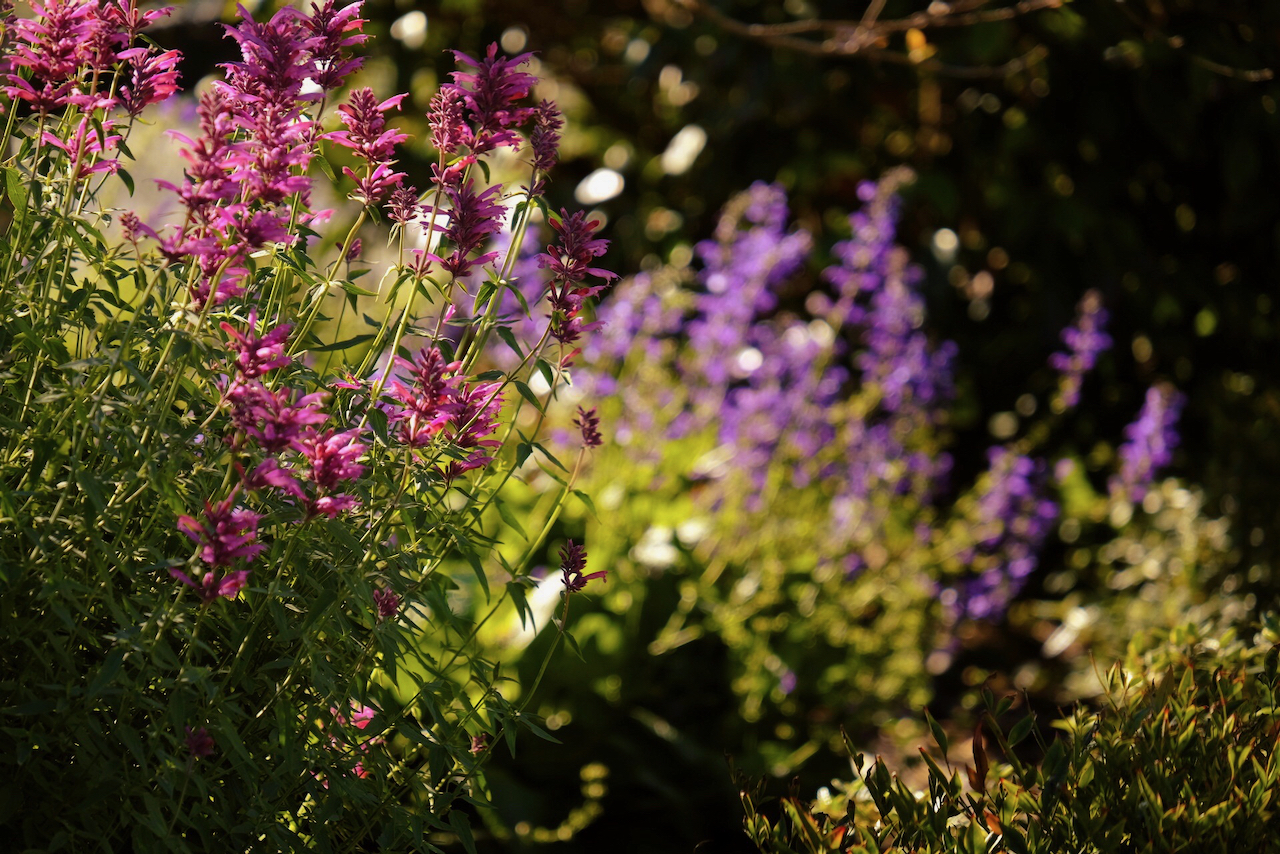
Beautiful gardens 
Our house 
A frosty winter morning 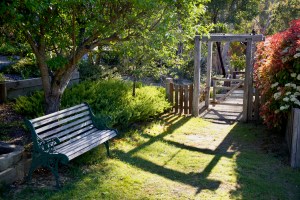
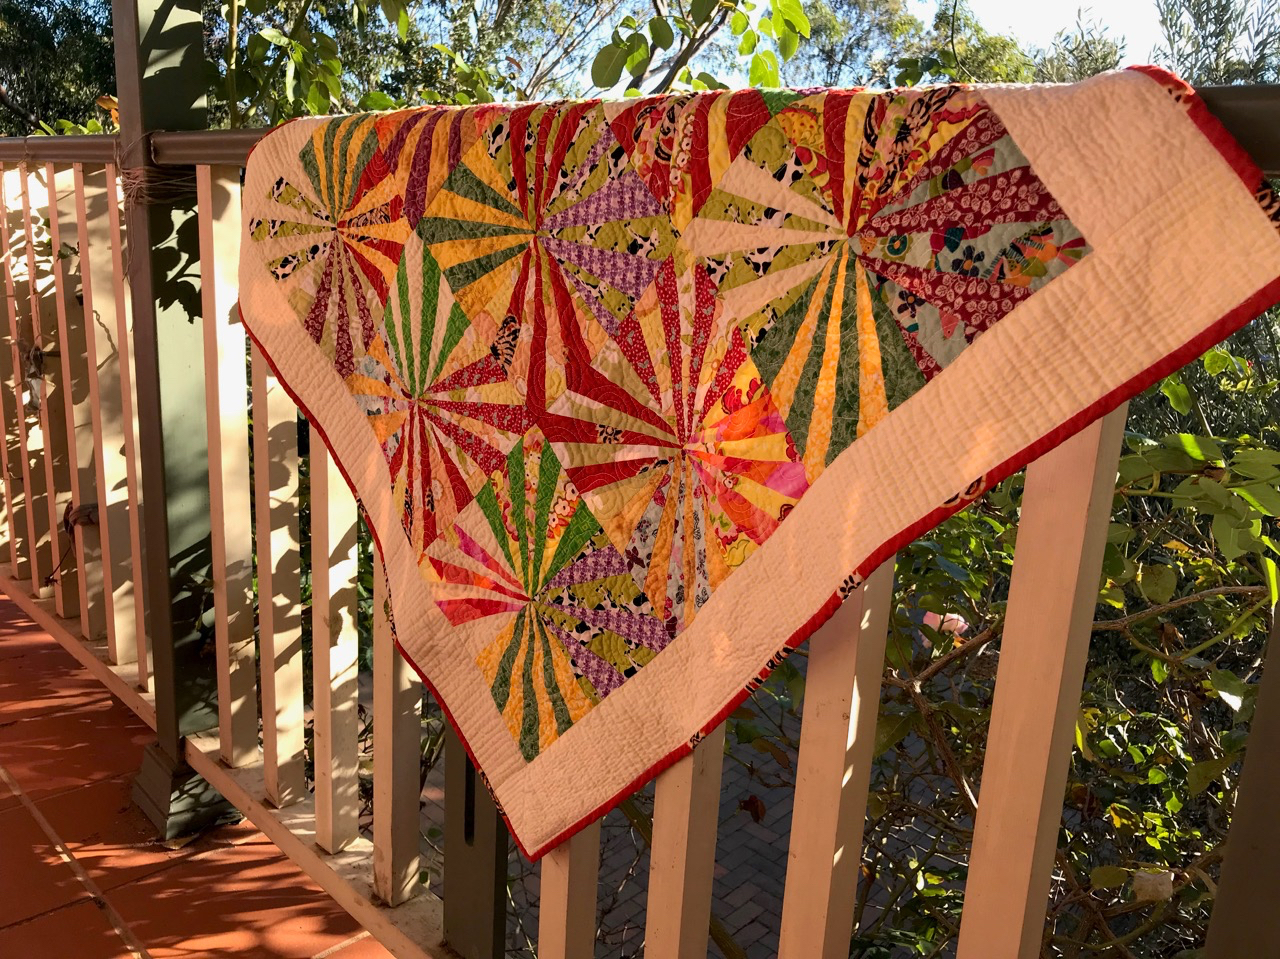
Lovely spots to relax
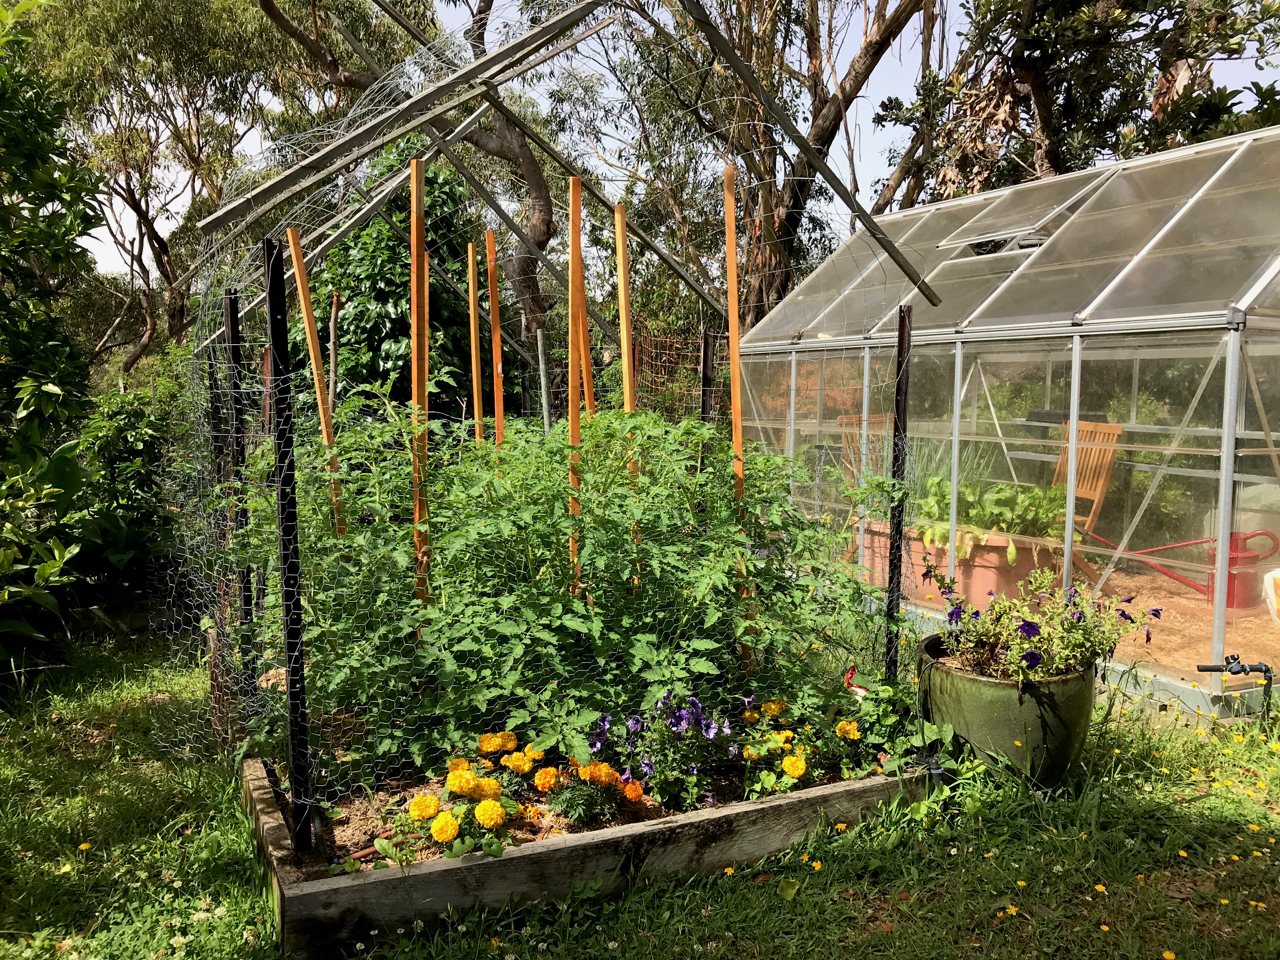
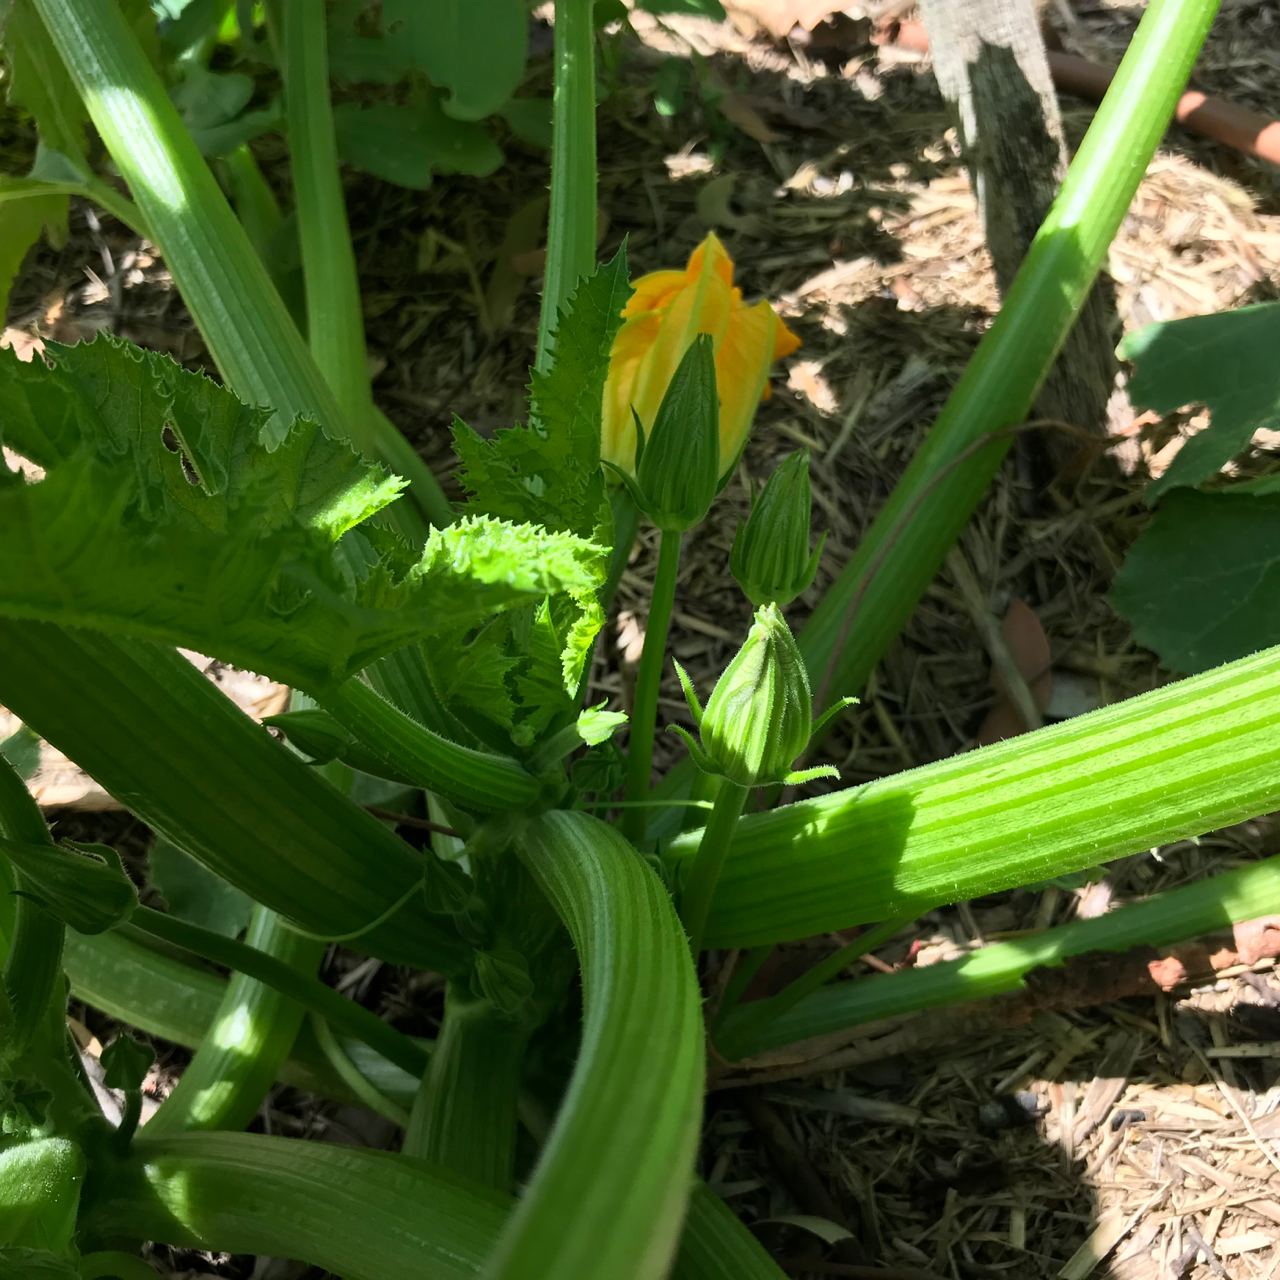
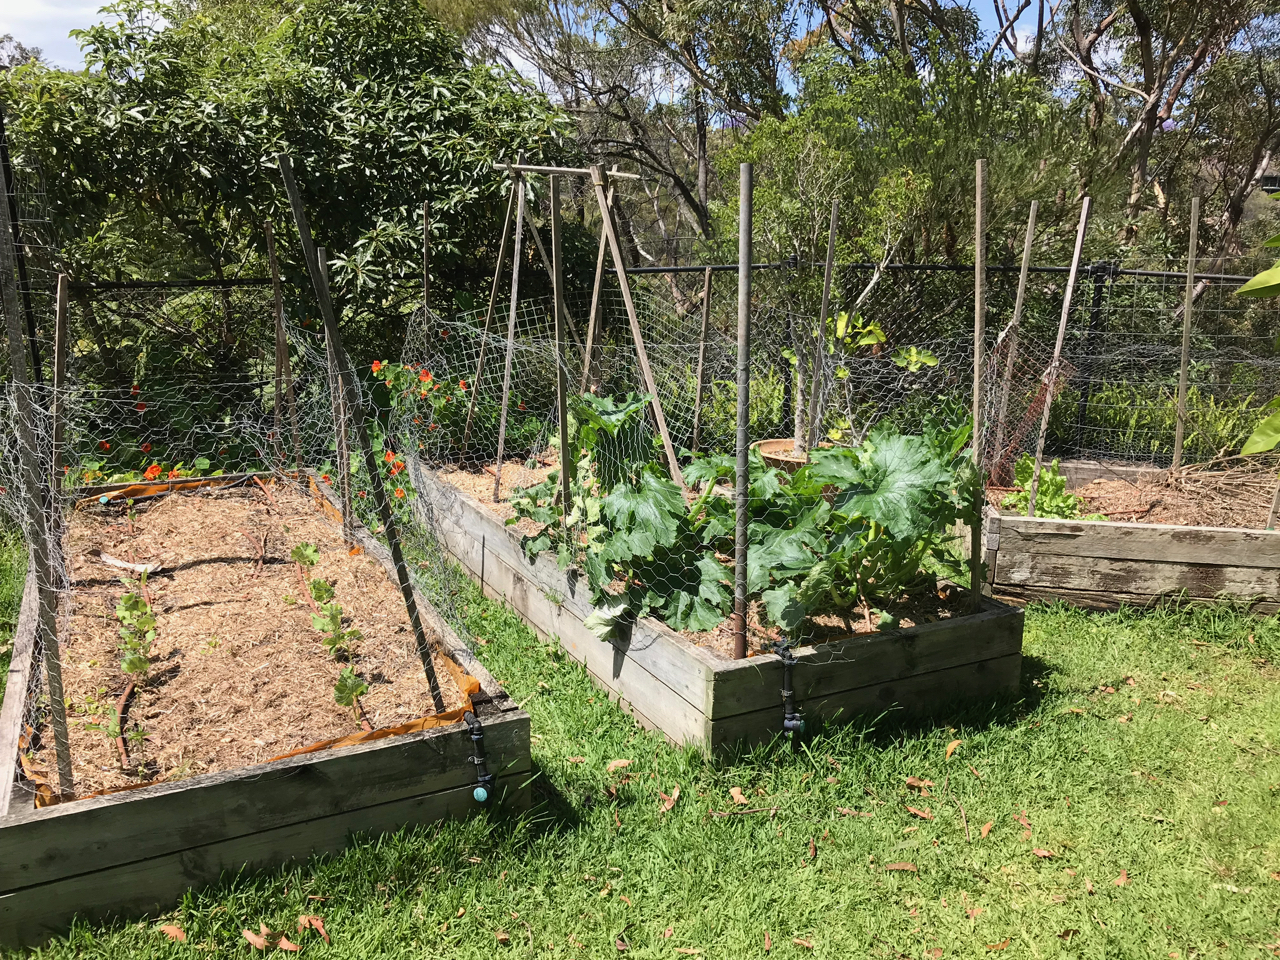
We have a large amount of space in which to grow a lot more of our food:

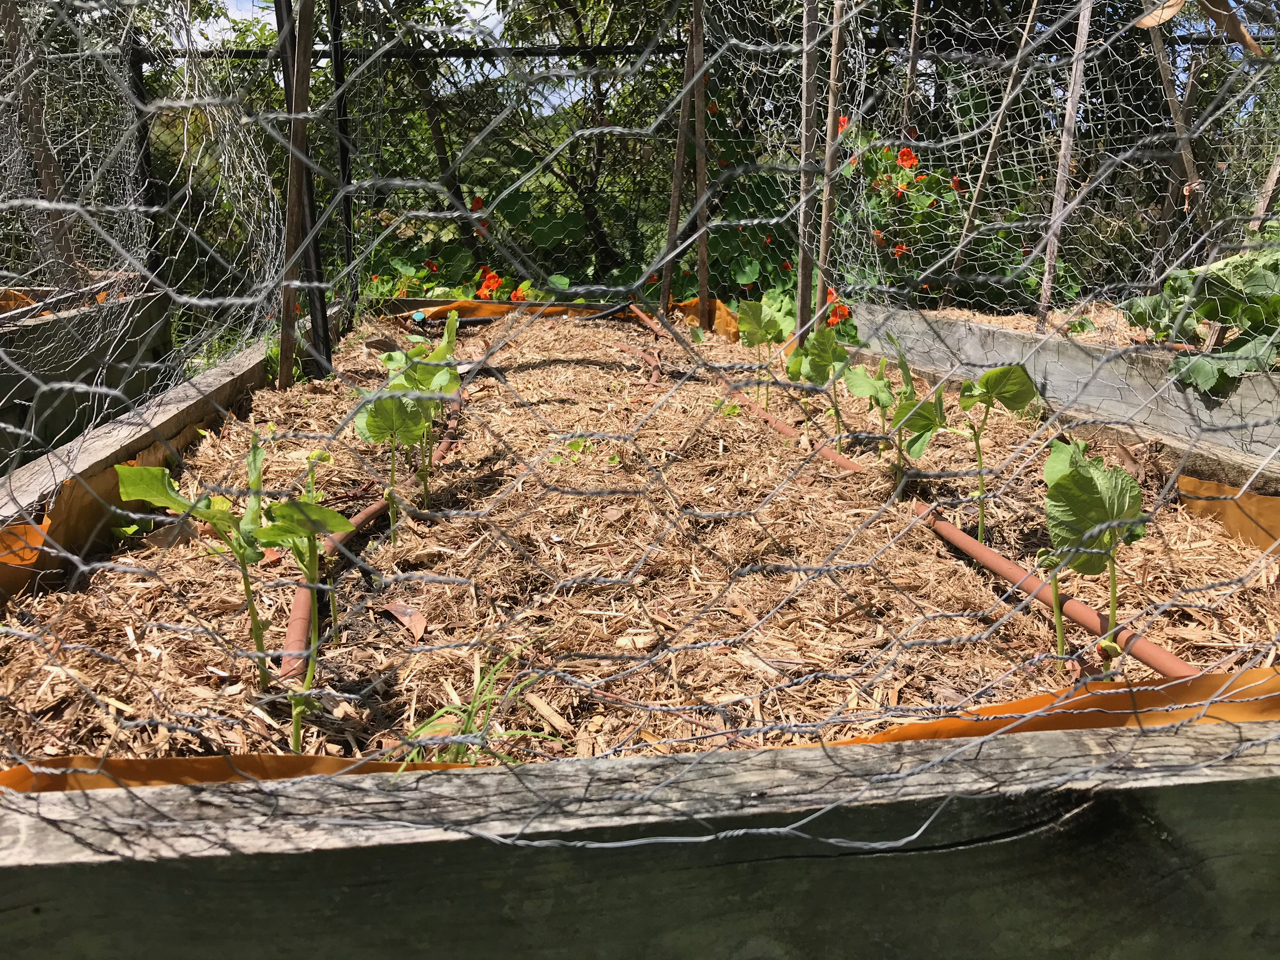
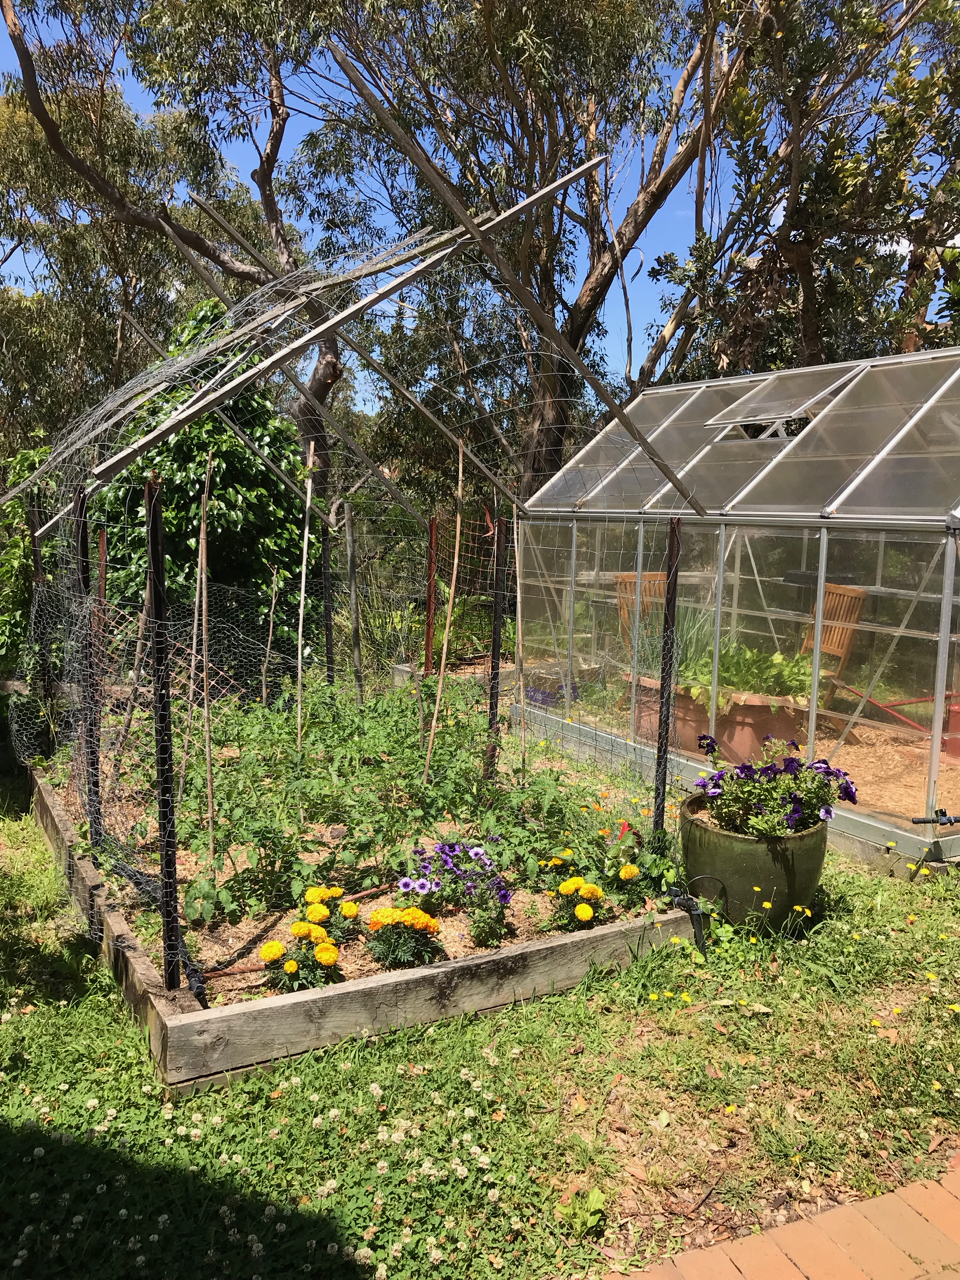
A net-covered garden is essential to avoid birds eating everything 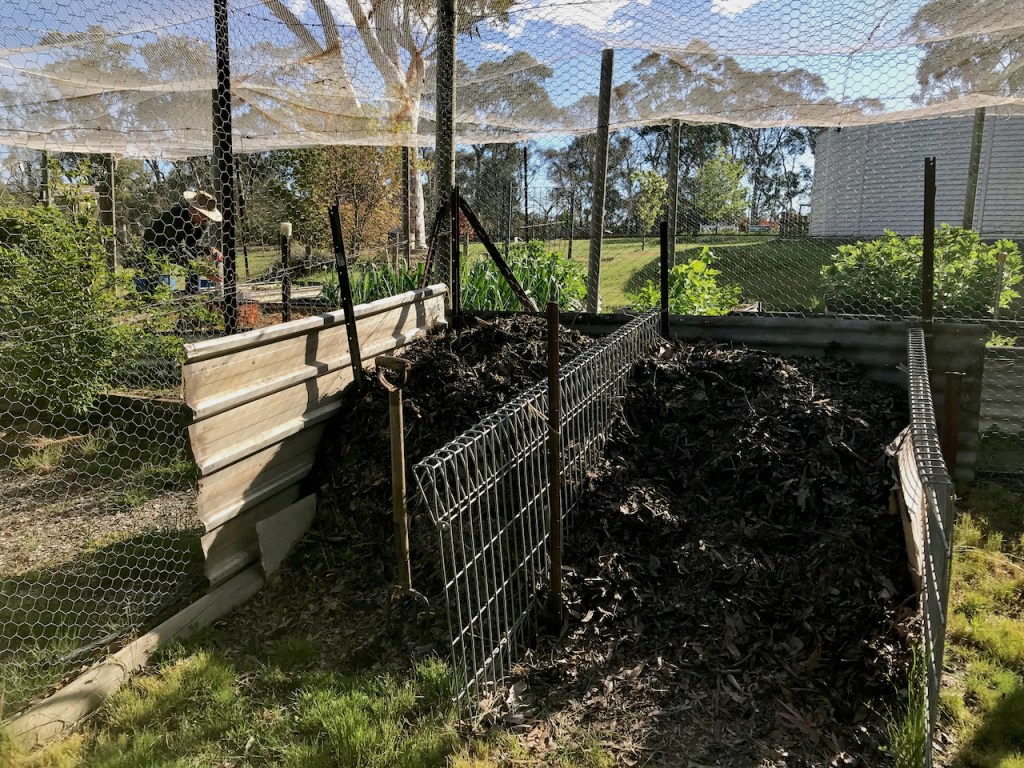
Compost bays made of found materials 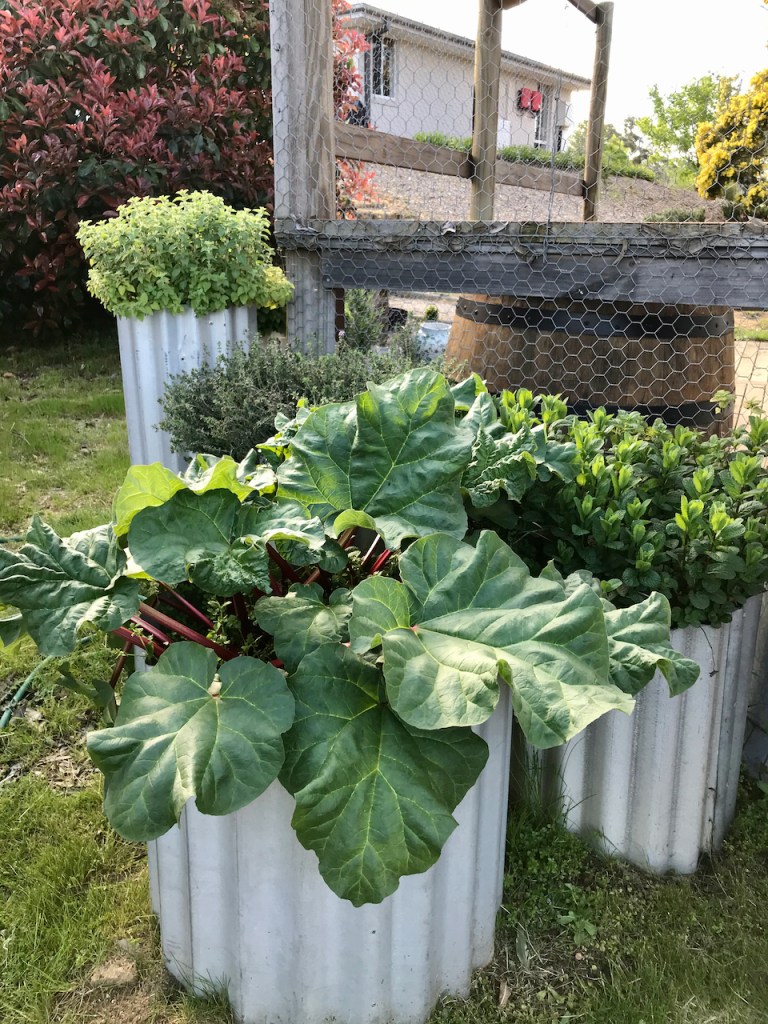
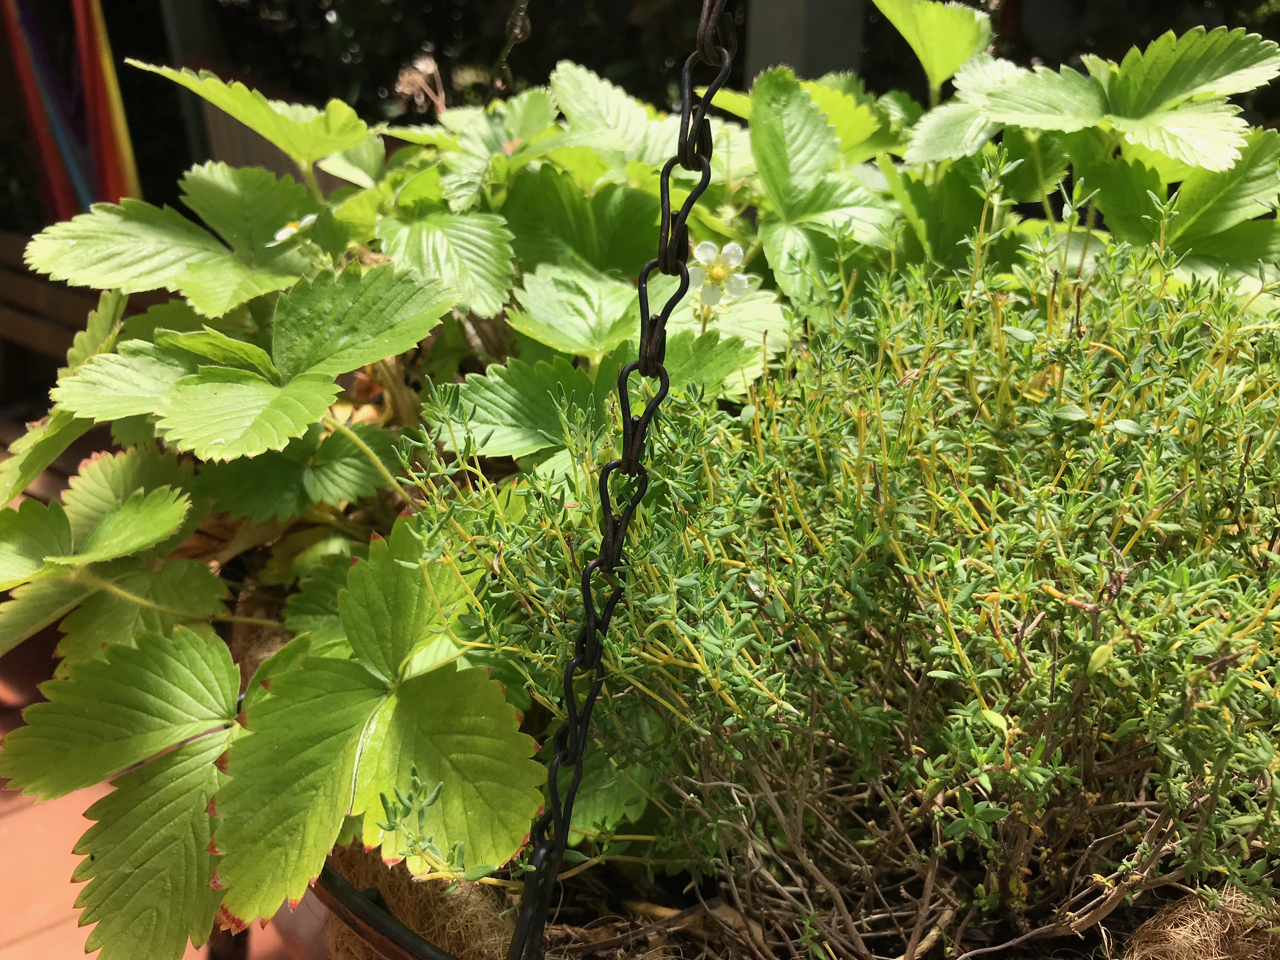
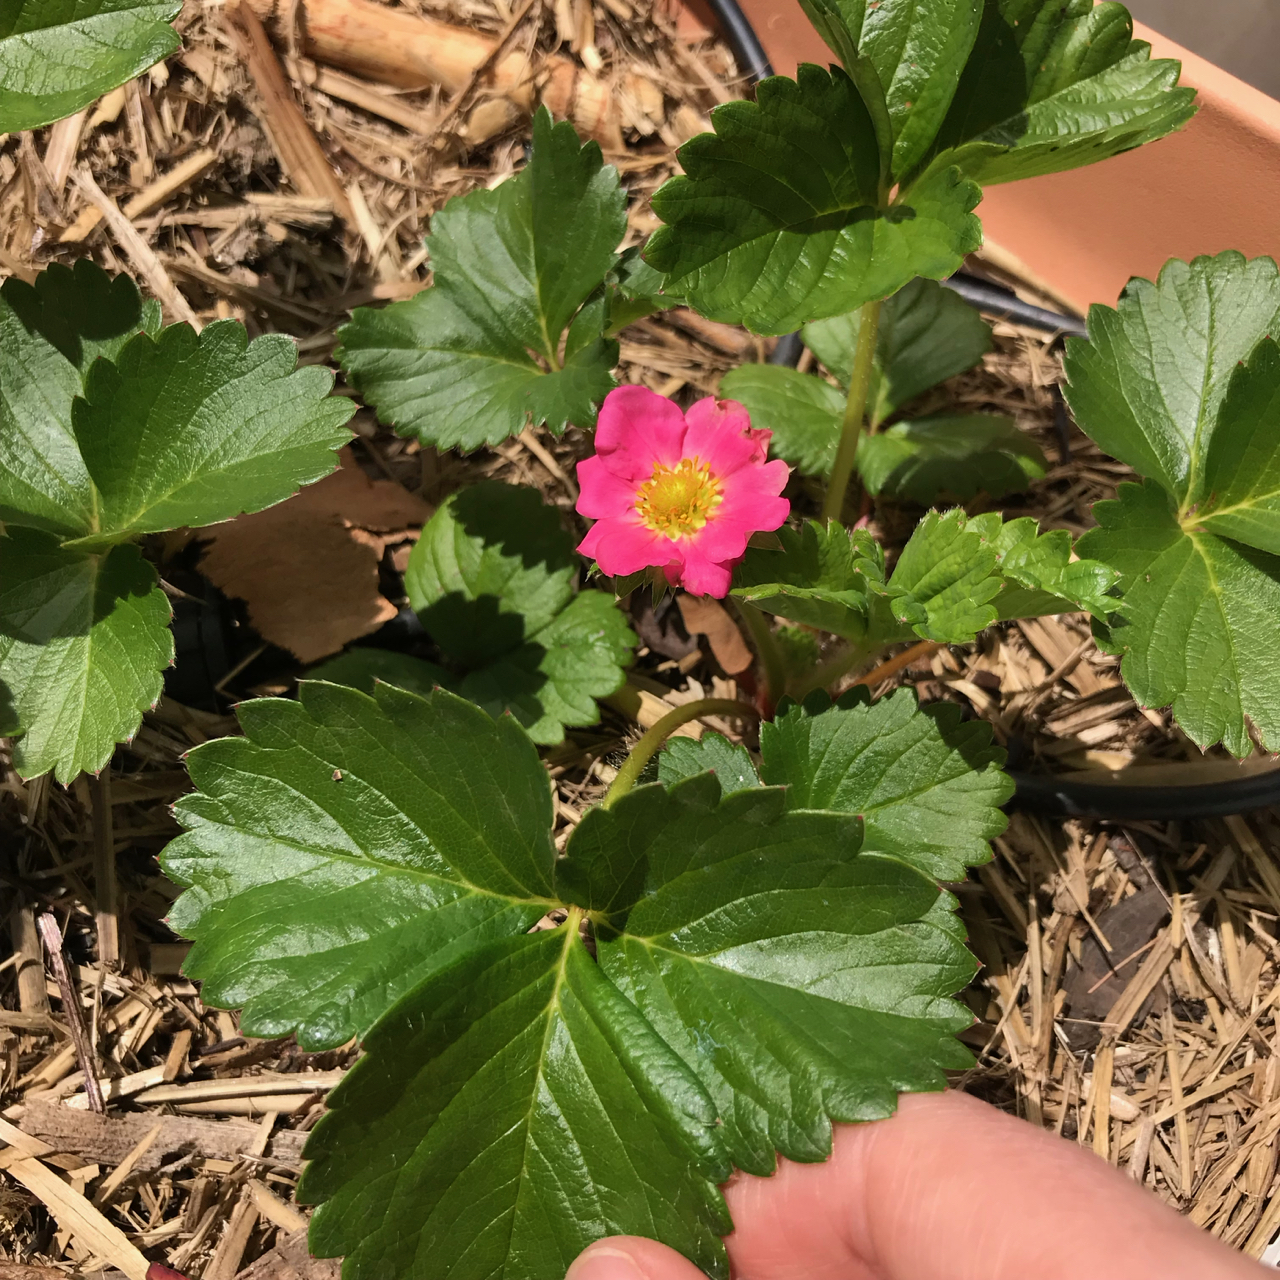
Rhubarb and established herbs in raised pots
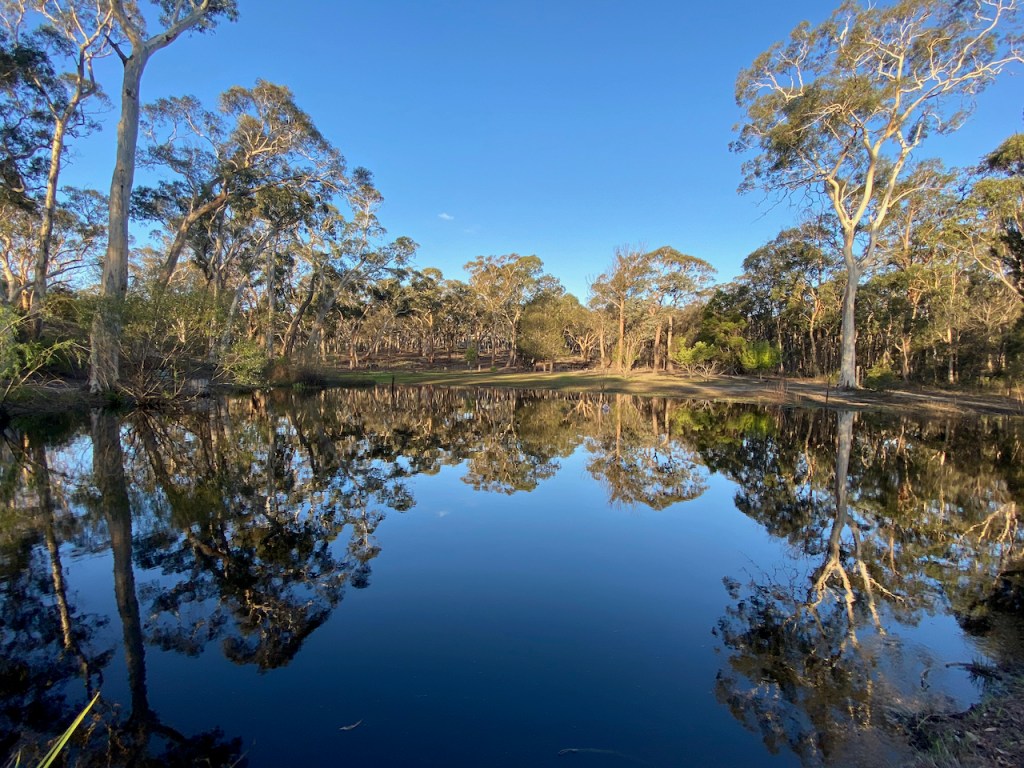
Plus a beautiful dam:
And a huge variety of wildlife:

Can you see the Joey in the pouch of the Kangaroo? 
This is a wombat hole (large!) near our water tank. 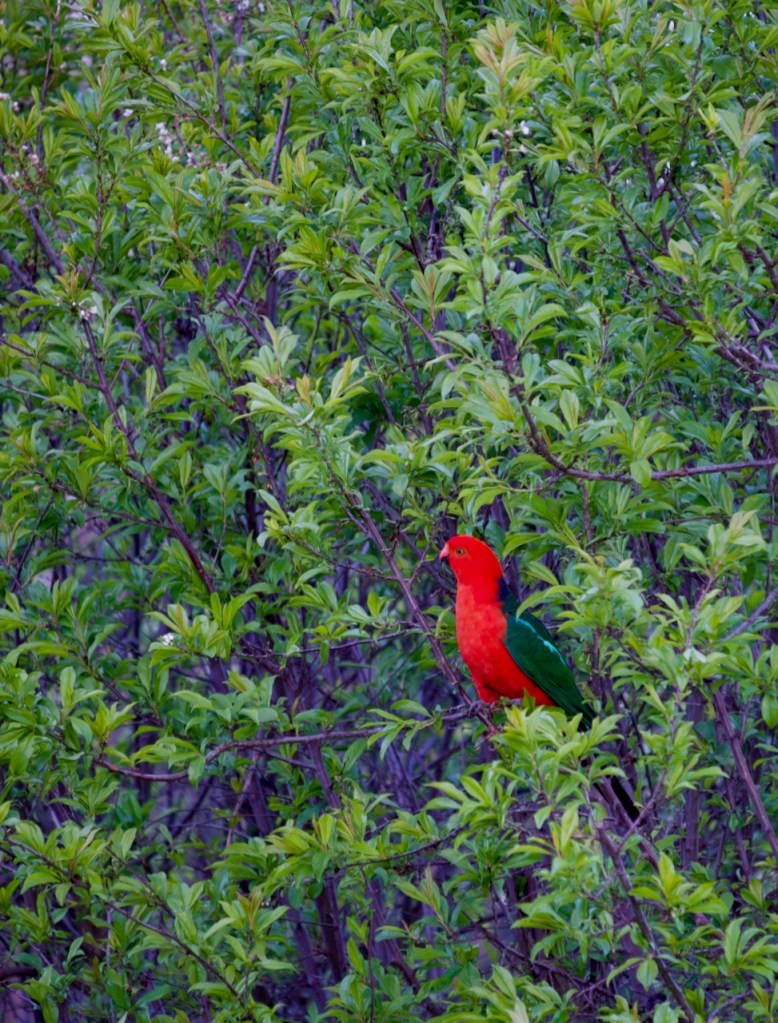
A king parrot–this one likes to shelter on our back verandah from the rain! 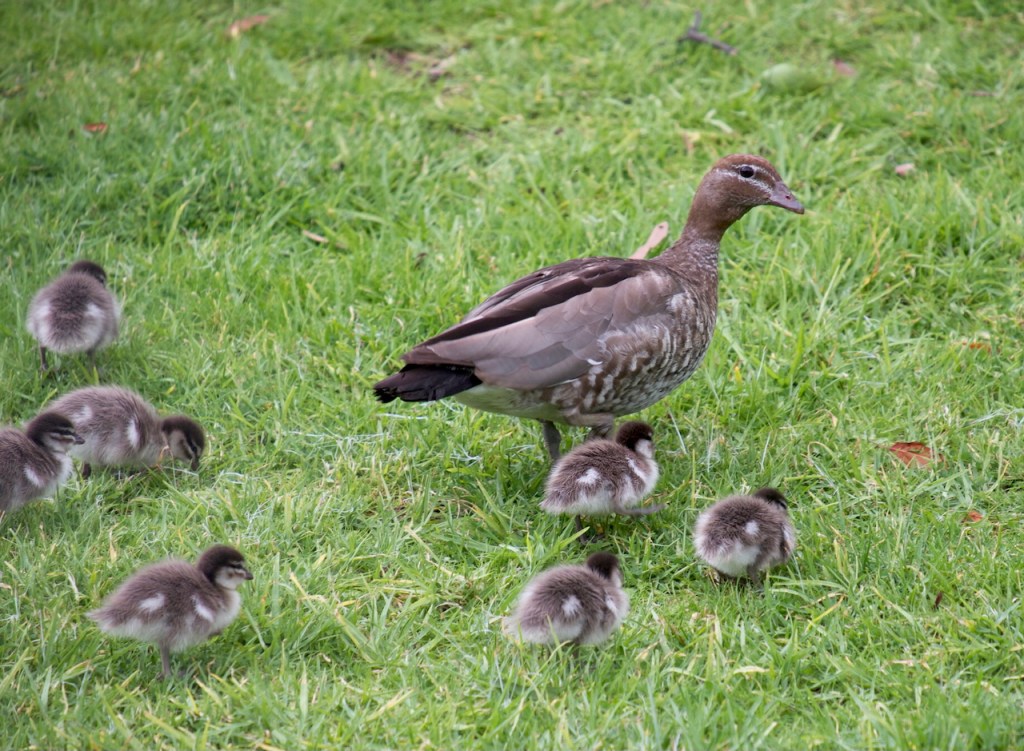
This duck family acquired another 8 ducklings for a total of fourteen! 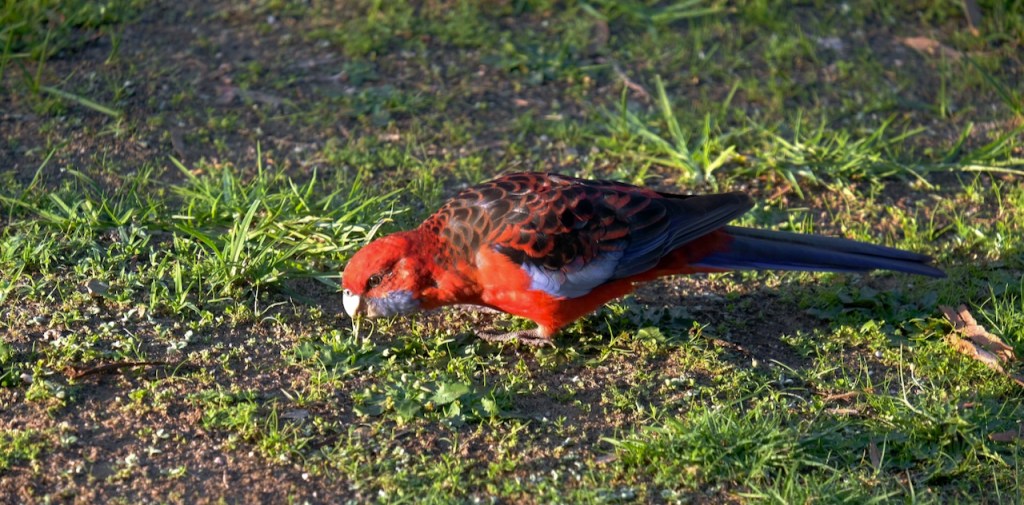
A crimson rosella.
We’ve been settling in over this last year—and what a year it has turned out to be:
- A crippling drought had us in its grip at the end of 2019, drying up all the dam water for the first time in many years. It was heartbreaking to watch the landscape and local wildlife suffer through this.
- Then the bushfire crisis escalated in our area just before New Year’s Eve, devastating the neighbouring town of Wingello. Thankfully, we came through unscathed.
- In January 2020 the kids and I spent a lot of time evacuated until it was considered safe to return, whilst Stephen and our eldest came back periodically to keep the garden alive. The kids had maybe two weeks back home before starting at their new school.
- At this point, things were looking pretty bleak!
- Finally, at the end of January we had some rain–by early February we had so much rain that the area was flooded, and we were cut off for a week from the main Sydney road (the Hume). It was impossible to grumble about this though, we were all bemused and so relieved to have the water!
- Then the 2020 school year launched (switching schools is always a major challenge, and exhausting). We had about four (?) weeks of school and then everything shut down due to COVID-19–and the world tumbled into a new era.
- Our eldest brought her fledgling music teaching business to us, leaving Sydney behind to teach remotely from our bakehouse for the rest of the term.
- I stopped going up to Sydney to work in our office, and since then, it’s been 6 months of Zoom meetings. So. Much. Zoom.

No filter! A dust storm prior to Christmas 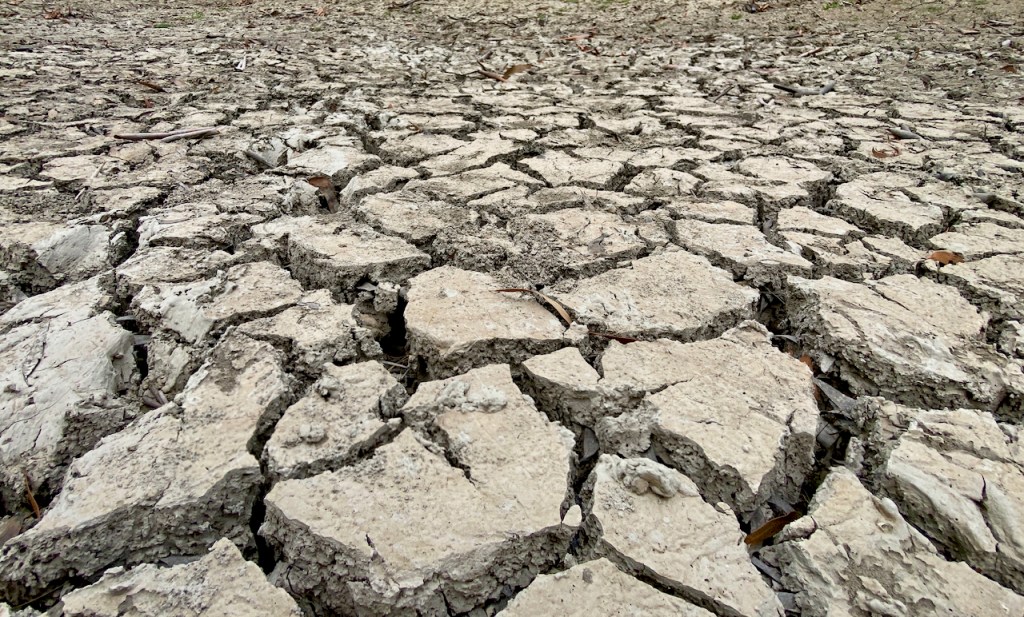
The baked mud in our dam, just before the rain. 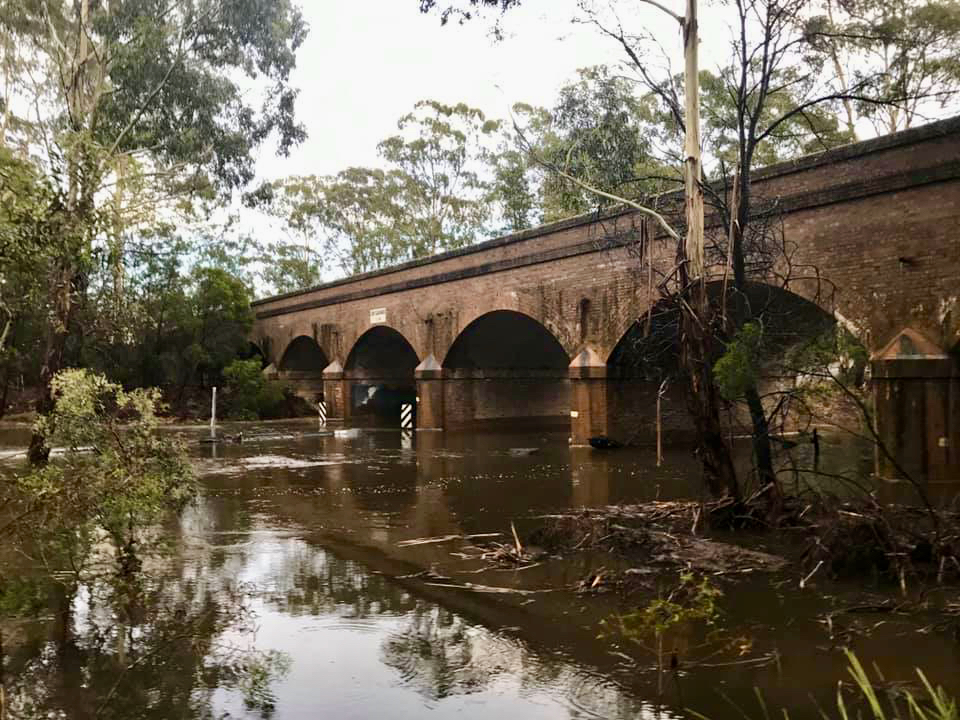
After the rain, the main road (between the striped signs) was deeply submerged.
However, once the drought broke, things really started looking up!
Especially now that it is Spring, and I’ve finally taken a couple of weeks of holiday time from my job!
We’re planning to plant out the vegetable garden, establish an orchard and (soonish) add to our livestock:
- with ducks (I’ve always wanted ducks!), and
- goats–as pets, and maybe for milk!
I’m excited about what the next year will bring, and I hope you’ll enjoy seeing more of our new place!