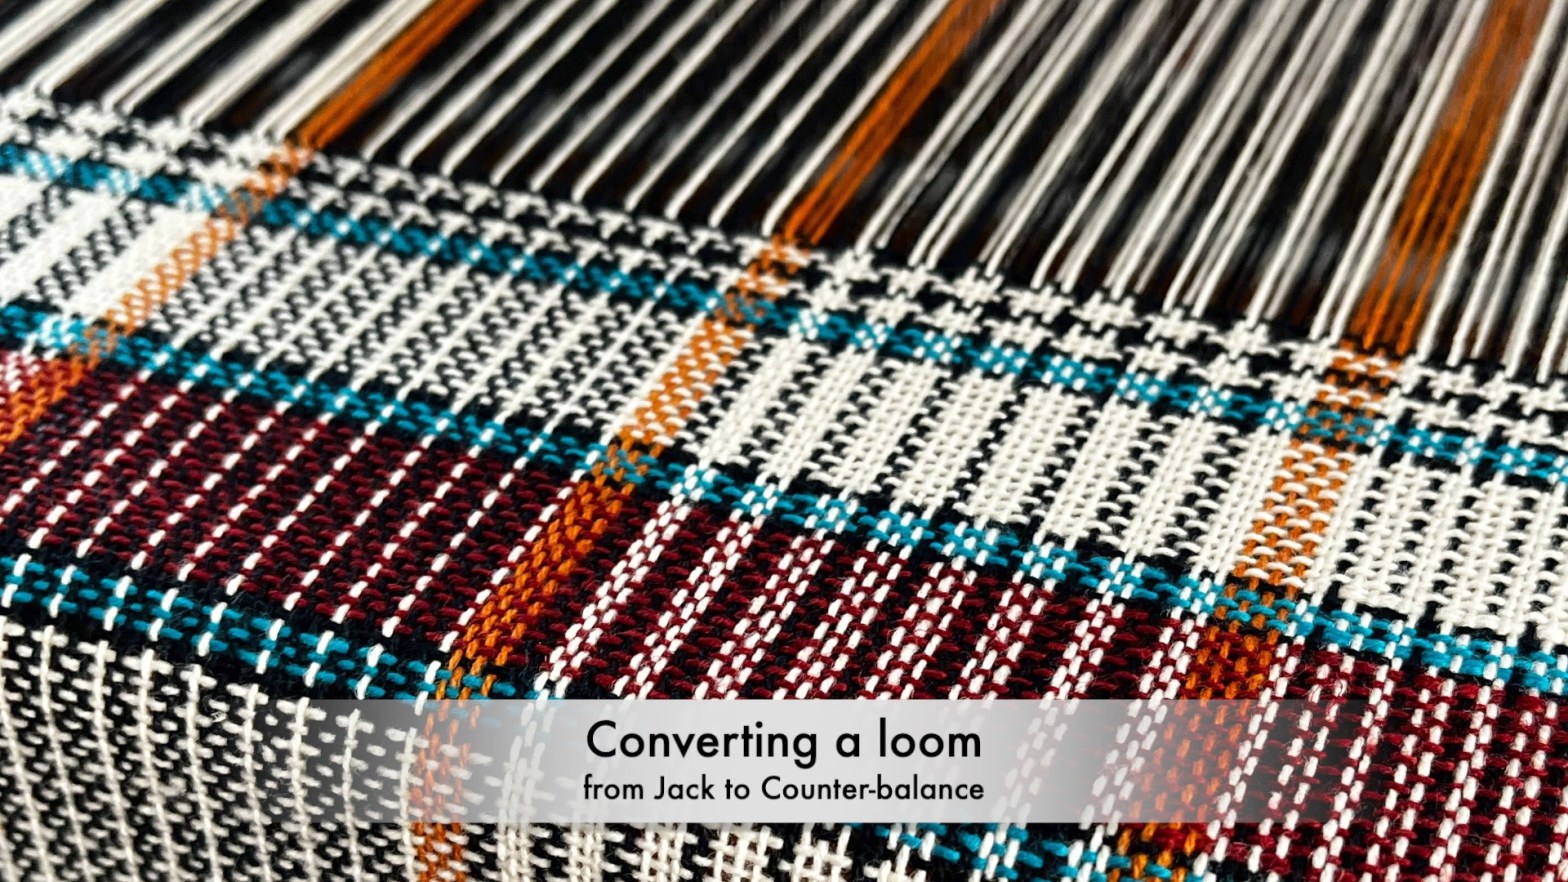
Want to know how I converted my old Jack table loom into a Counter balance loom? How well does it work? Let’s find out!
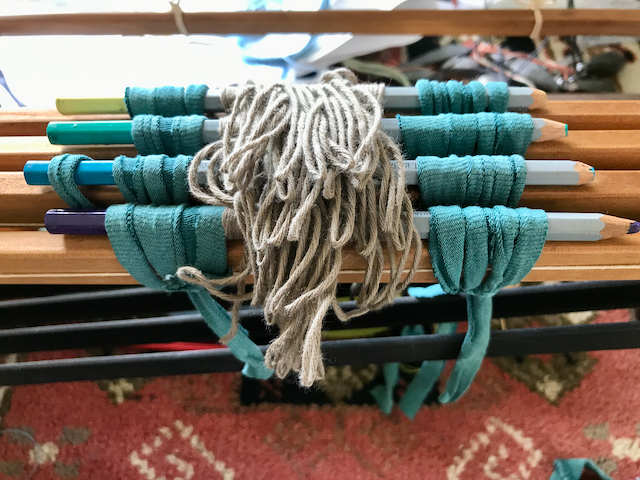
You may recall that I experimented with this conversion some time ago. (Oh dear, about two years)! I was frustrated with the loom and hadn’t woven anything of substance for many years. It had so many issues it was basically non-functional!
- Threads in the top shed would sag, catching on the shuttle when I passed the weft.
- Warp threads would break, probably due to the high tension needed to open the lower shed.
- The lower shed threads were uneven due to the old cotton heddles.
On top of that, the loom was noisy thanks to the clatter of the metal levers, and the squeaky springs.
Now, however, it’s a dream to weave!
Here’s how I converted the loom. 😎
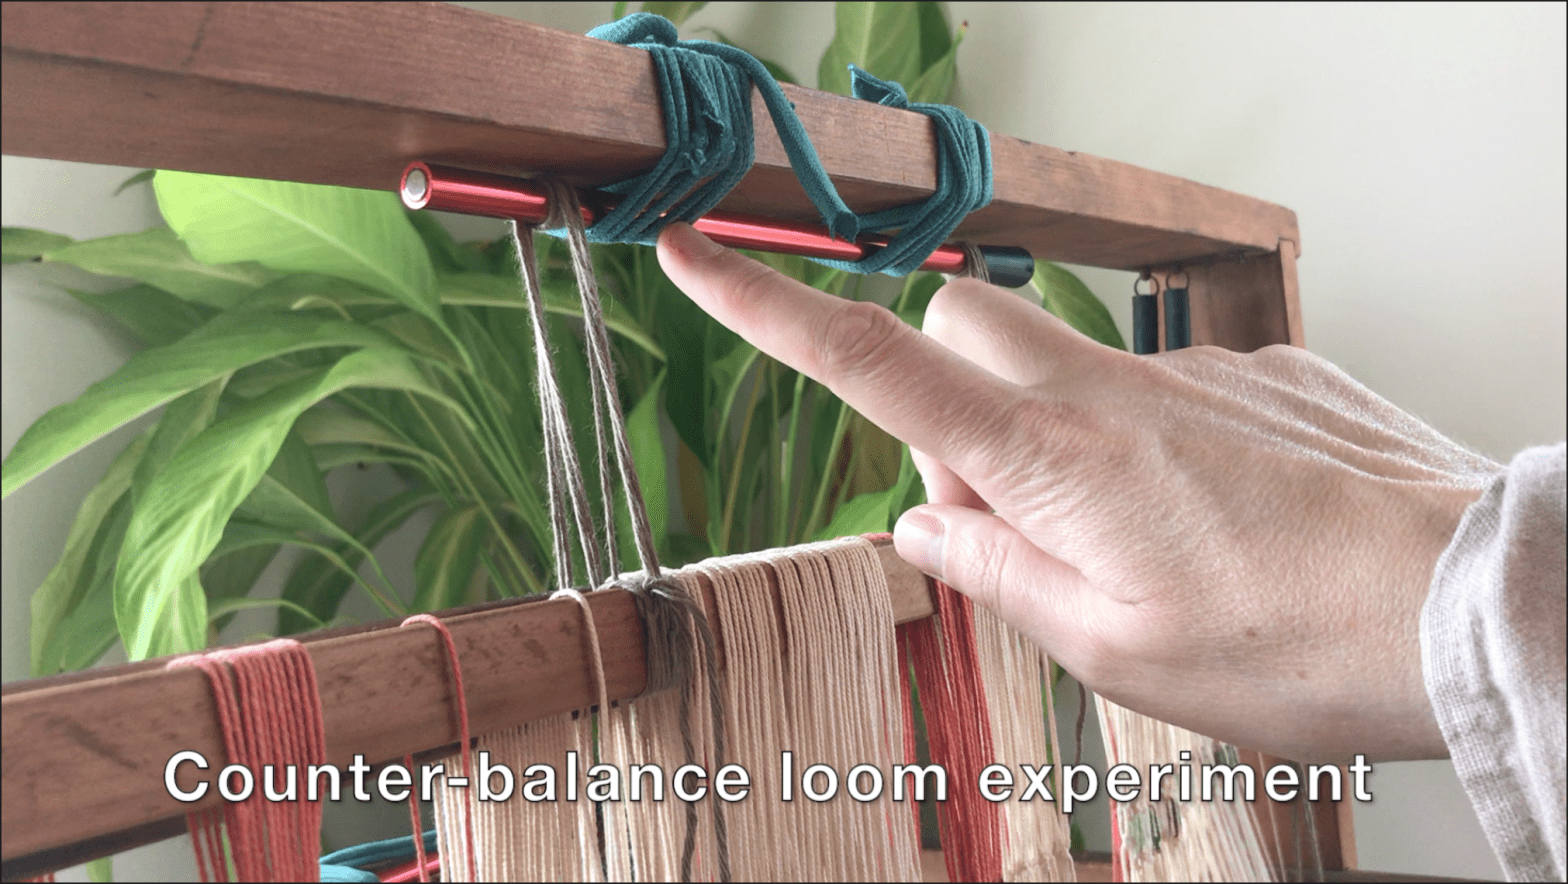
Step one: the roll bar
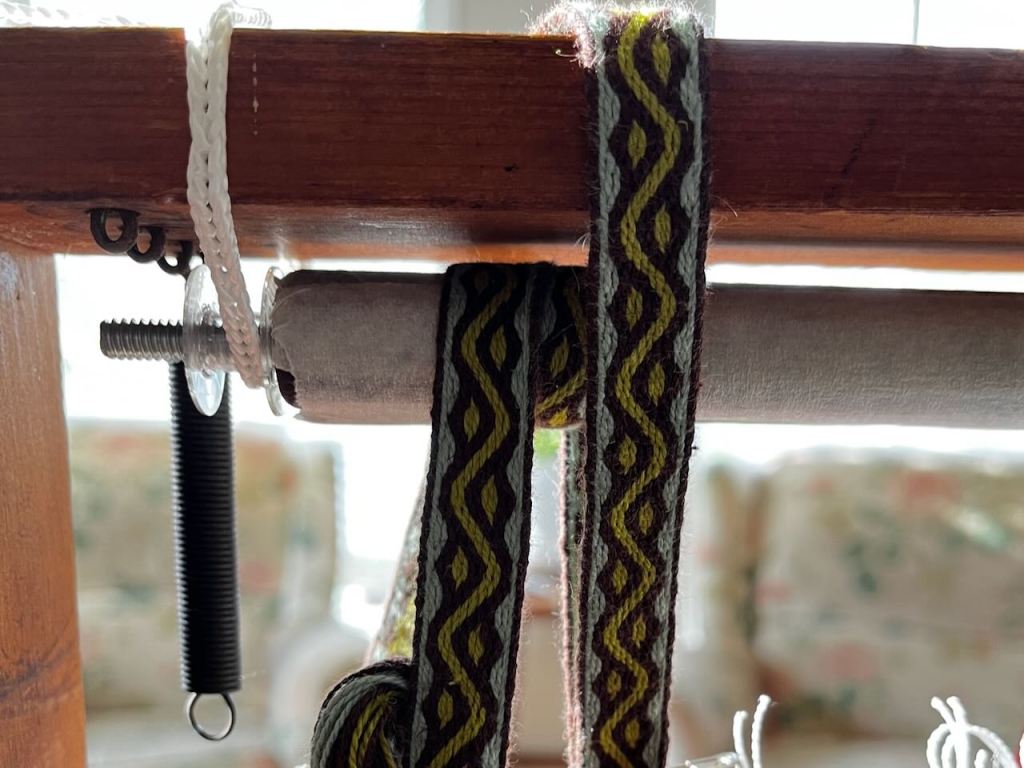
First, I detached all four shafts from my loom and removed the springs.
Then I added a roll bar.
The roll bar is from my old tapestry frame: it’s just like a narrow broom handle with a threaded metal pin at each end.
I put a sewing bobbin on each end and strapped it to the top of the loom using Texsolv cord.
The bobbin allows the bar to spin freely, without rubbing the Texsolv cord.
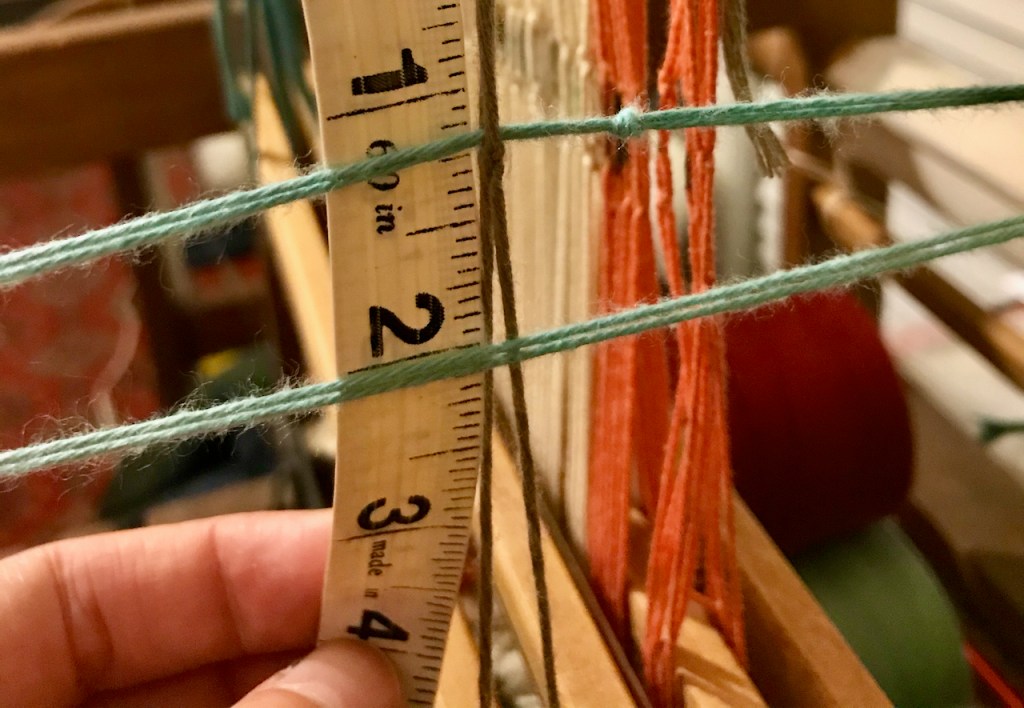
Step two: heddles
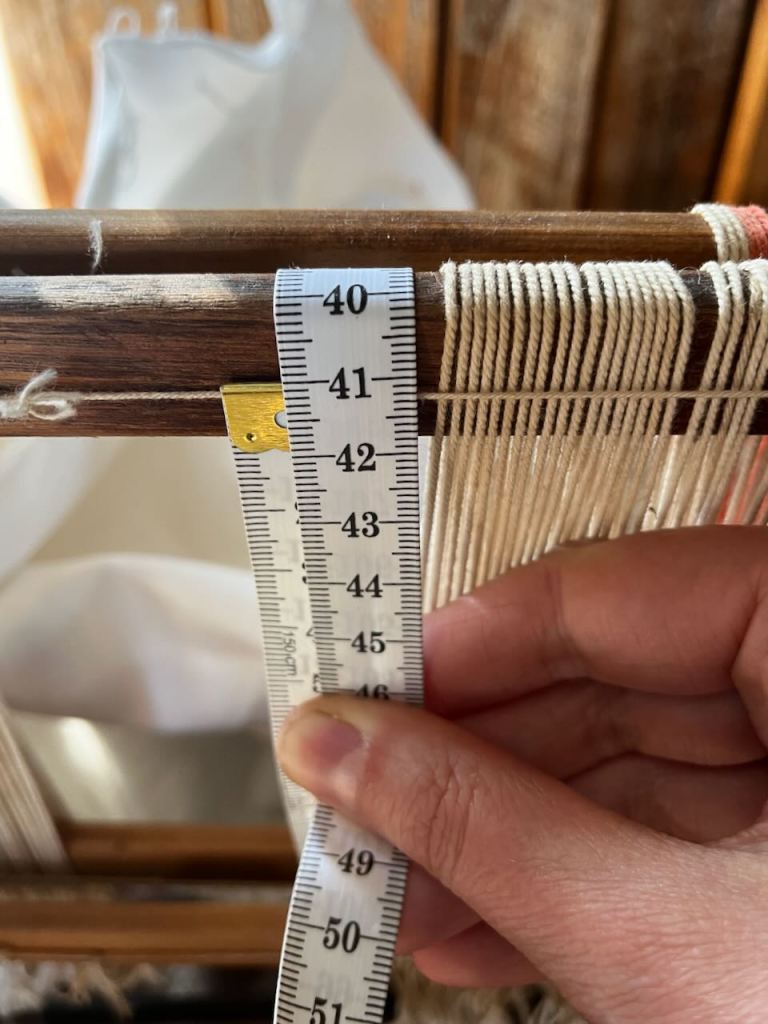
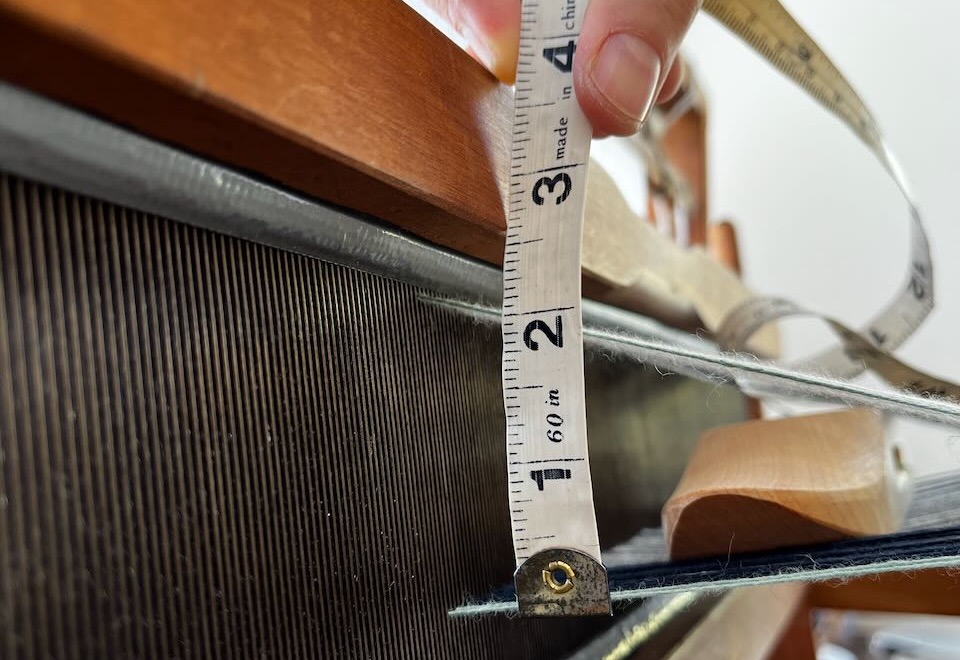
Next, I measured up my old heddles and ordered Texsolv replacements.
I went with size 205/12 (black ties) to give me just over 8 inches (20.5 cm) from top to bottom.
The bottom shaft bar hangs from the top using just the heddles, so I needed to install these before I could attach the shafts to the loom!
Step three: Attaching the shafts
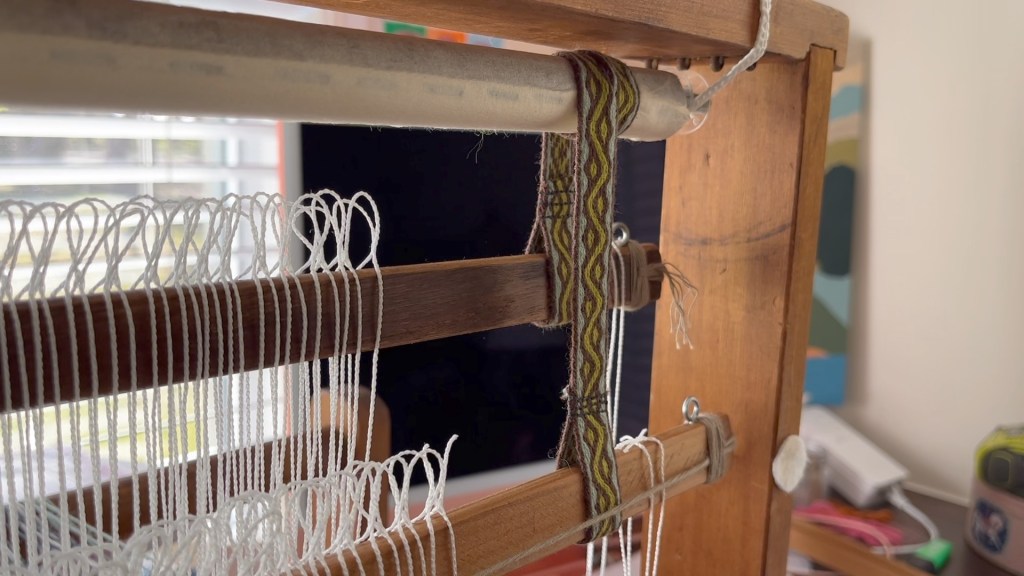
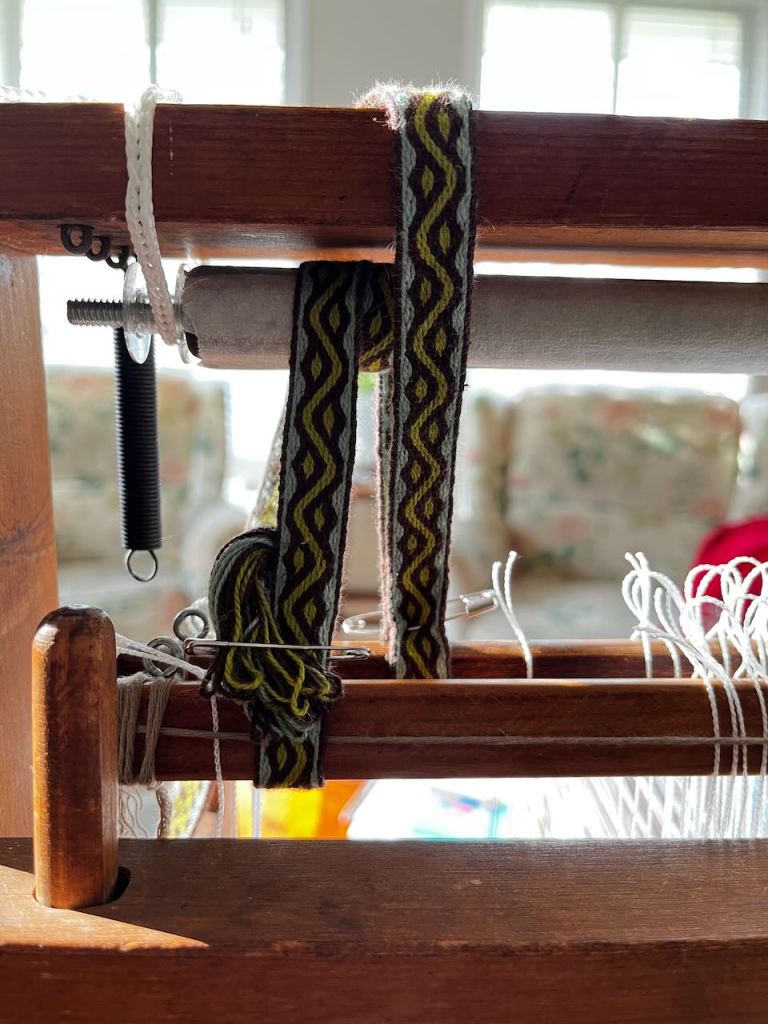
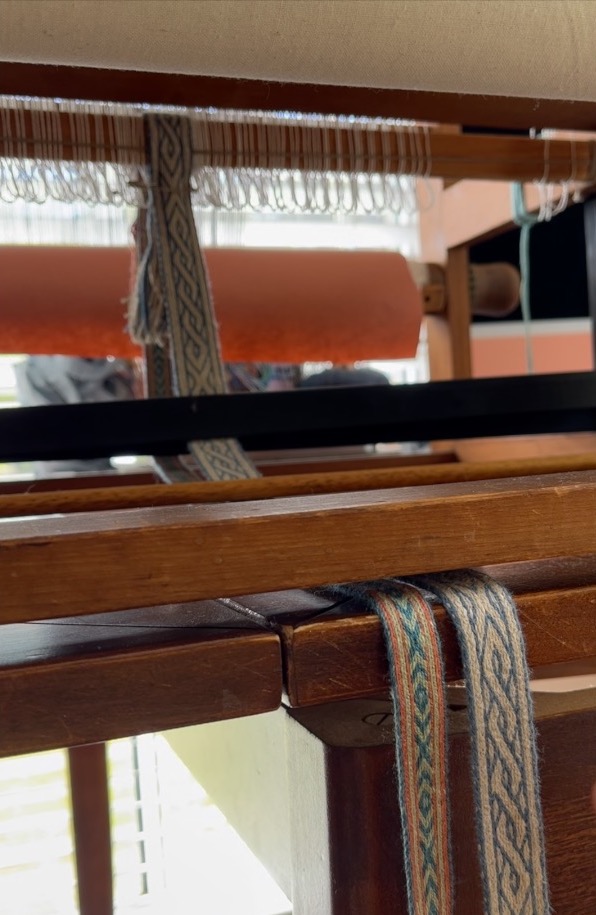
I attached two shafts to the roll bar using a tablet woven braid I’d made some time ago.
The braid forms a strap that wraps once around the roll bar, then slips over the end of each top shaft bar.
I made the loops large enough so I can slip the strap off to install more heddles.
To get the shafts at the right height: I adjusted the length of the strap so that the centre of every heddle (on both shafts) was aligned with the front and back beam.
Essentially, a warp thread passes through the centre of the heddle when both shafts are “at rest” (under normal tension).
Step four: operating the shafts
Now I needed a way to operate the shafts: pulling one shaft down causes the other to rise up, but the old Jack levers are no longer suitable.
Instead I strapped another tablet woven braid to each shaft, passed the braids underneath the Jack levers, and then pulled them out the front of the loom.
Now I can simply pull on a strap to move that shaft down (and the other one up)!
To keep the shafts in position (forming the weaving shed) I step on the trailing end of the strap. This also allows me to fine-tune the tension of the open shed, as needed.
To keep the loom from walking forward, I clamp it to my table. Easy peasy.
What I love
What, apart from the fact that I can weave again?? 🤪
I love how quiet the loom is now. There’s a swish sound when I change sheds (you can hear this in the video if you listen carefully). The Jack levers still click under strong tension, but it’s vastly more peaceful that it used to be.
I love how quickly I can work: now I’m operating the shafts using my feet so my hands are free to hang on to my shuttle. I only need to put the shuttle down if I’m weaving with two at once (and I’ve never attempted that before, either).
I love how weaving is comfortable again. My feet are always dancing (which is a little awkward, granted) but this keeps me moving and I have zero pain as a result. I can weave for hours without noticing.
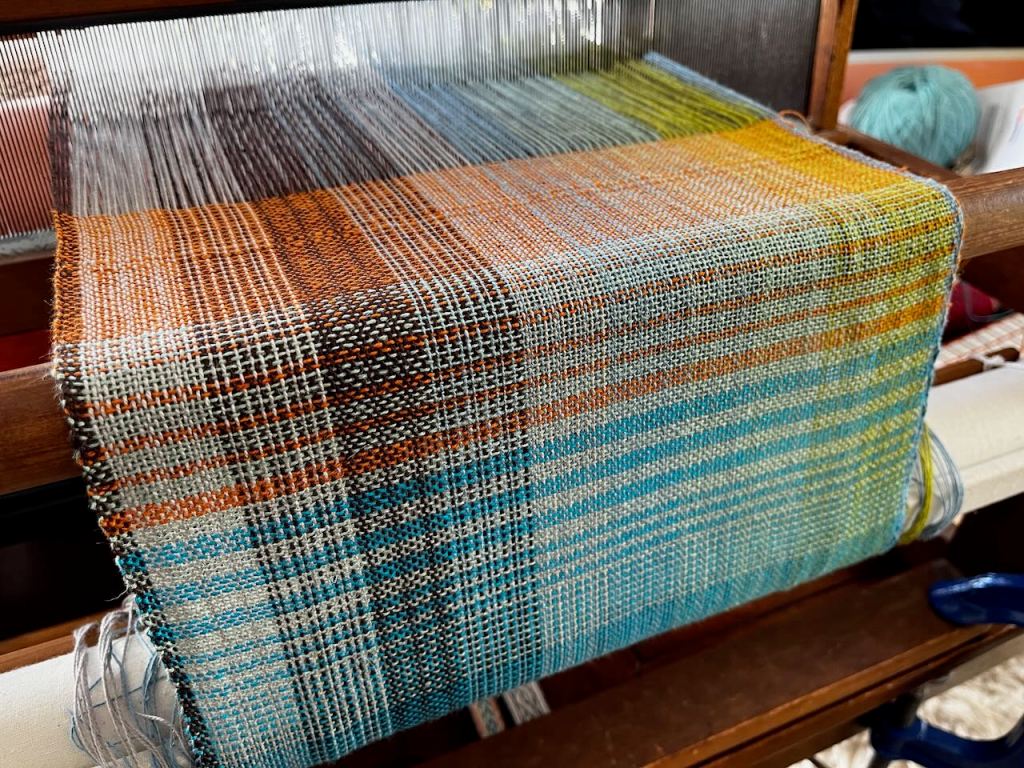
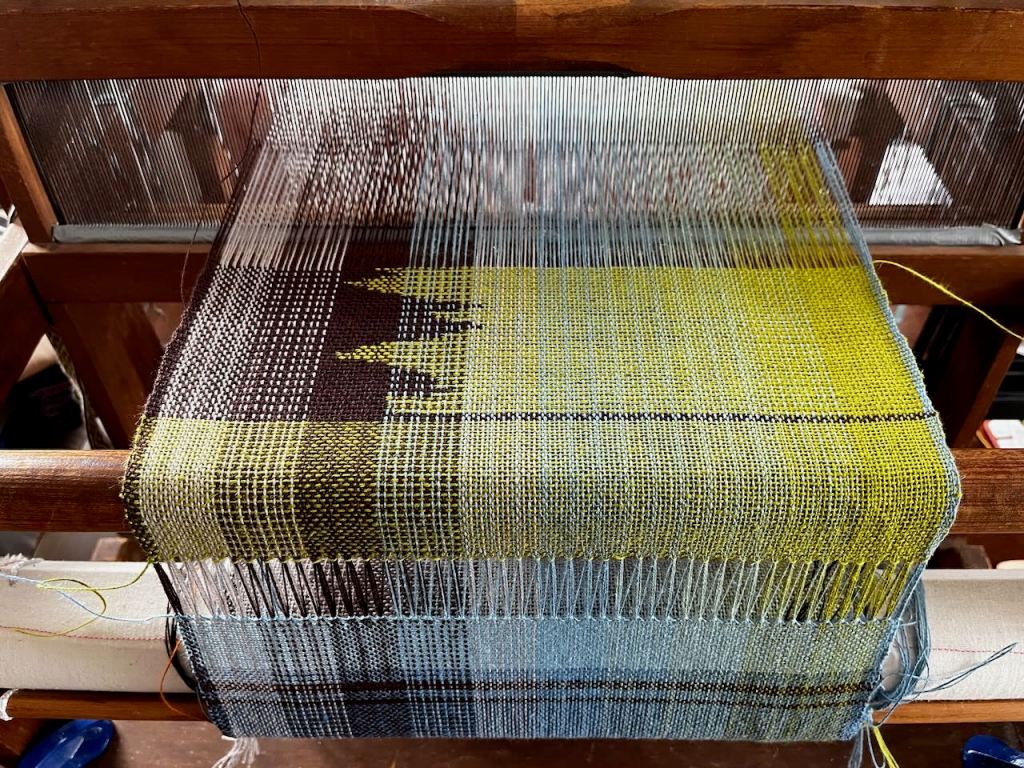
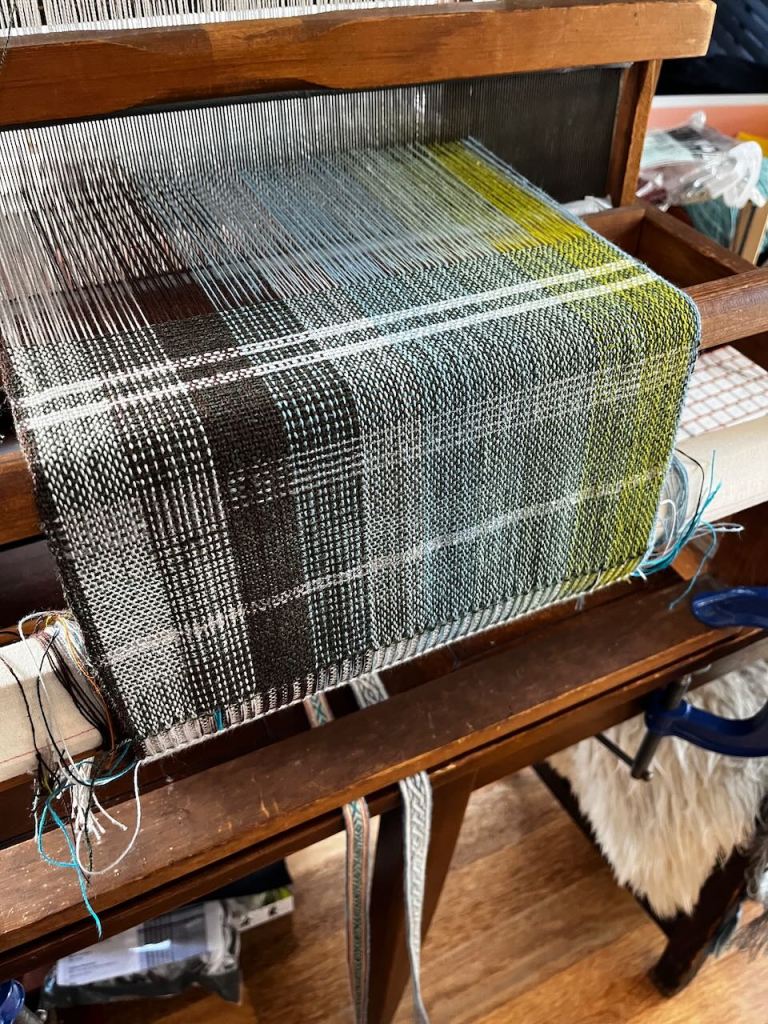
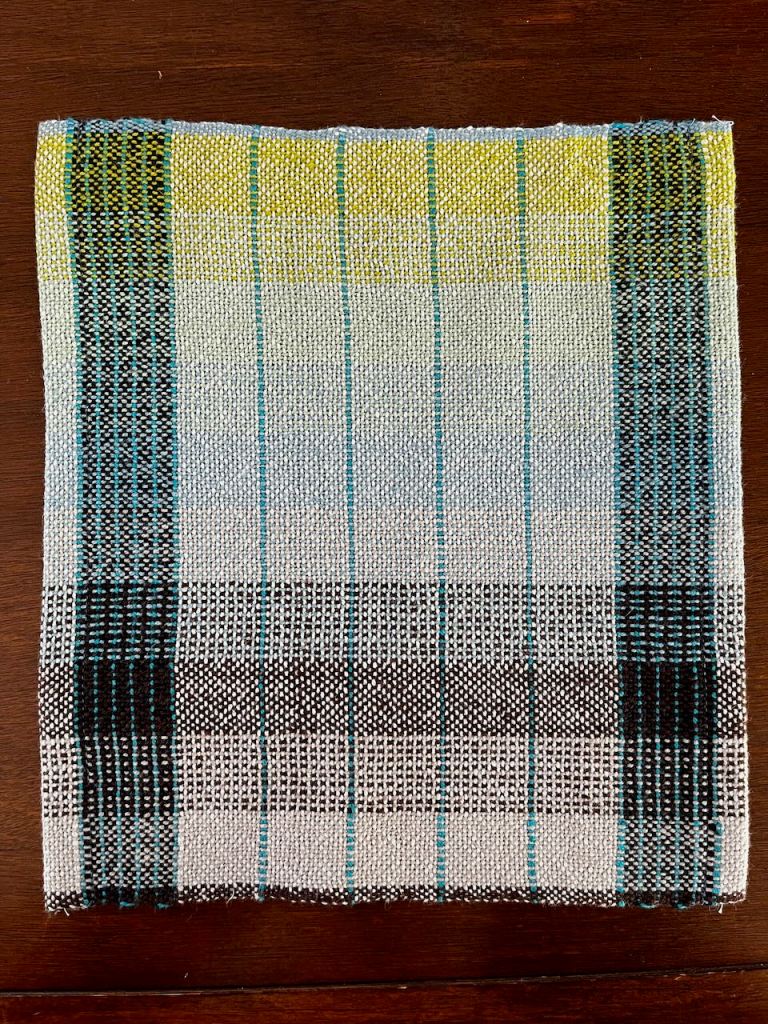
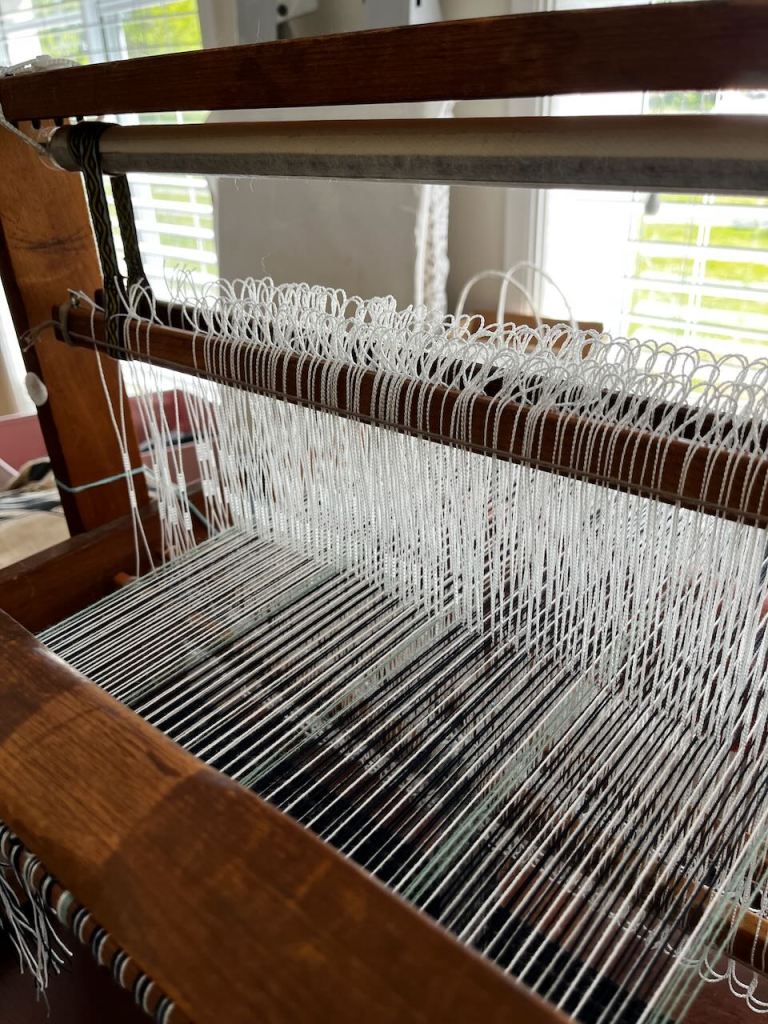
I love, love the clean shed I’m getting thanks to the new heddles and balanced tension between shafts. This is something I haven’t really experienced before (I’ve only used Jack looms prior to this). Even when the back beam smacks up against the heddles, I am still able to get a working shed. Loom loss is about 7 inches. That’s amazing.
What I don’t love
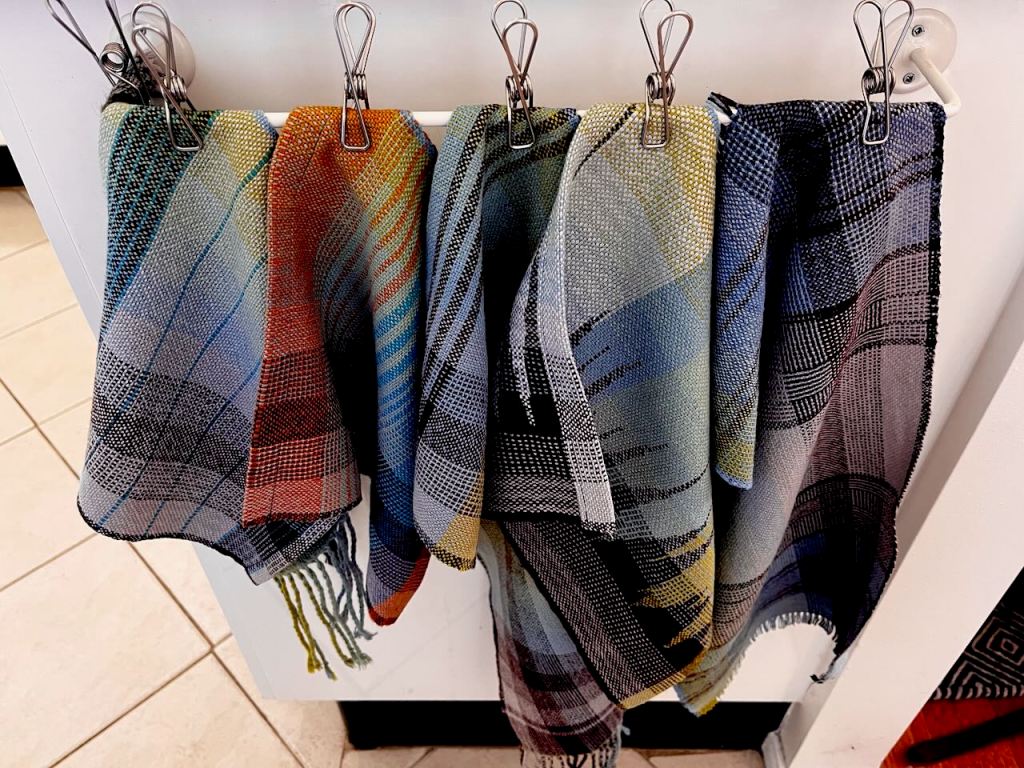
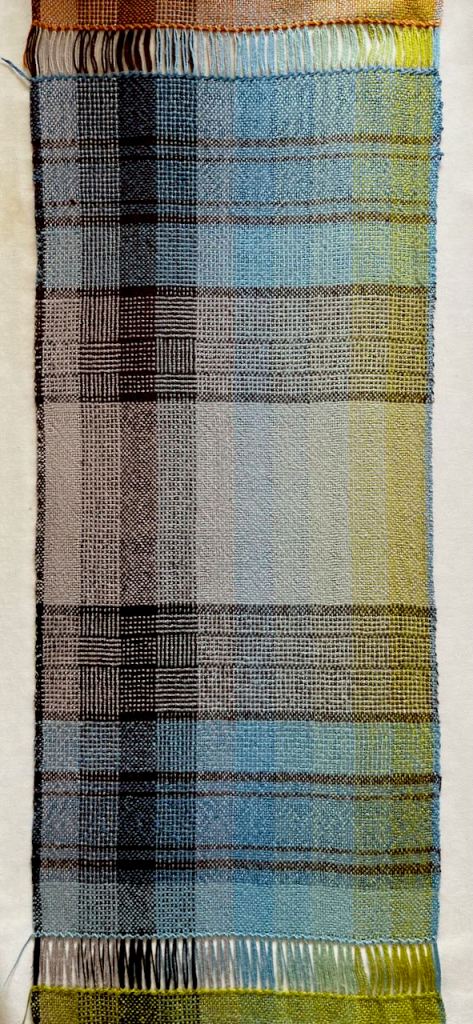
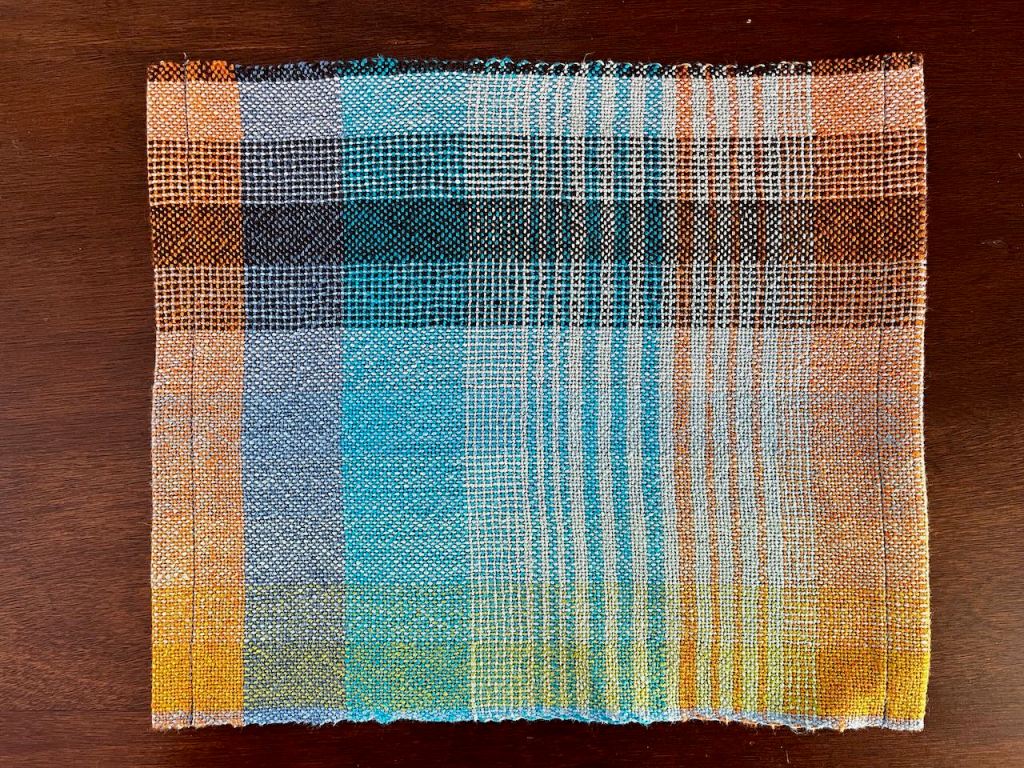
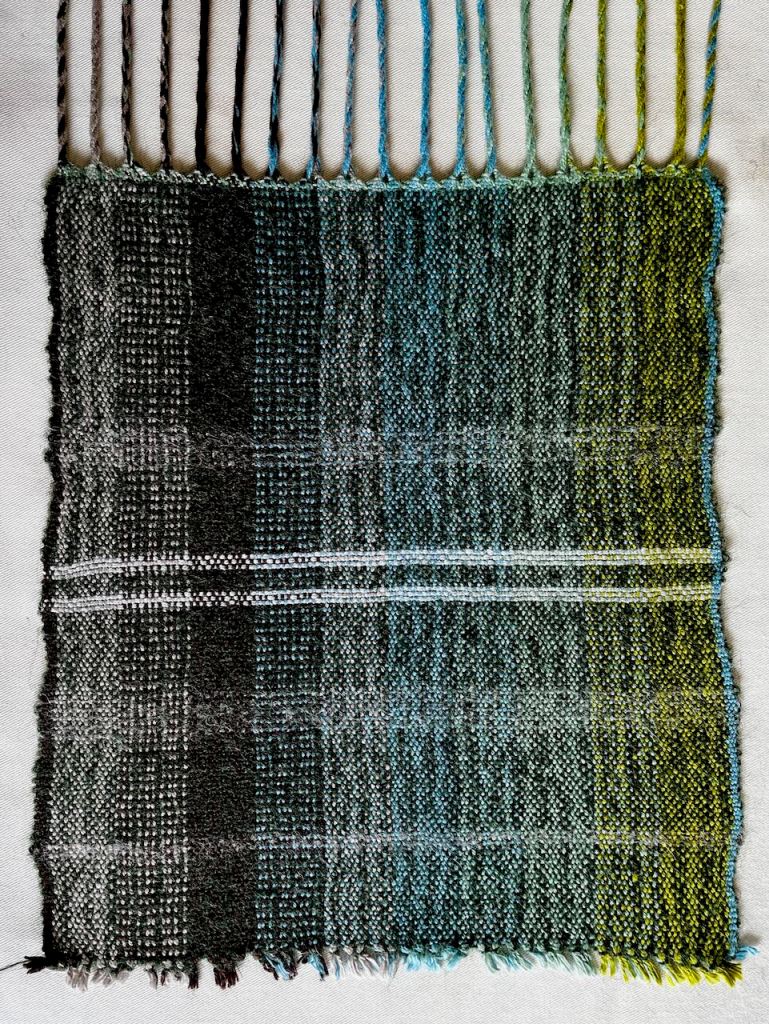
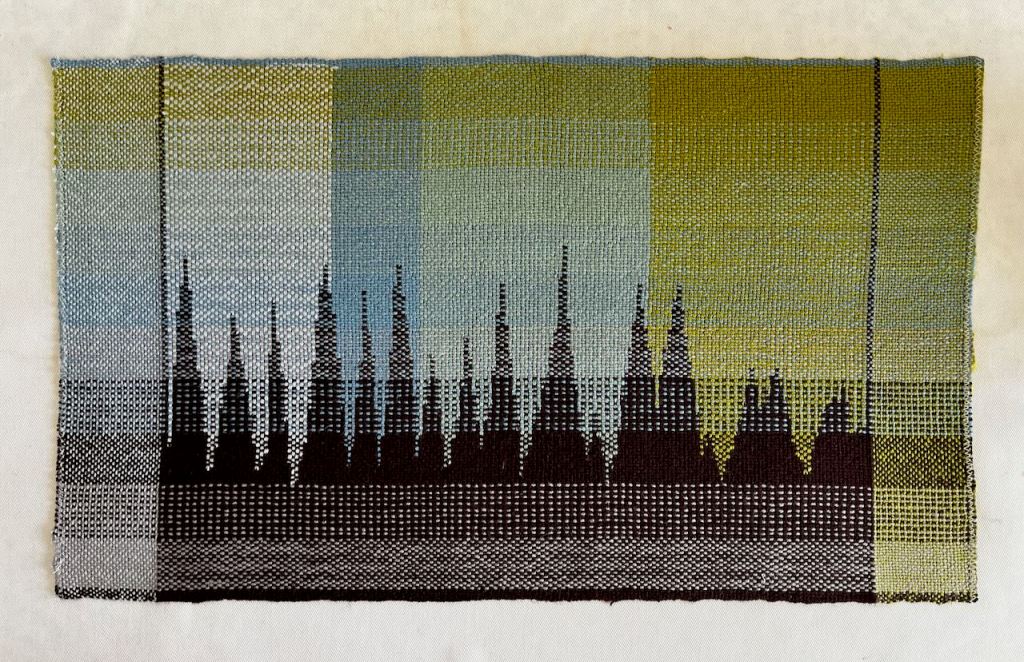
I (currently) only have 195 usable heddles. That’s okay to make cloth about 10-13 inches wide using 2/8 cotton, but I’d quite like to get on with samples from my online weaving course, and most are almost double the width!
I also rather miss not having four shafts, as I’m limited to plain weave.
With only two shafts I can’t do twill or lace. This is quite restrictive for me, especially as I want to create cloth for my historical costuming habit (lots of twill).
On the other hand, I’m loving plain weave now! I’ve never before attempted colour-and-weave or multi-shuttle weaving, and so far it’s so much fun.
I will be quite busy for a while just practicing these skills, getting more consistent with my beat, and probably crafting a whole load of Christmas and birthday presents for people.
And when I itch to return to four shaft weaving? Well then, it won’t be too long now before my … 🥁 … new floor loom arrives.
Hooooooo, boy. I can’t wait for that!
Jess, Excited
Long story short (jokes, my stories are always long) I won’t be modifying this loom again to add two more shafts. That’s technically a whole lot more complicated, requiring another two roll bars and much more height! I’m very happy with my “new” counter balance loom.
Do you have a Jack loom? Have you ever wondered if it would work better as a Counter balance? Maybe I’ve given you some retrofitting ideas. ☺️