Okay, you may not be old enough to remember the band “Boyz II Men” and thus get my woeful pun, but it’s too bad! I went there anyway!
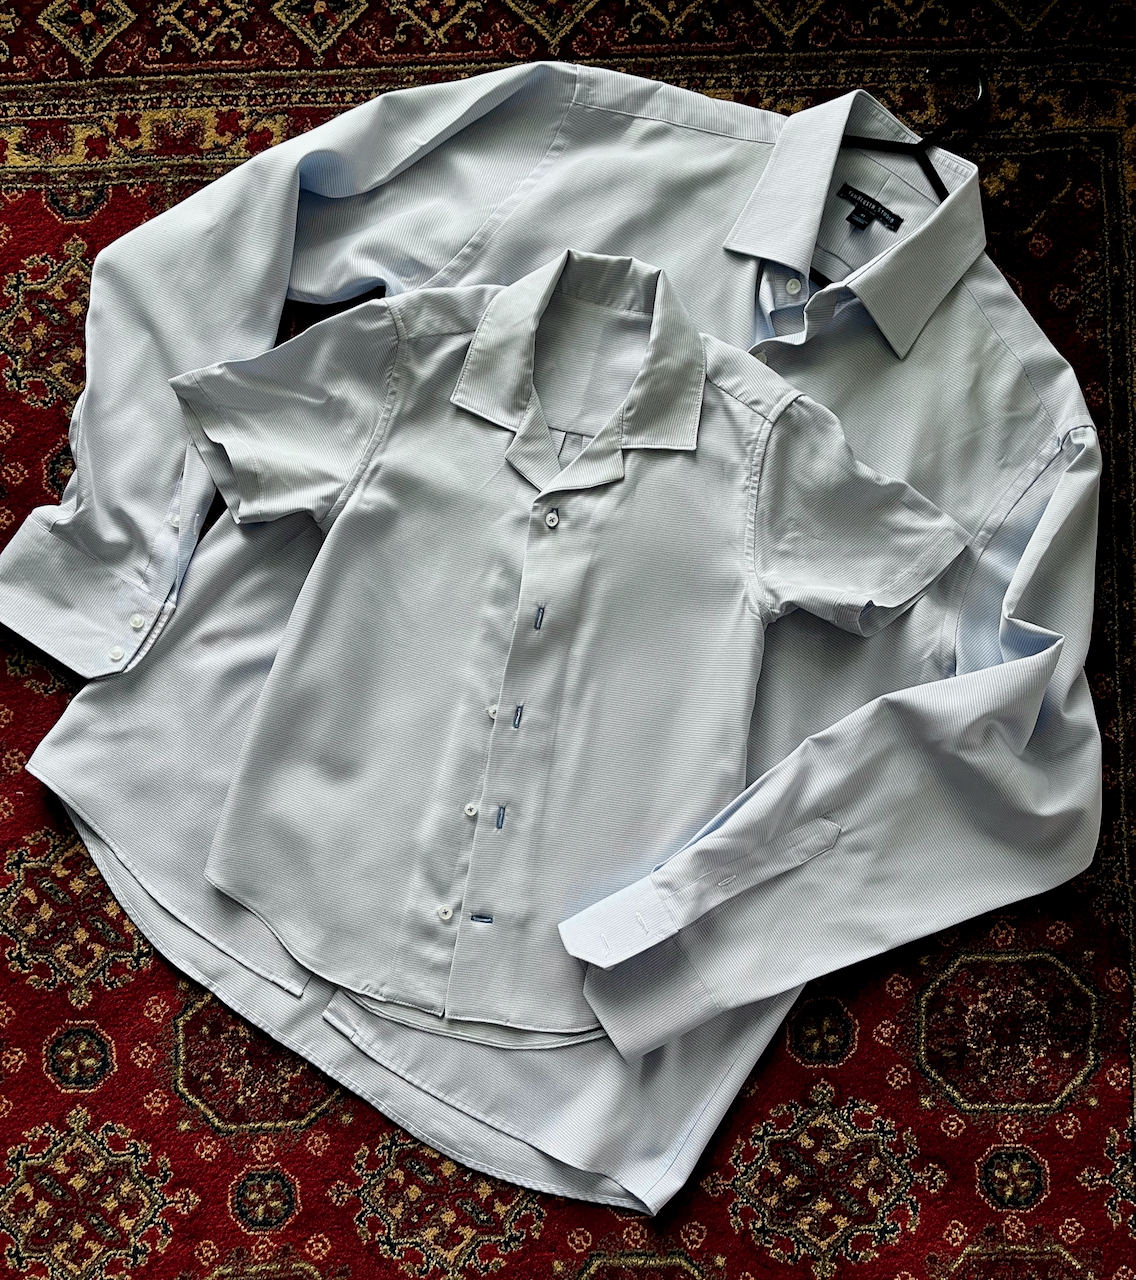
This is the story of a Men’s collared shirt that found new life as a Boy’s collared shirt, just in time for my son’s Year 6 Farewell dinner.
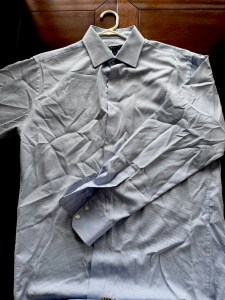
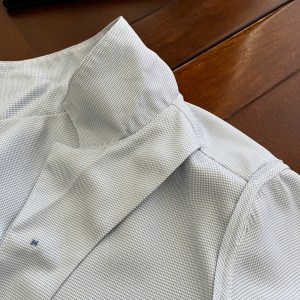
We start our disassembly here, with this size 41 shirt.
A rotary cutter makes short work of separating the sleeves, collar, cuffs and yoke from the main body of the shirt.
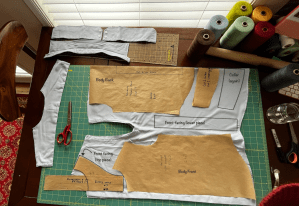
By laying the side seams together and creating a fold at the centre back, we see it’s possible to cunningly cut a size 9 shirt from the main body.
Yes, even if it means piecing together the front facing!

Each sleeve yields up one back yoke, and one mini-sleeve each.

The offcuts yield enough fabric to make a short section of bias binding, or a pocket (or two).
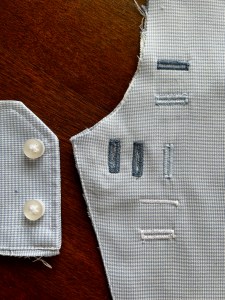
And of course there are always scraps to audition button holes!
We can re-use all the buttons and have enough for two short sleeved shirts.
This shirt was so much fun to sew. I loved every moment of it.
Partly because the fabric is sleek, cool and a dream to touch (some kind of smoothed shirting cotton) and comes from a professional quality shirt (Van Heusen).
But mostly because I tailored the heck out of this shirt.
The pattern is the Thomas Shirt by Felicity Sewing Patterns: the method of construction is professional and the instructions are comprehensive. I was able to sew a completely seamless bag yoke! 🌟
I made a couple of alterations to the shirt, mainly to avoid using an overlocker (serger). I much prefer to see clean seam finishes in a garment!

I added extra seam allowance to the sleeve and side seams so I could flat fell the seams (like they do on professional shirts).
Check out that teeny tiny shirt hem!

I used a light-weight fabric instead of fusible interfacing inside the collar and to line the facings.
This meant I could hide all the raw edges (by seaming and then enclosing the edge) which looks fantastic.
Yes, this is the inside of the shirt. Pretty slick, huh?

I set the rounded sleeve cap into the complete armhole (classic set-in sleeve technique) because the sleeve cap was pretty curved and needed a lot of easing.
I wasn’t convinced I could flat-fell the armhole seams so I used bias binding (cut from leftover fabric) to do a fake flat fell / bound edge hybrid.
The bias binding is a little too wide and looks a little clumsy, but it’s close enough!
Seriously stylish.
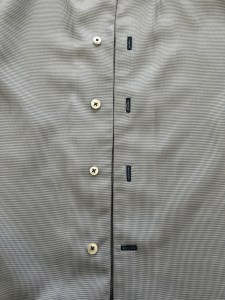
William chose the contrast button holes, and I used the same thread to attach the buttons, too, in a cross style.
That last buttonhole, turned horizontal? That’s to help the buttons stay closed if you tuck your shirt.
At the end of the day, I can’t stop running my hands over the inside of this shirt. I’m really proud of this make.


