I’m Honoured!

I have been quite touched to be nominated for the Liebster Award, by a blogger I’ve been following for a couple of months: Mended Wheels. What a lovely thought! I immediately googled what a Liebster Award is, because I’ve not come across it before, and now … I’m conflicted!

Liebster Award
The Liebster Award

The Liebster Award is basically a chain letter that is designed to encourage new bloggers, and introduce them into the blogging community. Which is a worthy aim! But it’s a chain letter, which is bad. But it made me feel briefly pretty excited, which is good! But if I accept, I have to do a bunch of work! Which is bad. But it’s blogging, and I like to do this: so that’s good. But I don’t want to pass it on … which is bad.

I hope you are getting the whole cursed frogurt reference here.

The award (if accepted) comes with a neat little task of answering some questions from the nominee. I like this part, as blogging is all about sharing and participating with a community, and if you guys want to ask me questions, by all means do so! It also means I should nominate five more blogs to receive the award.

Since I would feel like a bit of a jerk to *not* accept this award, I will do so under the condition that I will accept this exactly once!

Update: In a twist of fate, I have been nominated aย second time for this award by Sarah of Life In the Orchard, before I had time to accept the first! I feel so honoured that you both have chosen to nominate me. I don’t want to ignore Sarah’s nomination, especially since I would have nominated her own blog, had she not recently accepted the award herself! So I will answer the questions posed by Jill, and simply acknowledge Sarah and her great blog here as a way of appreciation. Thank you!

Here are my answers to the questions posed by Jill. There are some great questions here!

1.ย  What makes your blog different?

Hmm, perhaps that I’m writing about a fairly diverse range of topics (sewing, frugal living, gardening, quilting) but under the umbrella of “Living Simply”. I was worried that people who enjoyed some topics would be irritated by seeing posts on such different areas. So far, though, I think this has worked well.

2.ย  What do you want to accomplish by blogging?

Really, I was hoping to document tips and information for myself, my children (once they grow up and start running their own households) and for people in my community who ask me how and why I do what I do. I want people to be inspired to live greener, save their money for things that will make them happy, and to live healthy happy lives. Not asking much, huh?
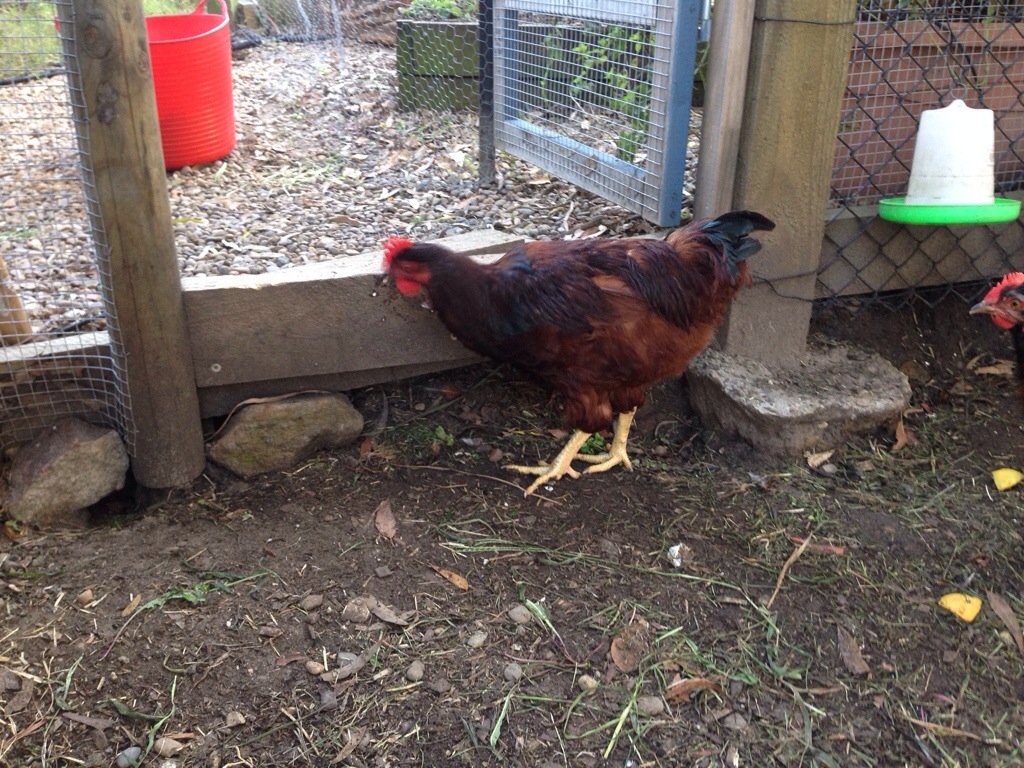
3.ย  Dogs or cats?

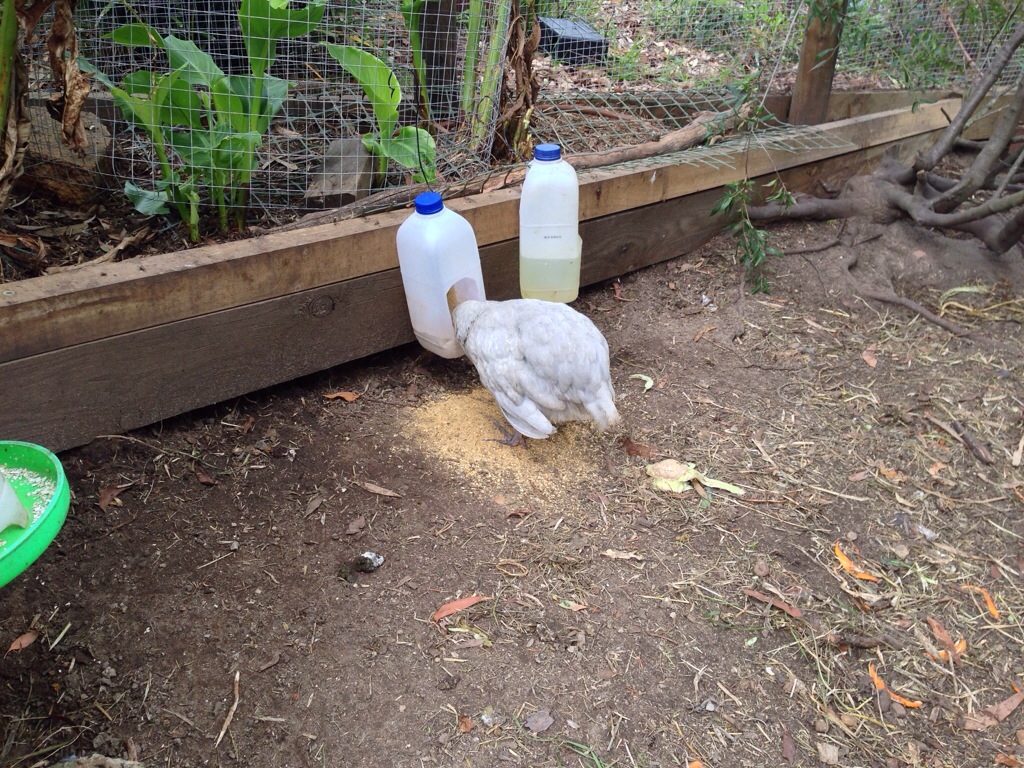
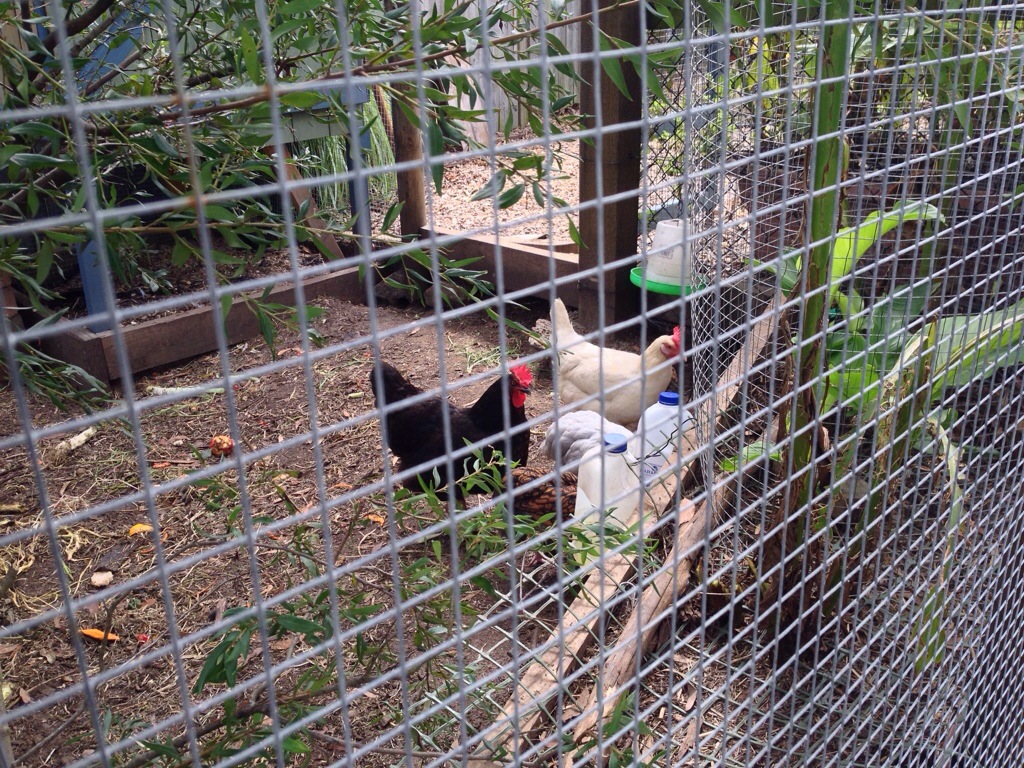
Chickens! Oh, cheeky. No, I’m a cat person, though we don’t keep one here. There are too many native birds and wildlife here to introduce a cat into the mix. Feral cats are a real problem in the Australian bush. So I commune with neighbourhood cats instead. ๐Ÿ™‚

4.ย  What is your favorite TV show?

Ooh, tricky. We don’t watch commercial TV so the shows we choose to watch are always hand-picked. We are watching Elementary, Sherlock, Miss Fisher’s Detectice Agency, Midsomer Murders. Agents of Shield. Doctor Who. Of all these shows, Doctor Who comes on free-to-air but we choose to buy it on iTunes because we get the best quality that way. So: Doctor Who!

5.ย  What is a weird talent you have?

I can wiggle my left ear lobe up and down. ๐Ÿ™‚

6.ย  Is your blog a secret from family and friends or do you share?

I think many of my subscribers are family members. Mum and Dad and Isobel get the posts in their email inboxes. Stephen reads via feedly ๐Ÿ™‚

7.ย  What household chore do you hate the most?

Without a doubt: cleaning the shower cubicle. Absolutely hate this. So much grout to clean! Urgh, subway tile is a pain. And the floor is federation tile (lots of small pieces, but laid in out dodgy with … lots of grout).

8.ย  What kind of future posts can we expect to see from you?
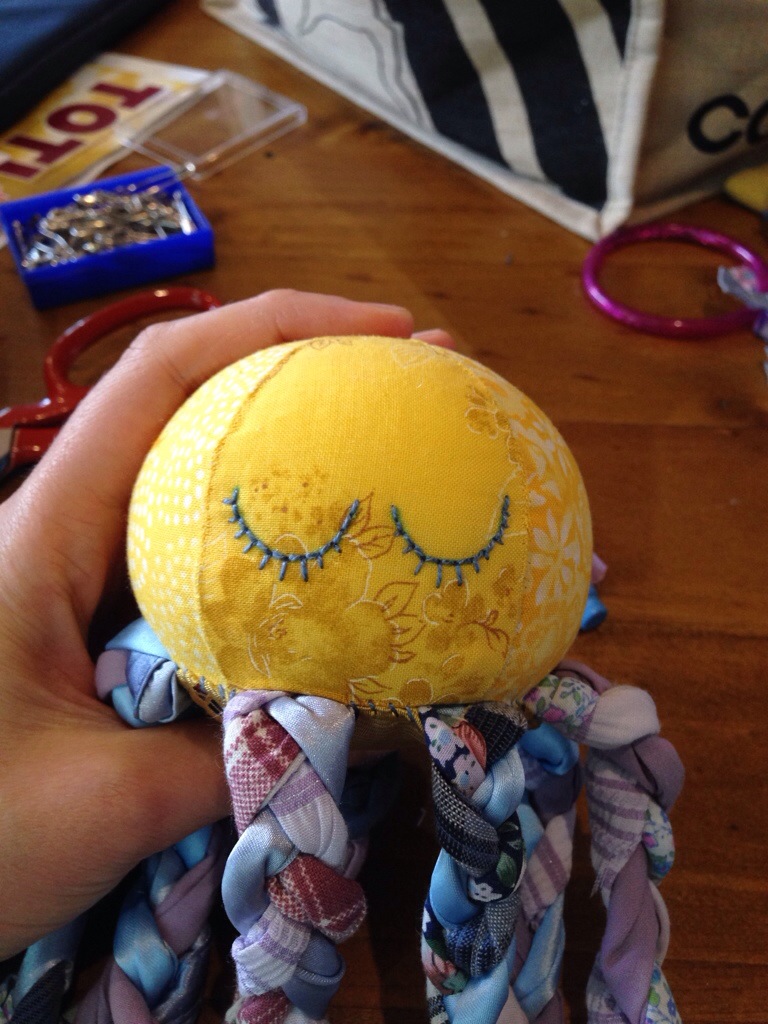
Much of the same kind of thing. ๐Ÿ™‚ My categories are fairly indicative of what I intend to post. Occasional tips for reducing debt or saving money, or ideas for upcycling, or galleries of the garden. Something I haven’t yet done a post on is my medieval re-enactment hobby. I have a big yearly event coming up that I’m starting to sew for, so expect something different in the Handmade department in the next month or so. ๐Ÿ™‚

9.ย  If you had to move to another country RIGHT NOW what country would you pick and why?

The UK – I think it would be my favourite climate type (temperate) and I would have a wonderful time exploring an area that has a lot of medieval history. Or France. Or Germany. ๐Ÿ™‚

10.ย  Do you have a passport?ย  If so, what stamps are in it?

I did have a passport, but it’s expired now. Most recently I travelled to San Jose and New Jersey on business, but that was ten years ago now! Before that I’ve seen Bali and New Caledonia, and back in High School I travelled to Japan. These days I aspire to travel within my own country to see some wonders that may not be around for much longer (the Great Barrier Reef and Tasmania are on my actual list for “one day”).

Nominations

The next part of the award conditions are to nominate five small blogs. I’m having trouble with this part, because a lot of the blogs I would nominate have already received the award, and I don’t want to tag you back again! It turns out I also mostly follow blogs with large followings.

So in the spirit of the award, I’m going to list some blogs that I think worthy of encouragement, or that I think would be great for you to add to your reading list / community. These bloggers are under absolutely no obligation to accept the award! Basically, this is a shout out that you are doing a lovely job, not an obligation. ๐Ÿ™‚

In no particular order, I give you:

You guys are doing great work, I hope you keep it up! If you choose to accept the award (and again: do say “thanks, but no thanks!” if you want! I really won’t be offended!) then I have only a couple of questions to pose:

  1. Where do you see yourself in 6 months time? What are you dreaming of doing?
  2. Do you have any wisdom that has been passed down to you from a previous generation that you’d like to share?
  3. What superpower would you choose?

Thank you for the honour, Jill of Mended Wheels, and Sarah of Life in the Orchard. I’m touched that you would think of me in your list of nominees. ๐Ÿ™‚

New chicks on the block

Today I took our Rhode Island Red rooster (Rose) back to the breeder, and swapped her for two new little chickens — this time, hopefully both hens!

Ducks greeting Rose
Curious ducks came to say hello to Rose

As soon as I arrived, Rose was welcomed back into the flock by three curious free-ranging ducks. Awwww. I may have been feeling a little sentimental, as I’ve become quite attached to Rose, but I thought this was a sweet gesture!

The breeder took Rose into a larger caged area where she can presumably be checked for illness before being re-introduced into the flock. I say ‘she’ ย … you know what I mean! I said farewell to Rose with a big lump in my throat, but it turned out I didn’t need the hankie I packed. Phew! Rose promised me faithfully that she would father many chicks. (… You know what I mean!)

I decided to get a couple of smaller chicks this time, to give us a chance to get to know them whilst they are still snuggly, since there is no urgency for more eggs. These two little girls I picked out are so snuggly!ย Please meet Cricket and Charlotte:

These two are about fifteen weeks old, and are still so young they go “Cheep! Cheep! Cheep!”. Once I had them in the car, they started purring (which is a chicken thing, but not like a cat. They go “brrrrrrrr” … so cute!) and talked to me on the way home. Well, Cricket did (hence her name!) but Charlotte fell asleep.

Chicks in their going-home basket
Ready to go home

An hour later, I unloaded them into the coop, but I kept them inside the cage for a bit so that the other chookies could get used to their presence. Meanwhile I put together a new temporary drinker and feeder so that there is more than one place to get a bite to eat: these little chicks might be denied food by the older hens, so having stations in two separate locations gives them a chance to get something to eat and drink.

All the hens getting to know each other
The three older hens came straight up to check out the chicks

Turns out I could let them out after only twenty minutes, and they are running reasonably happily with the other hens! Within moments Cricket was out foraging in the orchard, shoulder-to-shoulder with Harriet, who last time was so cranky with Rose. (!) Thank goodness she doesn’t seem to be so down on these two!

She and Raven are asserting their authority, though, so I’ve been sitting in the coop and taking photos for about an hour. And some videos! These little chicks are so cute! Charlotte headed straight for the dirt bath corner and is doing a great impression of Chicken-Experiencing-An-Indelicate-Moment. Trust me, she isn’t dead! She’s just scrabbling around to get her head thoroughly dusty. ๐Ÿ˜€

Charlotte dust bathing
Charlotte bathes in the dust whilst Cricket walks on top of her!

Cricket is quite happy to go adventuring around the orchard, and is easily able to dance out of the way of the bigger girls. She also peered up into the nest boxes to watch Harriet lay her egg. That must have been unnerving!

Meanwhile Charlotte is a little sleepy, but has time to get her head well into the food trough:

Charlotte pigging out at the feeder
Gotta eat whilst the eating’s good!

Apparently the Orpington will grow to be a heavy, round bird. Seems Charlotte is off on a head start!

Raven and Cricket hanging in the orchard
Raven and Cricket just chilling out

The older hens appear to be letting the little ones eat and drink, and there’s not much pecking going on. I’ve retreated to the balcony so I can keep an eye out, but things look pretty good for flock integration.

Older chickens letting the little ones feed
The older two are letting the little ones eat first

I hope the little ones can perch tonight! If not we will make up a chick-house tomorrow using the old chick-house roof (from when Harriet and Raven were babes, awww).

Sheesh, still feeling sentimental. Have a great weekend, everyone. ๐Ÿ™‚

Thinking outside the (compost) box

Hi everyone! Today I wanted to show you how much food scrap waste is generated by a small pre-school in one day:

Large bucket of food waste
That’s a big bucket of waste!

That’s a 5 Litre container, and it is almost full! This is mainly fruit peel from morning tea time, but there is also leftover fruit, and quite a bit of lunch scraps (mainly white bread, sadly!).

Wondering what I’m doing with it?

I’m going to give much of it to the chickens, so that they can scratch through and find any good bits in amongst all the scraps.

First I will be removing a good chunk of the white bread though, as white bread is not very healthy for chooks — it just replaces fills them up with junk food and replaces the better grains and nutrition that we give in their layer mash. Much like little humans, really!

Once the chickens have had their scratch, I rake out the remainders and put the whole lot into our compost bin. The chickens break it up a little and manure the whole lot, so what we add to the compost is nicely “activated” and will give the whole heap a nice kick in the pants.ย 

Chickens scratching over scraps
Harriet and Matilda happily scratching over scraps

I also bring home scraps from play group, although we don’t generate nearly as much waste. Can you imagine how quickly your little red bin would fill up if you generated a whole bucket of food scraps every day? I’m very pleased to be importing the waste from outside my home so that it can avoid going to landfill, and instead fill up my compost heap!

Now it’s your turn!

If you have a compost heap, why not try taking a bucket to your workplace with a nice big label on it, and let your co-workers feed your heap for you? Or perhaps you have a local cafe nearby who doesn’t have any plan for their waste?

I asked up and down the highway near my house, but the coffee shop is already very “green” and composts their own waste, and apparently the Subway doesn’t generate any scraps — which I find a little hard to believe! ย But what am I gonna do — dive in their dumpster to check? ๐Ÿ™‚

I challenge you to think outside your own compost boxes, and brainstorm a few places you might be able to get hold of some free compost. Document any ideas on this thread, and better still — I’d love to hear some stories of how you get hold of extra compostable waste!

Felt Cupcakes

Just a quick one today to show off some felt cupcakes I made for birthday presents! There is a pink set for Evie, and a purple set for her cousin. Both are turning two in March! These cupcakes will go with the teabags I made a couple of weeks ago. I’m also making up a bag of felt “sweeties” for my niece, but I have to finish them tonight! The clock is ticking to get them in the post in time for her birthday. ๐Ÿ™‚

Rotating some crops

With my youngest daughter in preschool today — for the first time ever! — I found myself with a bunch of quiet time at home. It’s amazing what garden sounds you can suddenly hear when there is total peace and quiet in the house! I wandered through the garden taking some photographs and doing a bit of this and that.

Before I dive into a gallery of random garden snapshots, I thought I’d just point out a few photos of our crop rotation in action. Here is our garden bed that has been growing a spontaneous patch of tomatoes this summer (with the asparagus behind):

The tomatoes in this bed are starting to look a bit ragged
The tomatoes in this bed were starting to look a bit ragged

And here it is now with the straggly old tomato plants removed, and a couple of new rows of broccoli seedlings along the front:

Broccoli seedlings
Broccoli seedlings where the tomatoes were growing

Autumn is our main season for crop rotation. Many plants get old and sad at the end of our summer, so it is a natural time for the garden bed to be refreshed. We like to switch plants each year so that we avoid growing certain plants twice in the same patch.

Last Spring the tomatoes were a surprise in this bed (many just came up by themselves when we pulled out the strawberries and we let them grow). We’ve also decided to grow some winter potatoes this year (which we don’t usually do). We had to put those potatoes somewhere, and they ended up going into this bed, on the left hand side:

Potatoes buried in trenches
The trenches are where the potatoes are buried.

Potatoes and tomatoes are in the same family and it’s not great to put them one after the other … but there’s only so much you can do in a backyard, with limited space!

The other tomatoes in their “proper” location are still producing okay:

But all those beds are looking pretty tired and worn out! The pumpkins in the left bed are maturing, but looking ratty, and the old broccoli is finished seeding. The climbing beans on the right hand bed are also finished, and it looks time to get them out and replaced with something new. Each of these beds is supposed to rotate one hop to the left each autumn, but we’re still working out the details (after four years!).

“One hop left” means the tomatoes (currently in the middle bed) will grow in the left hand bed for next summer. The pumpkins are already as “left” as they can go, so they will scoot over to the righthand bed next summer, where the beans have been growing this year.

Make sense? It’s a little hard to get your head around. I used to draw pictures with arrows and make plans … now we worry less about where things are “supposed to go”, and aim to plant where we have space coming up, and trying not to plant the same type of crop as previously.

I will write more on how our garden beds are set up (it’s complicated!), but for now we haven’t rotated any other crops. And there is more to see from our garden today! I’ll let the pictures do the rest of the talking. ๐Ÿ™‚

Keep frozens fresh by blanching

Whenever I have an excess of vegetable that will spoil and can be frozen, I prefer to blanch first.

What’s blanching? Basically, you plunge the vegetables into boiling water for a minute or so, and then plunge them into ice water to stop them cooking any further.

I freeze a bunch of vegetables this way, most often:

  • Fresh corn – loses flavour fast, and I tend to forget after the first day in the fridge how long it has been. So I blanch a bunch of cut corn if we don’t eat it the same day. Well, mostly. ๐Ÿ™‚
  • Broad beans – although these have an outer shell, they still benefit from blanching. I rarely use these on the day we harvest, and we get a *lot* at once, hence the freezing.
  • Celery – I only do this if the celery is likely to go bad. For example, I got the celery on the cheap and it looks a bit suspicious! Otherwise I store on the counter in a glass of water with the bottoms cut off.

At first I figured that blanching was a bit of a nuisance extra step, and just froze my vegetables straight from the garden. But I noticed with the broad beans and celery that after a few months, the celery (particularly) would be quite brown compared to when it was just frozen. Blanching is supposed to improve the colour, flavour, and texture of frozen foods. So I gave it a try. ๐Ÿ™‚

Now it takes many months in the freezer before I start seeing browning. Great! This is enough to motivate me to do it every time. I like adding frozen celery to soups and stews, and it’s much less appetising for the food to look old and brown, even if it is still nutritious!

How to do it

First, prepare your vegetables for the freezer. I like to dice my celery for soups and stews:

Diced celery

Then, get a suitable sized saucepan boiling vigorously on the stove.

Boil vigorously

At the same time, prepare a big bowl or small sink of water, with a bunch of ice blocks.

Iced water

Take your prepared vegetables, and plunge them into the water. I think I used too much in one batch this time: it took a while to come back to the boil. You really want it to boil vigorously again in under a minute.

Bring back to the boil
Note: not really boiling vigorously!

Once the water is boiling again, wait another minute or so – until the vegetable looks brighter in colour. Some veg takes longer, so if you want to take some proper advice, try this article, with the recommended times for each type of veg.

Once the short time is up, take the vegetables out of the boiling water, and straight into the read-made ice water bath. Give them a good swirl around so they cool quickly.

Cool quickly in the ice water

All you need to do now is dry them on a tea towel to remove as much moisture as possible (they will freeze better and stick to each other less if they are dry). Then you can snap freeze them on a tray or just go straight into their box for storage in the freezer.

Celery after blanching
After blanching, the celery is greener in colour


Drying veg on a tea towel
Dry the vegetables on a tea towel or two before freezing

Done. ๐Ÿ™‚

Octopus Tutorial: Cover that Tush!

Welcome to part three of my series on making a softie octopus. By now you have constructed the body, and made eight plaited scrappy legs. In this tutorial I will show you how to attach those legs to the body, and “cover that tush”! ๐Ÿ™‚

Preparation

There are two quick things you need to do before we get started today. First let’s have a look at what we are aiming to accomplish:

Bottom of the octopus covering the legs
Bottom’s Up!

We are going to attach the legs and then cover the join with a piece of fabric that matches the body of the octopus (or, alternatively, matching the legs). You might remember picking out the body fabrics and having one piece left over: that’s what this is for! I’ve used a piece of a man’s tie as my coordinating fabric. It can be whatever you like. ๐Ÿ™‚ The other thing you need to do is to trim the excess fabric away from your legs, and decide which way “up” they will go. The top of the plait needs to be secured with thread instead of a safety pin.

Secure the tops of the legs where the safety pin was.

Once you have secured each leg, we are ready to begin.

Attach the legs

With the body piece in your off-hand, bottom-side up, take each leg and attach it with a safety pin in a circular arrangement:

Legs attached in a ring shape
Attach the legs in a ring around the bottom of the octopus

I start with the first leg in a random location, then I do one opposite. If you imagine an invisible line joining up these two legs, you’ve now divided the body in half. I attach the next two legs on opposite sides of this line, so I have four legs, equally spaced (roughly). Then I pin each remaining leg about half way between the ones I’ve already done. If you are like me, you will have to fiddle with the placement a little to make room for all the legs. They are surprisingly bulky! If there are knobbly bits getting in the way, you can do a bit more trimming to make some room. Just don’t cut up your stitches holding the tops of the legs together. ๐Ÿ™‚ Once you are happy with the placement, it is time to stitch the legs on. With a piece of ordinary sewing thread, take a few stitches in the one spot, catching the body fabric and the side of the leg in a diagonal stitch, like so:

Stitching the legs to the body
Stitch each leg to the body

This is basically tacking the side of the leg to the body nice and firmly. Once that side of the leg is done, do the same thing on the other side, with a similar diagonal stitch. Go over it a couple of times to make sure it’s really secure. Remove the safety pin and give it a good tugging. If it holds: great! Time to move over to the next leg. Repeat this until you don’t have any legs attached with safety pins. ๐Ÿ™‚

Prepare the bottom piece

Now measure the size of the ring you have just created. I tried a bunch of circular objects like small bowls, glasses and so on before I found something that was just the right size:

Child's bangle is the right size
This child’s bangle was just right

Use the object to cut out a circle of stiff fabric (such as old denim or canvas):

Then use the denim to cut out the “fashion fabric” you selected earlier:

Cut a larger circle
Cut this circle larger, with about a 1/2 inch allowance all round

This next step is a little like the paper piecing template preparation from when you made the body. The denim is not stiff enough to sew across from side to side, though, so instead take a thread and go round the seam allowance:

Running stitches around the edge
Make a running stitch all around the edge, about halfway through the allowance.

Use a safety pin in the centre to make sure your fabrics don’t slip about (especially if you used tie silk like mine!) ๐Ÿ™‚ Pull up the thread to cause the allowance to gather up and fold over the denim:

Gathered outer fabric curled over the denim
All gathered up ready to use

Take the safety pin out and then place the “bottom” over the legs, with the raw edges facing down:

Once you have the piece secured to your liking, it’s time to stitch it down. I used a piece of sturdy thread for this (no. 8 perle cotton, in fact). It doesn’t need to beย that strong, but I like the decorative look of the stitching. You want it to be sturdy to cope with the legs being pulled on.

Starting stitches to anchor thread
Make a few stitches in place to start off the thread

First make a few stitches on the underside of the “bottom” to anchor your thread. Then whip stitch all around the edge, taking at least three stitches on the body between each leg. It won’t hurt to reinforce the stitches on the body that are right next to each leg, if you like.

Whip-stitching around the bottom
Take a few extra stitches next to each leg, for strength

Once you have gone all the way around, secure the end of your thread with a few more stitches in place, and then push the needle through to the centre of the bottom, like so:

Bottom of the octopus covering the legs
Trim this and you’ve buried your thread end ๐Ÿ™‚

Trim the thread, and that’s it for attaching the legs! Nice work ๐Ÿ™‚ Now might be a good time to put a little face onto the body, though, so stick around a little longer. I like to draw some closed eyes on my softies, it gives them a peaceful look, and is pretty easy to do! Fiddling about with pupils and eye shapes can be really hard to get looking right! Take a piece of scrap or paper and draw a couple of half-circles next to each other.

Test fitting the eyes
Compare your eyes for shape and size with the body piece

I held mine up against the softie to see if the placement was right. I then used the guide to draw directly onto the softie face, replicating the curves and size. You could transfer your eyes using whatever technique is your favourite (pins, transfer wax paper, whatever you like). I find the eyes simple to do, so I’m happy to just draw straight onto the face with a washable marker.

Now take some embroidery floss or perle cotton, and anchor your thread inside the gap between a nearby leg:

Anchoring the thread
Anchor the thread in a gap between the leg and body

Then make a line of backstitches over the top of your marks:

Backstitching the eyes

When you get to the end, go back along the line and fill between each stitch to represent eye lashes. I use short stitches at the edges, and long ones in the middle of each eye:

Finished eyes
Face complete!

To finish off the thread, push the needle back out somewhere on the underside – perhaps another leg gap if you can manage it. Then you can anchor the thread somewhere hidden.

Now your octopus is looking pretty good! He just needs some booties, and he will soon be finished!

Rooster, or Hen?

We’ve been waiting for a couple of months now to determine whether the Rhode Island Red chicken we bought at the end of January is, in fact, a hen. She was sold to us as a hen, but we always wondered. Last weekend he heard a distinctively different sound from the chicken coop and wondered if this was in fact the moment of truth: a proto crow? But no, nothing since.

Rose, our mysterious chook
Rose, standing momentarily still!

So, here is a list of observations that make us suspect that “Rose” is either Rooster, or Hen:

  • She has never laid an egg. Not very conclusive! But if we had an egg, we could rule out Roo :). Since we purchased her as a 30 week hen, by now she’s going on for … 38 weeks or so. Basically 9 months. That’s quite old! But not unheard of for a RIR to start laying.
  • She walks like a hen – not upright like a rooster, but runs skittishly around the coop and is the lowest in the pecking order. She is a submissive and easily spooked chicken! None of this behaviour seems much like a rooster, who is supposed to be protective of the flock.
  • She has no tail feathers, but is starting to grow some. They look a little droopy, like a rooster would have, and glossy black. We think this might be a more definitive sign of being a rooster. It’s happening slowly, though!
  • It looks very much like she is developing saddle feathers (those at the back of her body, before her tail). That’s a Roo-thing.
  • She has a nice red wattle and comb, and yet she isn’t laying. Apparently that’s also quite a rooster-y characteristic.
  • She’s a big ‘un! Very tall, and her legs are stocky, strong. But she’s not plump sideways like our really big hens have been.
  • She has lumpier spur lumps than the other hens (check out that picture above … not much there). Given the size of her feet, though, that could just be a size thing. So far, no obvious spur development going on.
  • Her neck feathers are starting to look long and swishy – like a rooster plume. But she doesn’t puff her neck feathers out at anyone.
  • She once gave a hairy eye to another chicken (maybe twice) and we’ve never seen that before between our hens. Apparently a rooster will puff out the neck feathers when facing off like this. She didn’t …
  • She doesn’t crow … yet. Our boss-hen Raven used to crow for a few months, but always sounded like a loud hen. Sometimes they do this after they get an upset (it was right after another hen had died, and a Brush Turkey came stomping on their coop). But a RIR rooster can start crowing at about 11 weeks … so … ??? Maybe if she’s a he, he’s just not dominant enough to crow.
  • Most RIR roosters will be showing decidedly male characteristics (the pretty tail, crowing, spur development) by twenty weeks. We’re at double that now, and still not sure … so. Hen?

Totally puzzled on this one. It’s very annoying to have to return a rooster and exchange for a hen – we will need to introduce two new hens at once, and we are attached to our odd little Rose. Matilda and Rose are BFF at the moment. So sweet! And yet … to be raising someone else’s rooster for them is a bit galling too! And we aren’t getting any eggs from her, meantime … *sigh*.

I think I might have to shoot this one out onto the Backyard Chickens forum. So far my best guess is that we have a Rooster who thinks he’s a Hen. Trans-gender chookie? What’s your guess?

Update: It’s unanimous! The folks at Backyard Chickens say it’s a “he”. :-/

Tips for laundering collared shirts

Wow, exciting post, huh? But seriously, this tip was a major win for me when I discovered it.

I’ve been using home-made laundry liquid for about a year now. It’s so, so much cheaper than using ready-made liquid or powder. And it’s pretty quick and easy to make!

After a few months of trying my own liquid I decided to stick with it. Shortly after that, my husband started wearing collared shirts to work. Yay for me! He looks great in collared shirts (as opposed to t-shirts, which he also looks good in, but not exactly “smart” if you know what I mean). On the flip side, there’s more laundry work involved in collared shirts. And ironing! Hmm, well I don’t iron them anymore, and he seems to be coping. ๐Ÿ˜€

Dirty shirt collar
Dirty shirt collar

I found after only a couple of washes that the collars and sometimes the cuffs would get dirty and grey where the fabric rubs a lot against the skin. Let’s not go into what causes this, shall we, and skip right ahead to how I deal with it. ๐Ÿ™‚

A measure of laundry liquid ready to go

First up, I measure out my 1/2 cup of laundry liquid that I usually add to every wash (this is a very small teacup). Then I take an old toothbrush, dip it in, and scrub along the areas where I know the grey dirt builds up.

Rubbing with a toothbrush
Rub the dirty area well with the toothbrush

It only takes a minute to do a shirt. I will often also scrub the tag, because those are mostly polyester and tend to get dirty faster than the shirt itself.

Tags get dirty too
The tag often gets dirtier than the shirt

I also check the cuffs at the same time, especially if they require cuff links. This particular shirt seems to get dirty faster than the others he owns, and the cuffs need a scrub today.

Check the cuffs too
These cuffs also need a quick scrub

Once I’ve done each shirt I poke it into my front loader and move on to the next one. I wash on the “easy-care” cycle (hoping to avoid some ironing, and assuming it is a gentler cycle). Handkerchiefs and other delicates go in with the load, but I make sure not to put too much into the drum, otherwise it just doesn’t wash well.

I tip the rest of the teacup into the laundry liquid slot on my machine, and wash on cold. This gets those marks out of his shirts every time! And since I do this every wash, I have to squint to see the grey marks that appear after only one wear. I guess it’s one of those jobs that’s easier if you keep on top of it ๐Ÿ™‚

I find this toothbrush technique works really well on other stains too:

  • blood (always use cold water when laundering these stains),
  • washable markers
  • chocolate
  • light mud soiling, etc.

I dry collared shirts in sunlight, on a hanger. I find this means I rarely have to iron the shirts because any wrinkles fall out under the weight of the damp cloth. Most shirts labelled “Easy-care” work well for this, but the mostly-cotton shirts do okay as well. I find the easy-care shirts suffer more from the grey marks than the cotton ones.

So there you go – a simple tip that really helped me feel satisfied with my frugal laundry routine. I hope you find it useful too. ๐Ÿ™‚

It’s my birthday!

I’ve spent my day relaxing at home, nursing a cold, which means lots of archive binging on weaving sites. Why? Becauseย I’m really excited about this landing in my living room last weekend (no, not a birthday present!)

20140307-191316.jpg

This is a four-shaft loom I borrowed from a friend of mine. This is a huge upgrade on my previous set up, which was a zero-shaft tapestry frame. ๐Ÿ™‚

I’m hoping to use this to get my mum’s birthday present (from last year! Groan) finally sorted. So far, I’ve been stalled at the prototype phase. The reed I have access to is a 16-dent reed (I think this means 16 slots per inch … I think) which is probably not quite right for the warp thread I used on my prototype. I need to source something thinner to go through the narrower slots. After that … I’m home and hosed!

Well, maybe.

Pretty cool, huh?