
As promised in my last post, here begins a tutorial series on how to construct an octopus softie! For the first part, we will be looking at how to construct the body.
For this tutorial I’m going to concentrate on hand sewing, but I have previously used a sewing machine to assemble the body parts. I thought it would be fun to try English Paper Piecing to make this little fellow an entirely hand-sewn creation! That means you don’t need a sewing machine at all: just a needle and thread.
A Note on Materials and Colours
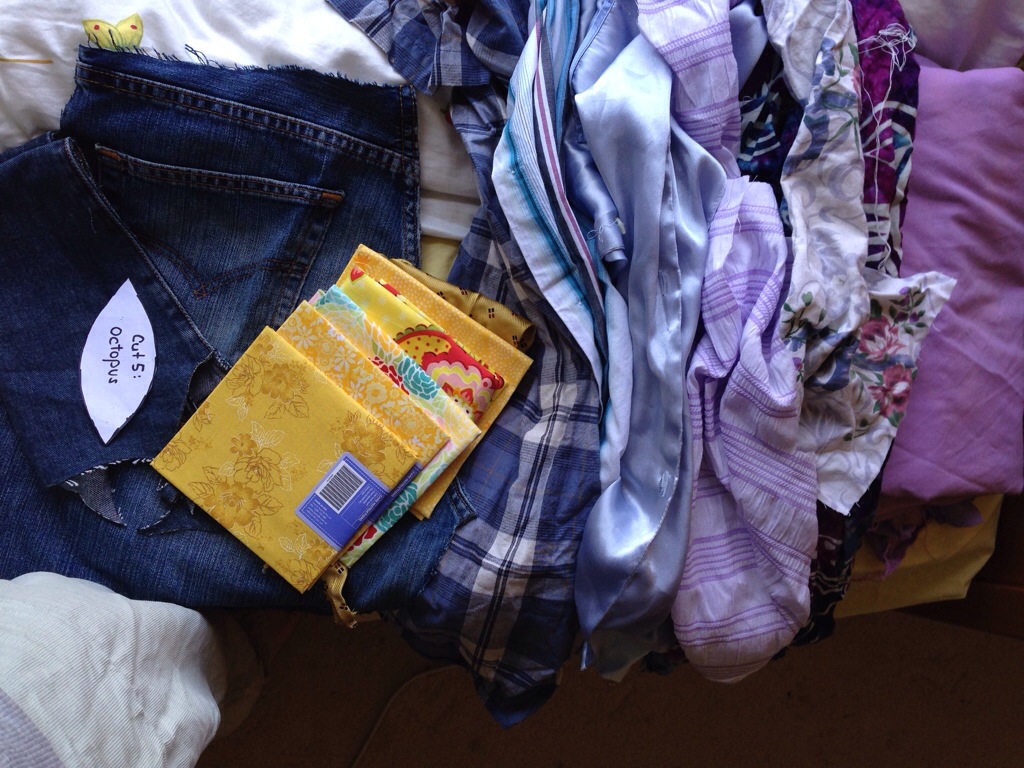
For the body: Choose 6 fabrics. Any scrappy fabrics will do, so long as they aren’t stretchy (like a knit). At least one of your fabrics should be low-volume print-wise, because you will be embroidering some eyes here. I prefer to choose very similar colours, but a rainbow would also be fun. 🙂 Five of these fabrics form the body, and the sixth goes on the bottom to cover the legs.
For the legs: Choose lightweight fabrics with a bit of scrunch, or slip. For example, cheesecloth, slippery nightie fabric, or an old t-shirt knit. Quilting quality cotton doesn’t work very well, as it is too stiff. For colours: go crazy! I find that using low-contrast colours for each leg works best (you will need three fabrics per leg). I make three strips from eight different fabrics and mix and match them.
For the booties: I chose some leftover blue linen, but I’ve also used denim cut from old jeans.
Other bits: A good firm fabric like heavy denim will also be needed for the “bottom” I mentioned earlier. And of course, you’ll need some stuffing – you could use leftover batting, or tiny scraps of fabric with fibrefill around it. Or just plain straight fibrefill. 🙂
Step One: Make templates
With English Paper Piecing you create a bunch of card stock (or heavy paper) templates that help stabilise your fabric as you sew. First you will need to make a paper one, and then trace it onto something stiffer, like so:
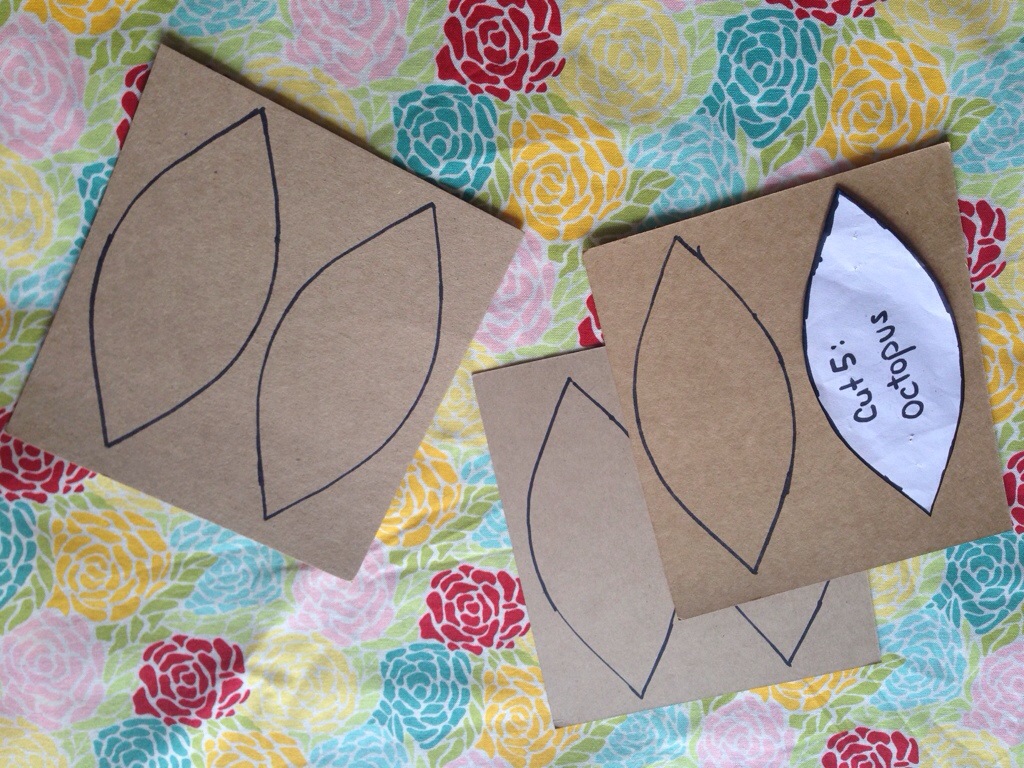
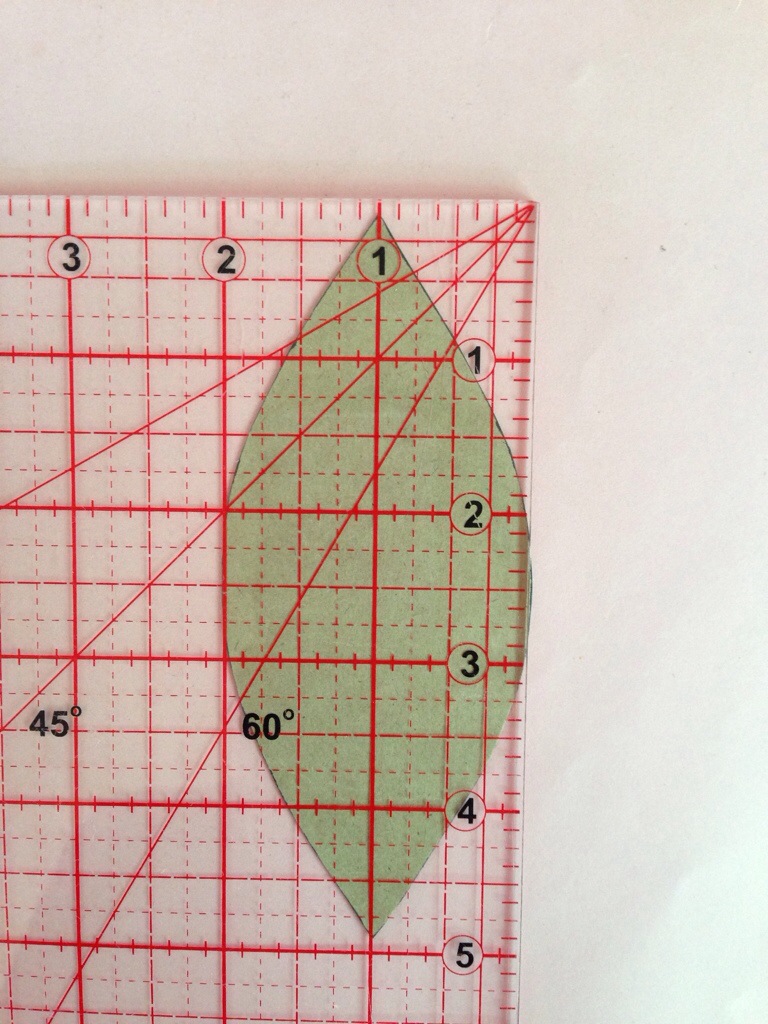
Your paper template should be about 5 inches long, and 2 inches wide. Here is my own template, underneath a grid (this may help you sketch your own). Aim for a gentle curve leading to a point at either end.
Step Two: Secure your fabrics
Next up, place each template onto the Wrong Side (WS) of each body fabric scrap, making sure you have about 1/2 and inch of overlap to secure with stitching. Cut it out, and then get a sturdy piece of thread (I used perle cotton, but it doesn’t need to be this heavy). You are going to stitch the fabric around the template so that it takes the right shape:
A few notes:
- Don’t stitch through the template, just catch a bit of the fabric itself.
- Avoid stitching too close to the edge of the fabric – you don’t want the thread pulling through the edge
- Use a nice even tension, not too tight, or your template may buckle up and it will be harder to sew later.
- This stitching will be cut later, so don’t worry about how it looks!
- It will use a surprising amount of thread because of zig-zagging back and forth.
When you get to the top of the template, fold the fabric around the top point in the same way, and secure with a few stitches.
Once you have five templates sewn up, arrange them like this:
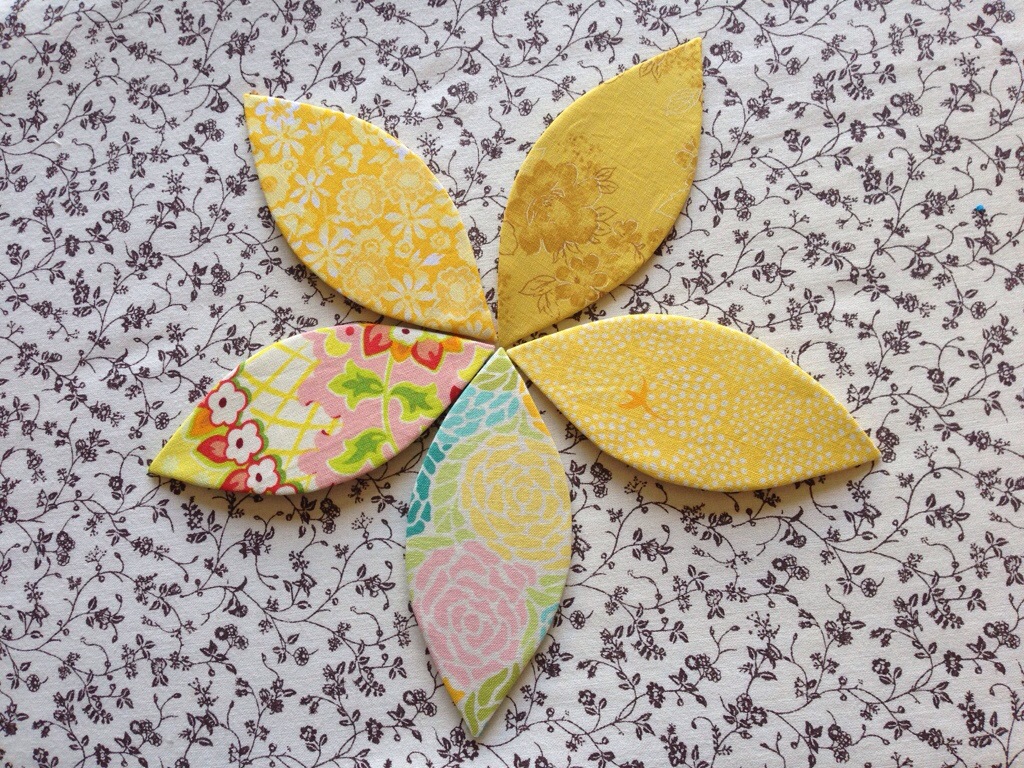
The centre of the flower will be the top of the octopus head. You might want to take a picture so you know which fabric goes where!
Step Three: Stitch together
Select two of your fabric templates and lay them side by side:
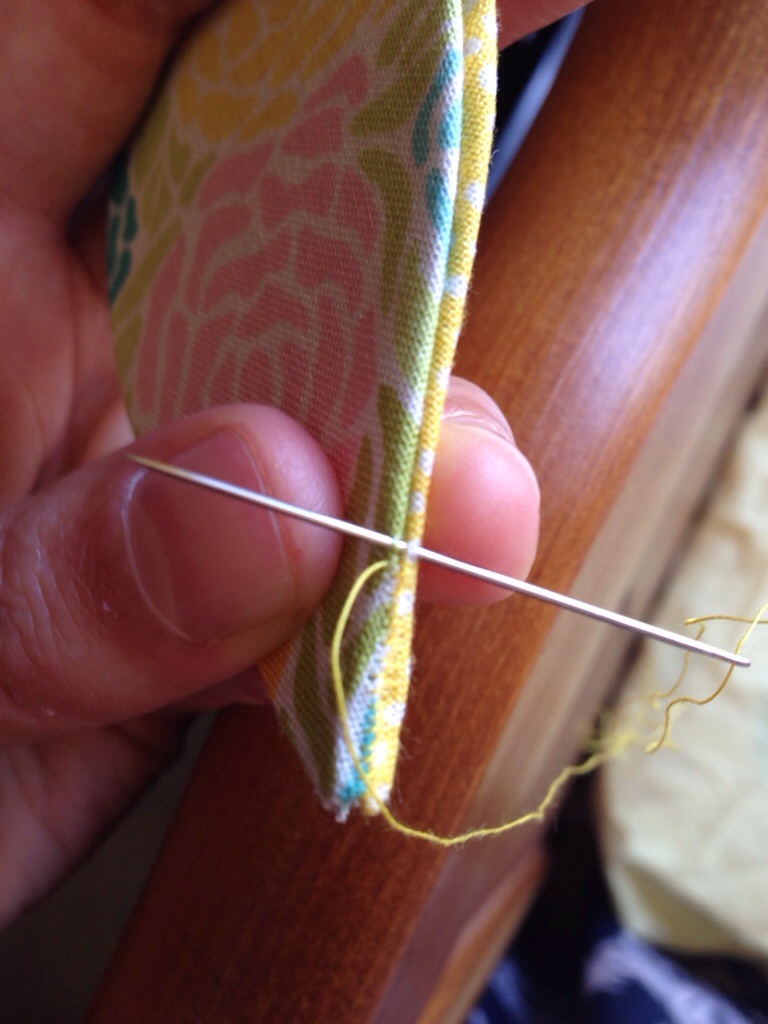
Take a couple of stitches at the bottom to secure your thread, then work up the spine of the template catching a few threads from each fabric. The smaller your stitches are together, the stronger your seam will be (and it will take longer to sew!). Keep going until you get to the top, then secure your thread again.
Now place the next fabric piece against the one you just attached. It is more awkward this time, because the curve of the template is already forcing a shape, a teardrop:
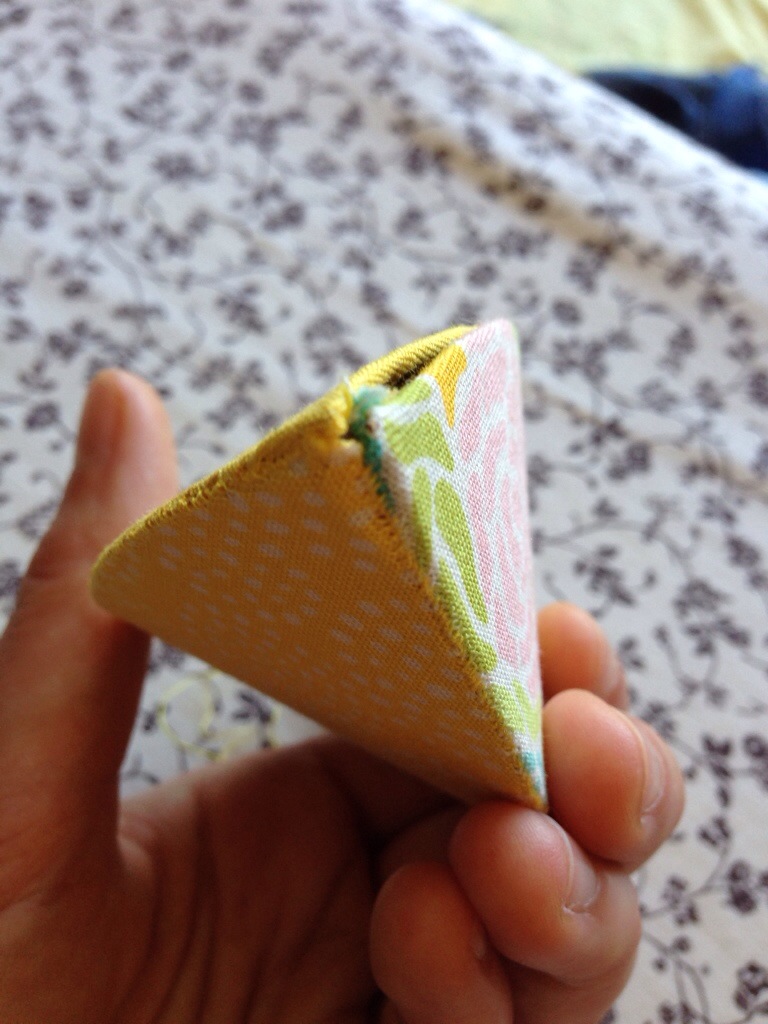
Here you can see I’ve already sewn this seam, and the three pieces naturally make a lovely teardrop shape (great for a Christmas decoration!). The most awkward places to sew are at the points, so try not to pull the fabric too much in these areas. It is reasonably forgiving when it is stuffed, though. 🙂
Once you’ve sewn up the second seam and have your own teardrop shape, you can push down on the points to make a hemisphere:
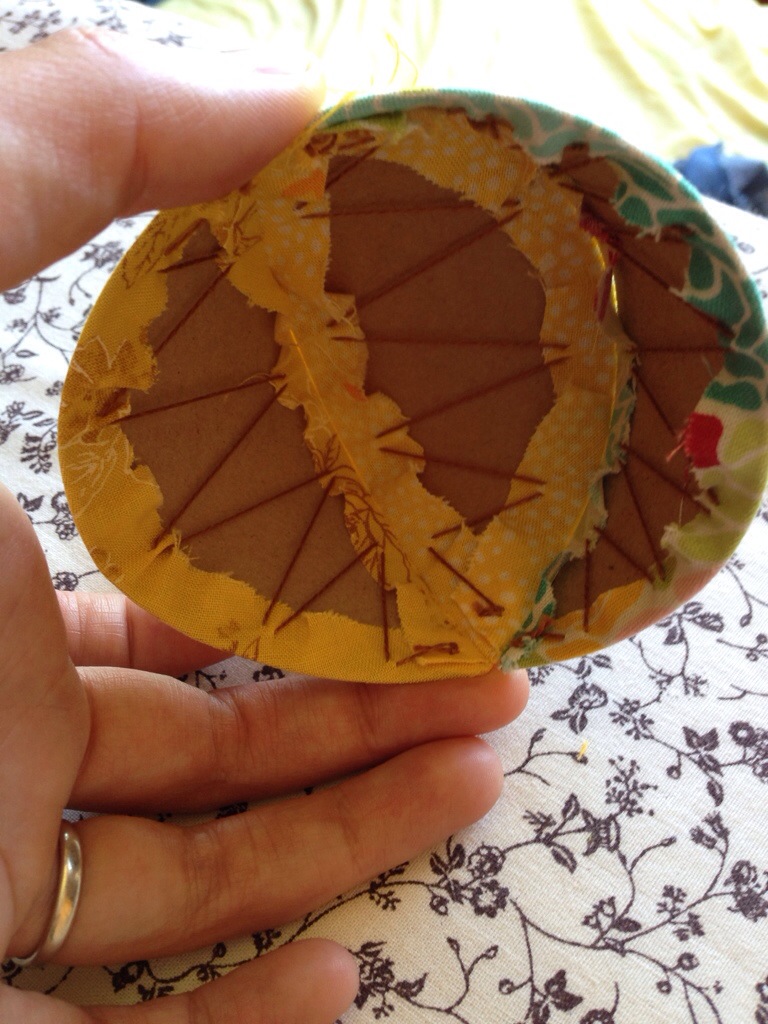
You are now going to remove the card piece from that middle template. This will make it easier to attach the next piece:
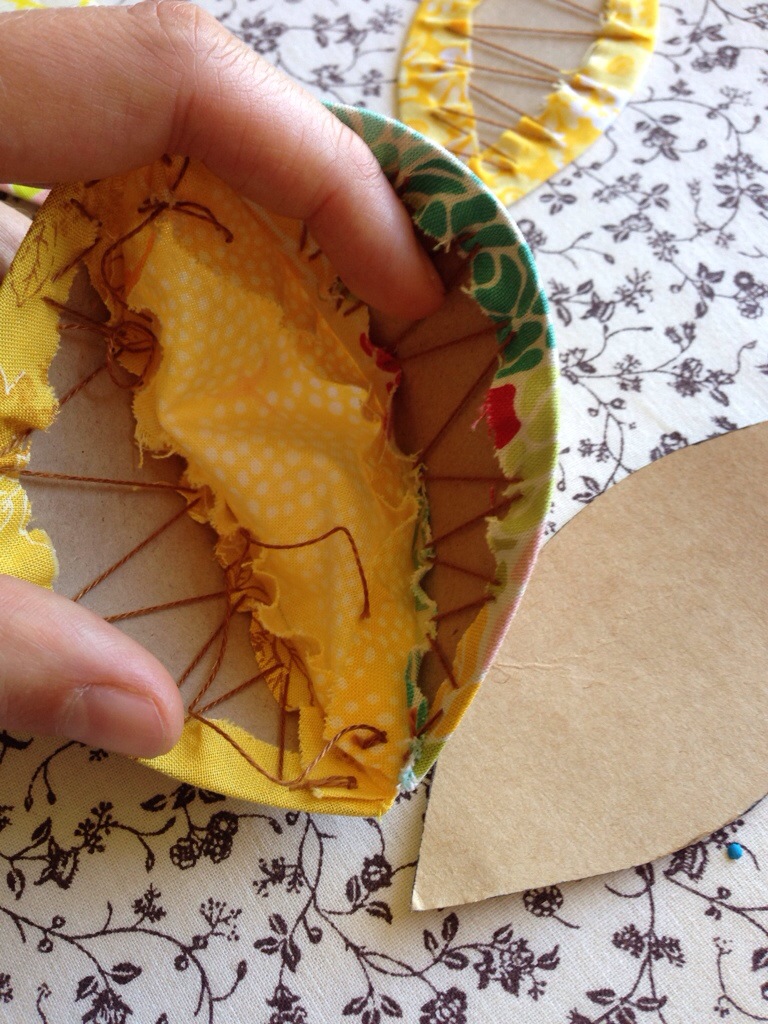
Now you keep repeating this last step, until you run out of pieces, i.e.:
- attach the next piece (forming a teardrop shape as you go),
- and then remove the middle card.
If you are in doubt as to which piece to remove the card from: it is always the one that has been completely sewn up. Don’t remove the card from any piece that still has a raw edge! 🙂
Once this (somewhat time consuming) process is complete, what you have is just one seam left to sew. Begin sewing in the same way you did the others, but stop about half way up. Now snip out the last two cards, and tidy up any leftover bits of thread. Stuff the opening with whatever you’ve chosen to fill with: fibrefill or batting around the casing and fabric scraps in the middle, if you are using any:
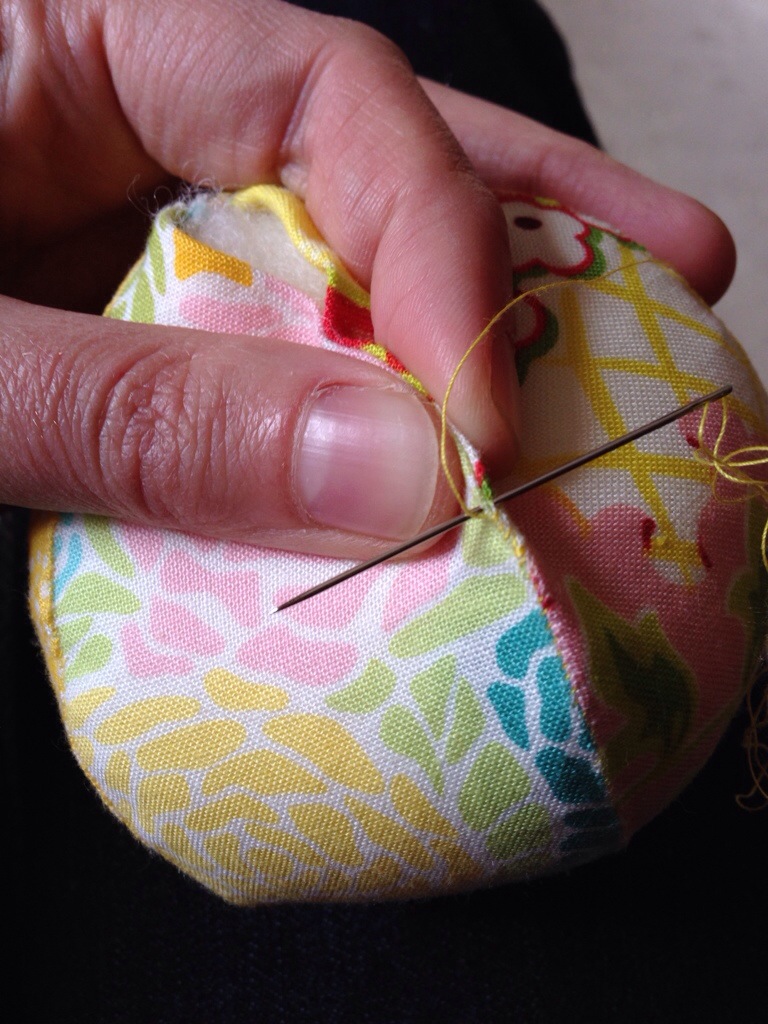
Now you can sew the rest of that seam, pinching the folded edges together. If you stuff too firmly, this will be difficult. I like to have a bit of squish in the final product:


And you are done!
In the next tutorial, I will show you how to make the wriggly plaited legs. 🙂
