Yeah, I know — sometimes I surprise even myself! Who knew that when I woke up this morning intending to put together some new kitchen curtains, that I wouldn’t need to even get out a pair of scissors? And yet … that’s just what I did. 😀
Because I feel like doing everything upside down tonight, let me jump straight to the before / after:


Noink!
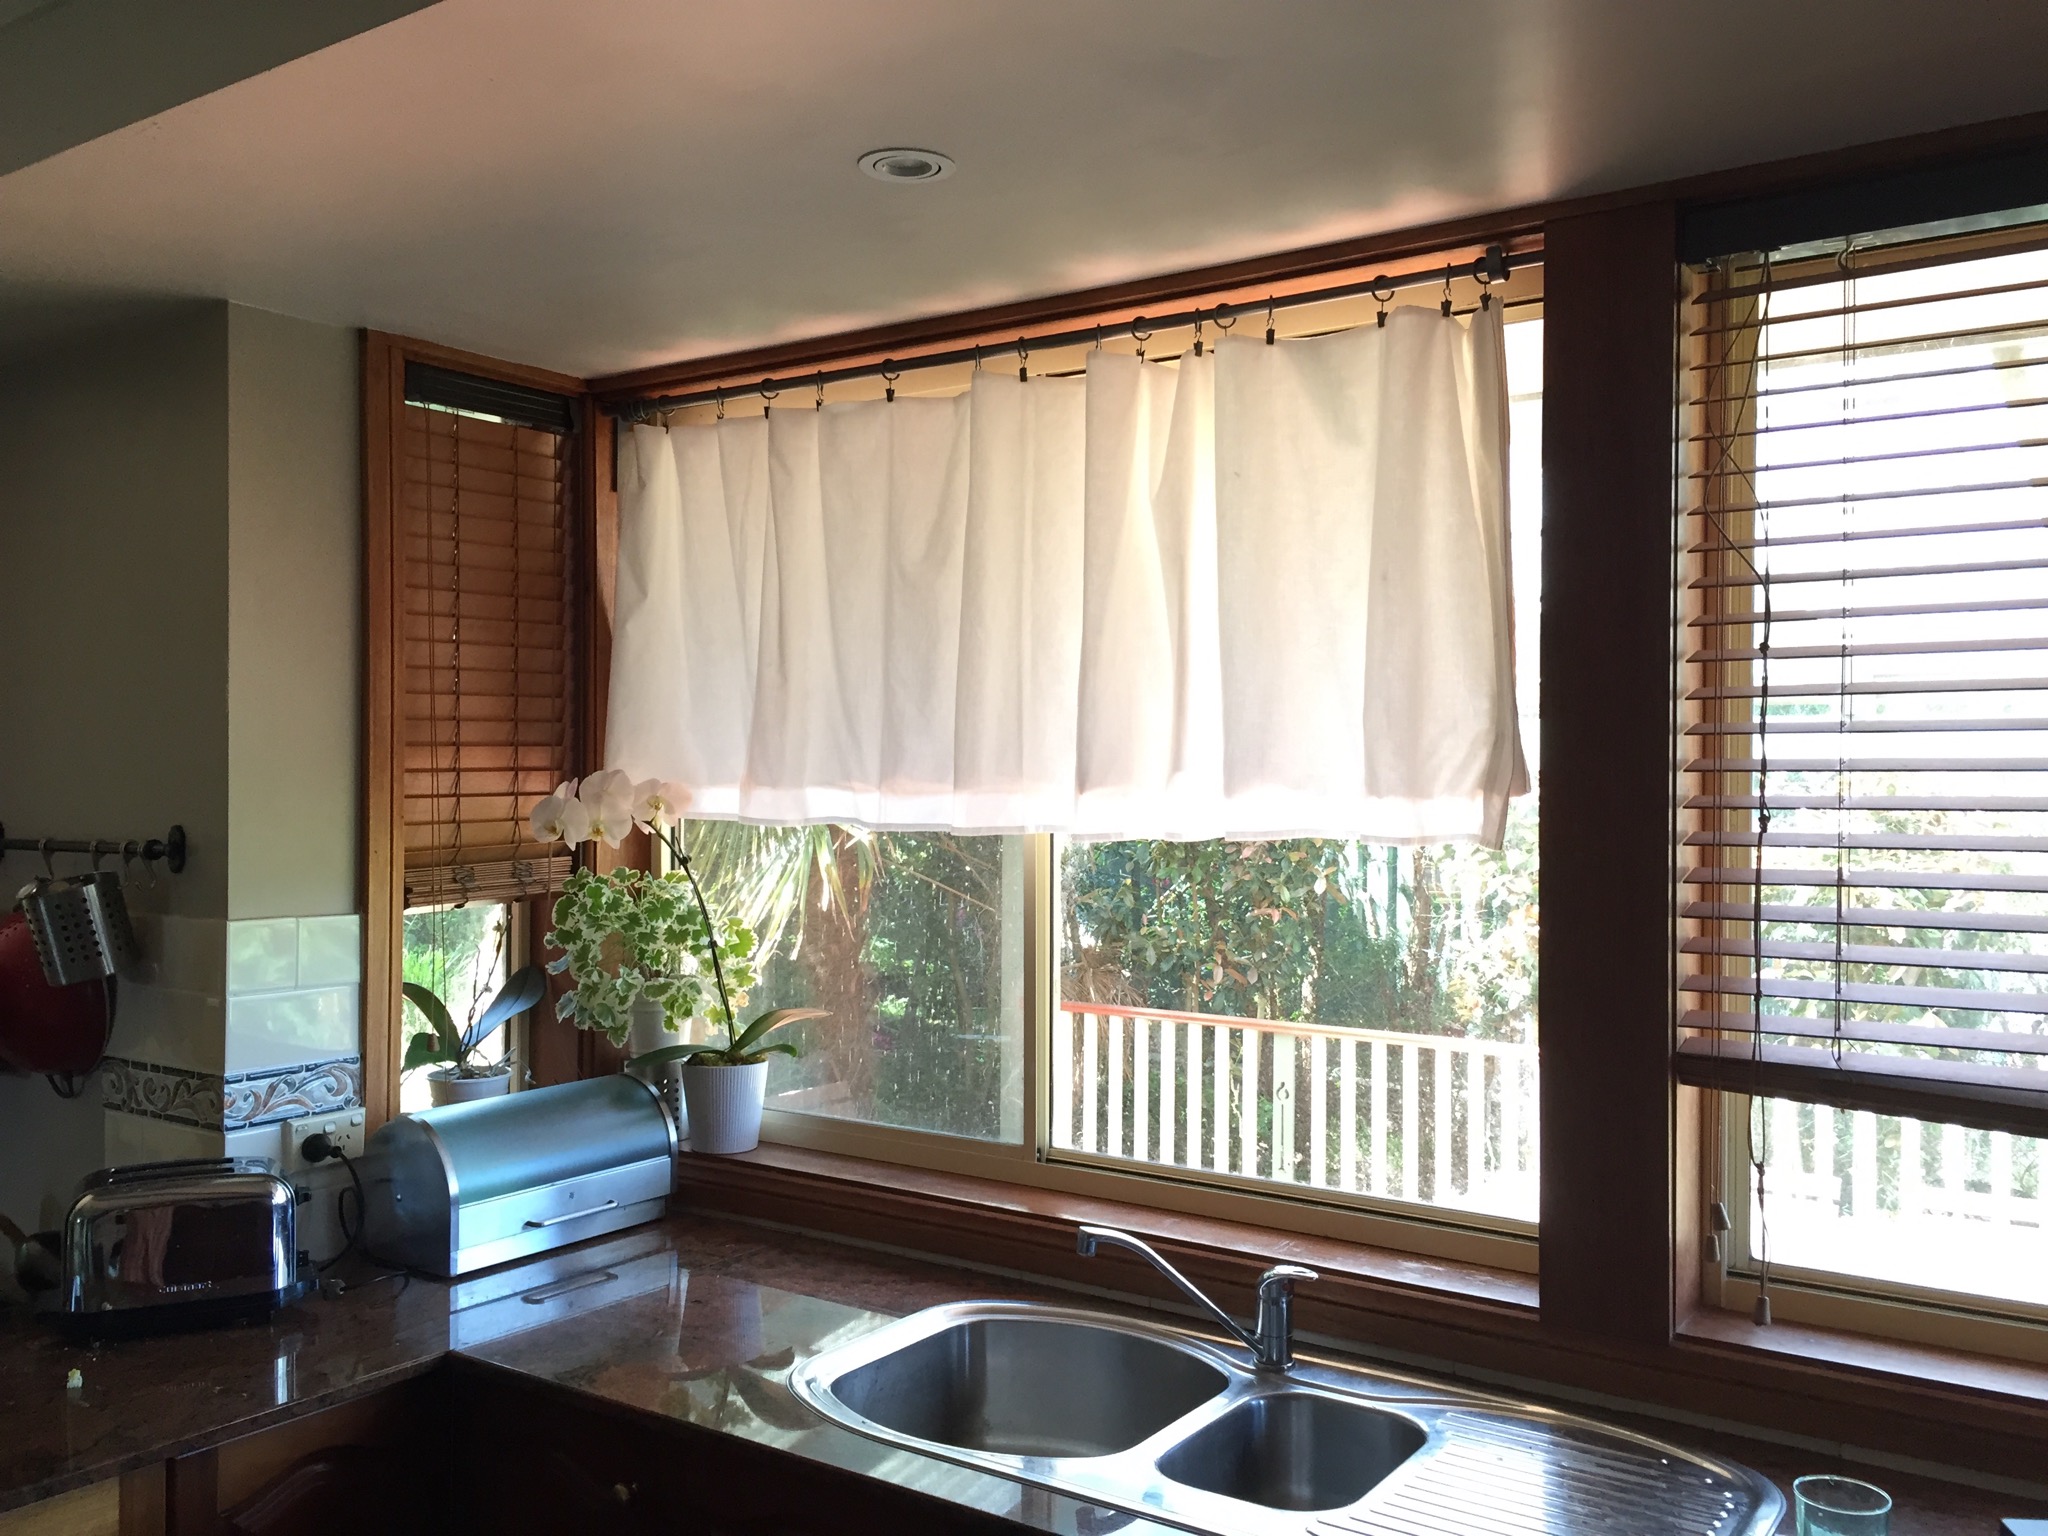
Our kitchen is quite a dark space, which we’ve been attempting to lighten up with a bit of paint, and by removing a large overhanging cabinet from above the stove. I’ve always wanted to do away with these old wooden blinds, though, and their time had come.
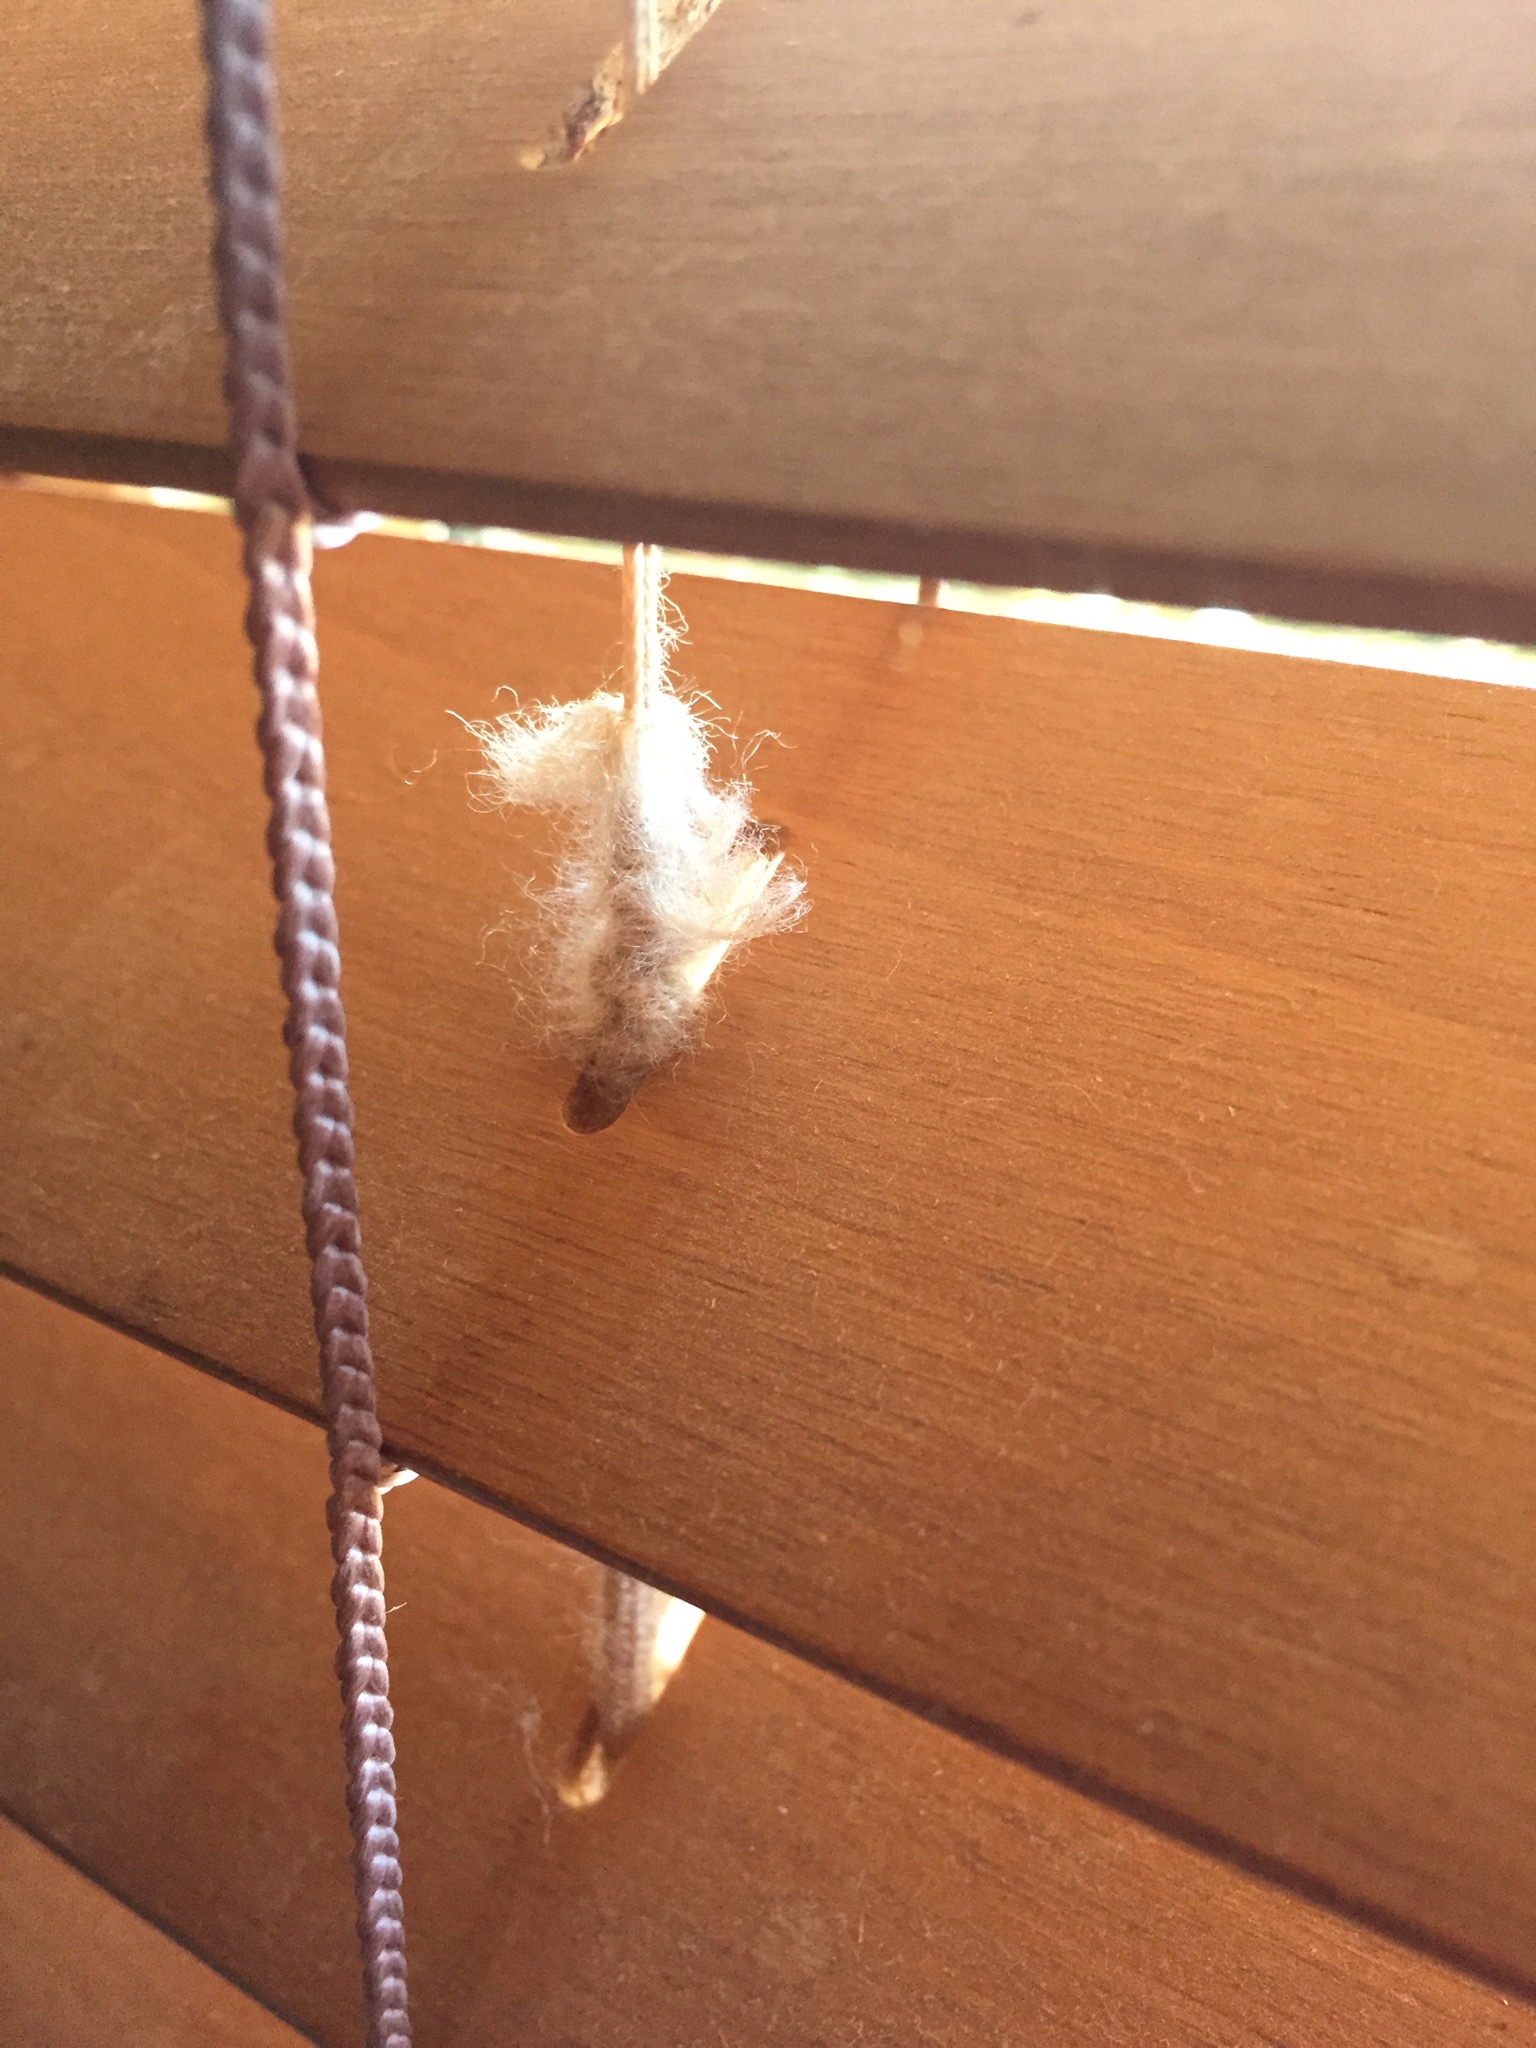
These blinds were pretty rough when we moved in, with the varnish worn away and a few chips here and there. But the fraying of the pull-cord meant that the blind couldn’t be closed or opened any more. Time to get them down and do something, *anything*, instead!
I purchased some curtain rails and fixings from Ikea, which I only mention because I have now entered the ranks of the Ikea Hacker. (Drumroll, please!)
In order to mount the brackets into our odd sink window space I needed to rotate the hook part 90 degrees. This is not at all the intended purpose of these mountings, so they didn’t want to stay put with just the screw provided. I slipped a bit of non-stick rug underlay (“Stopp”, it’s called) in between to stop the hook from wiggling in place. Worked a treat!
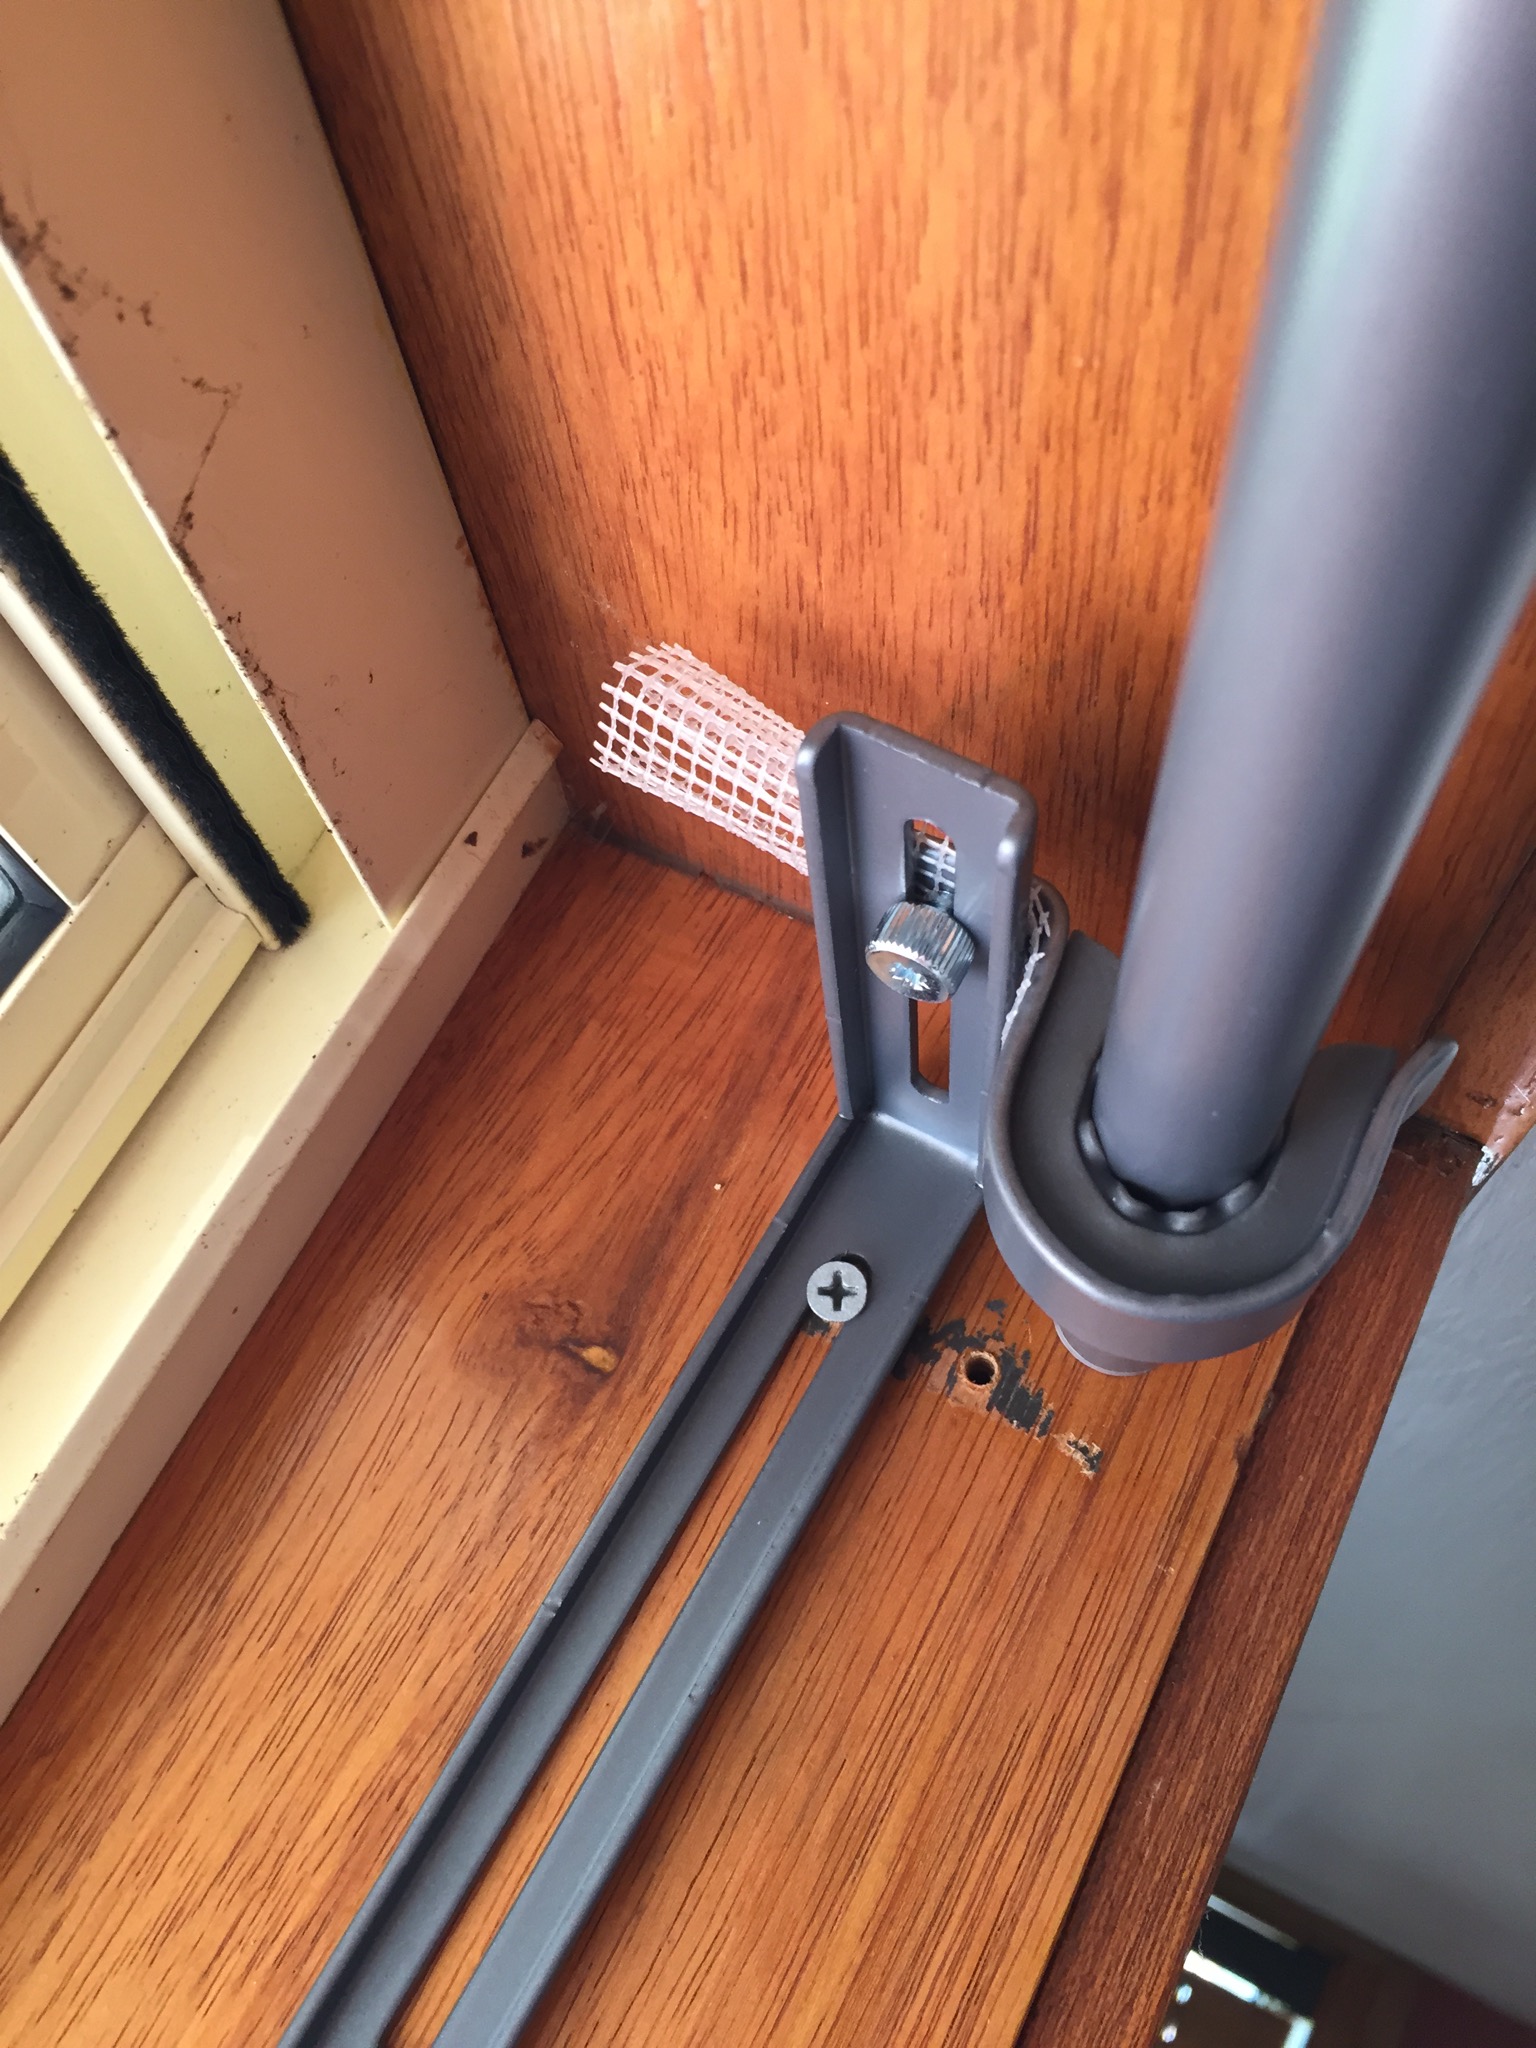
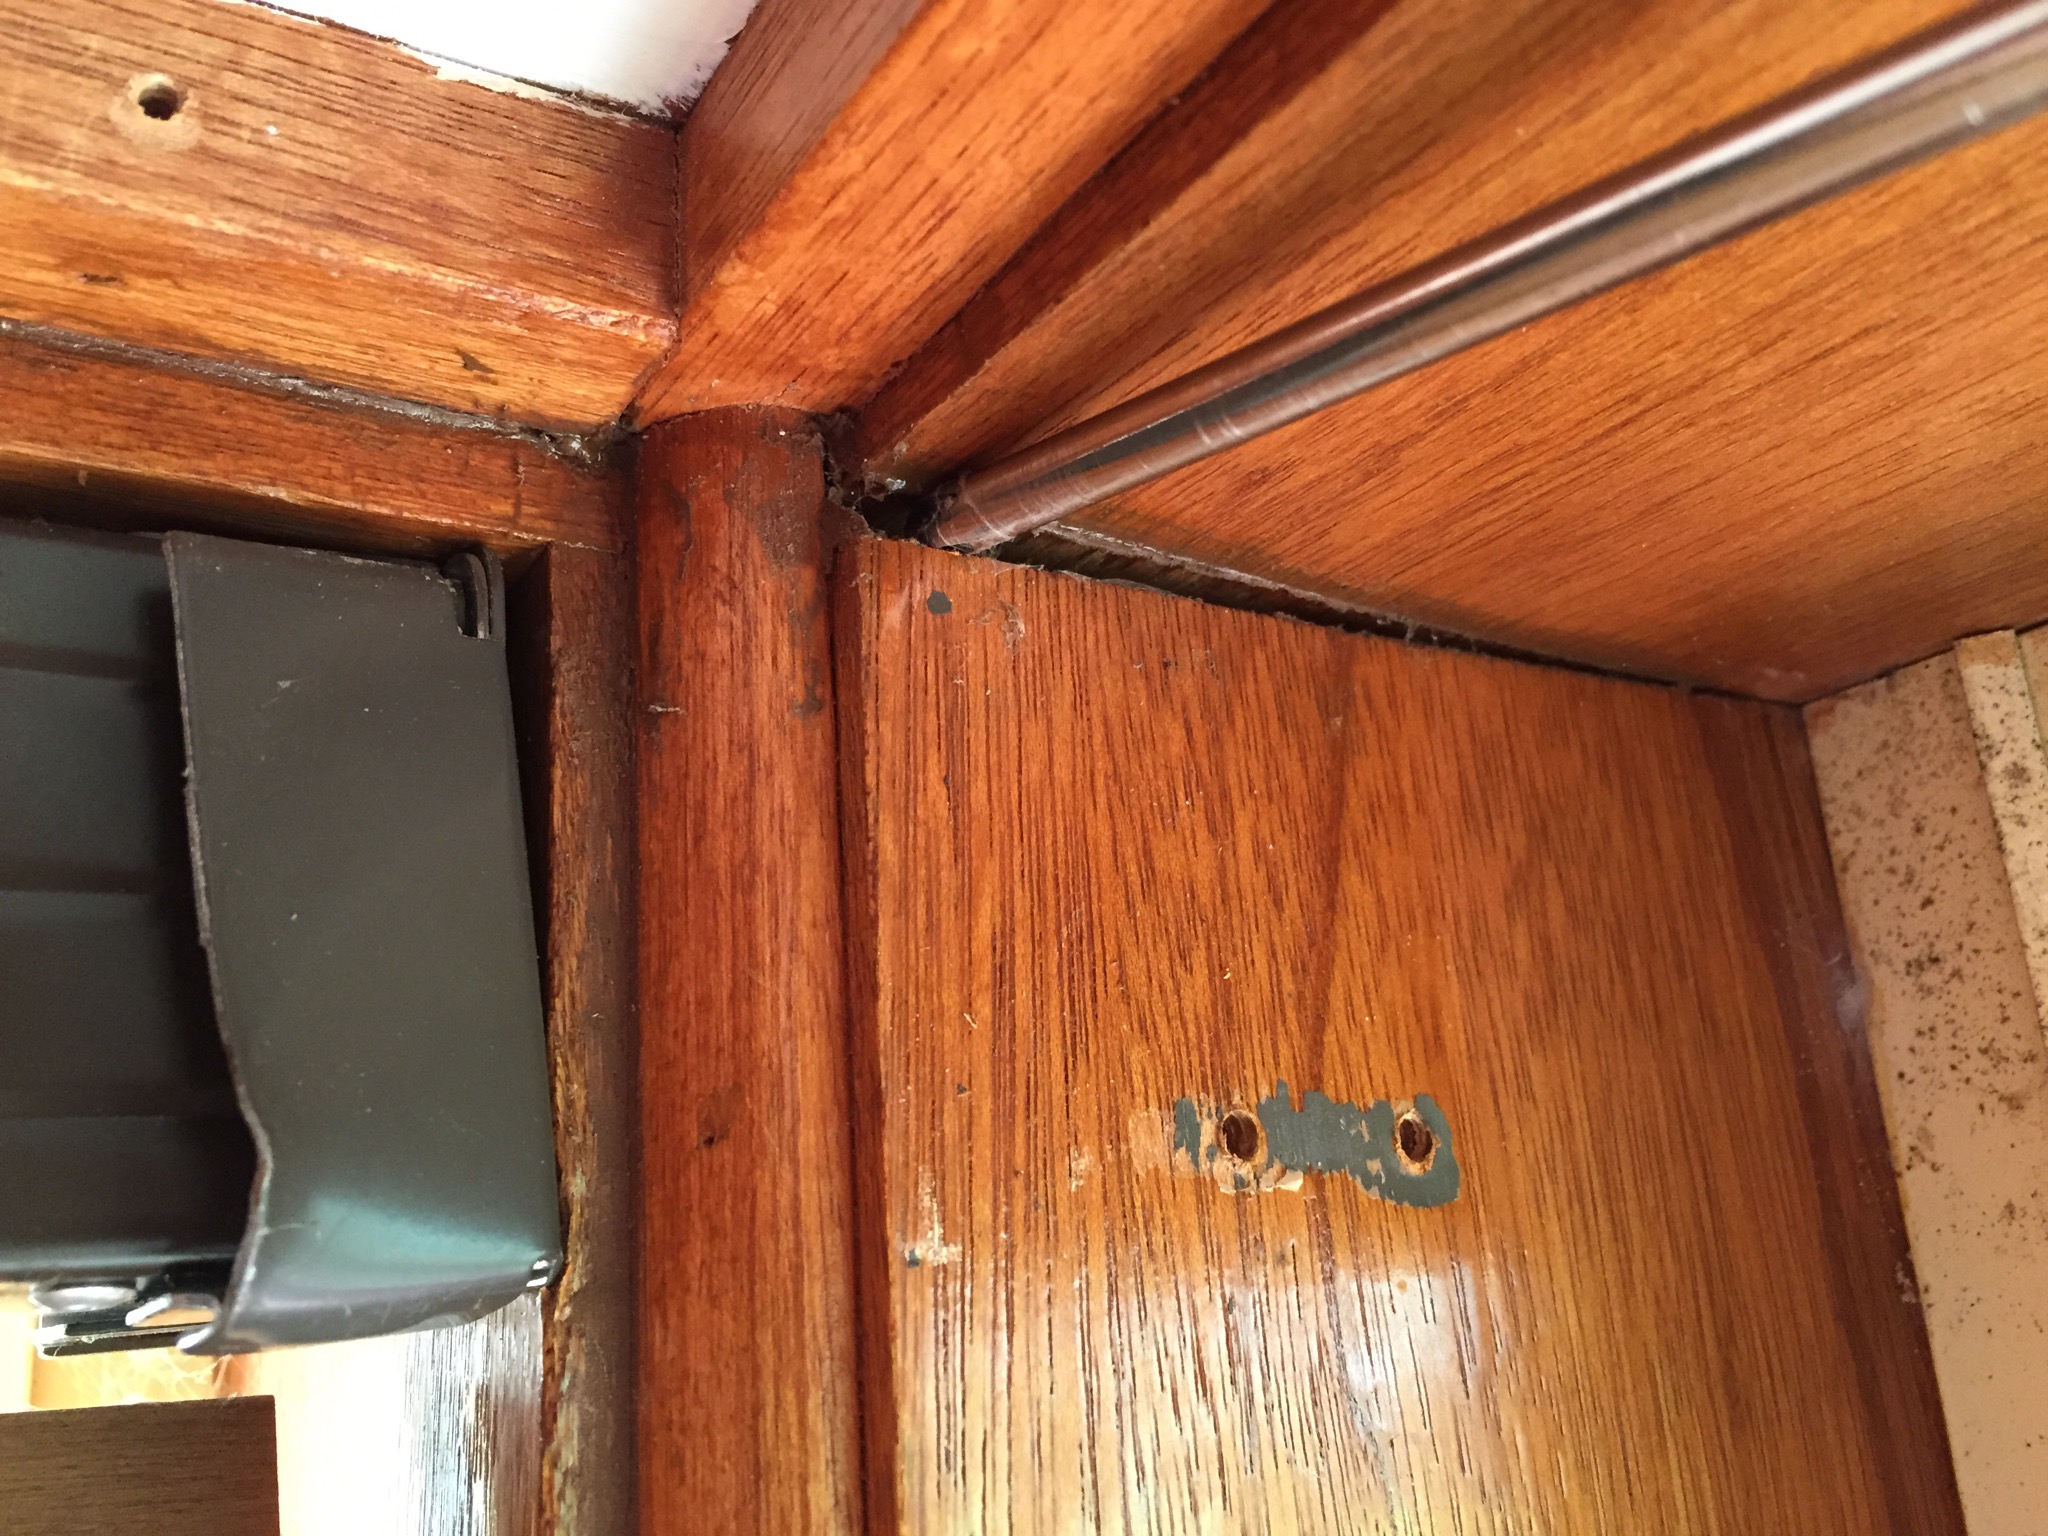
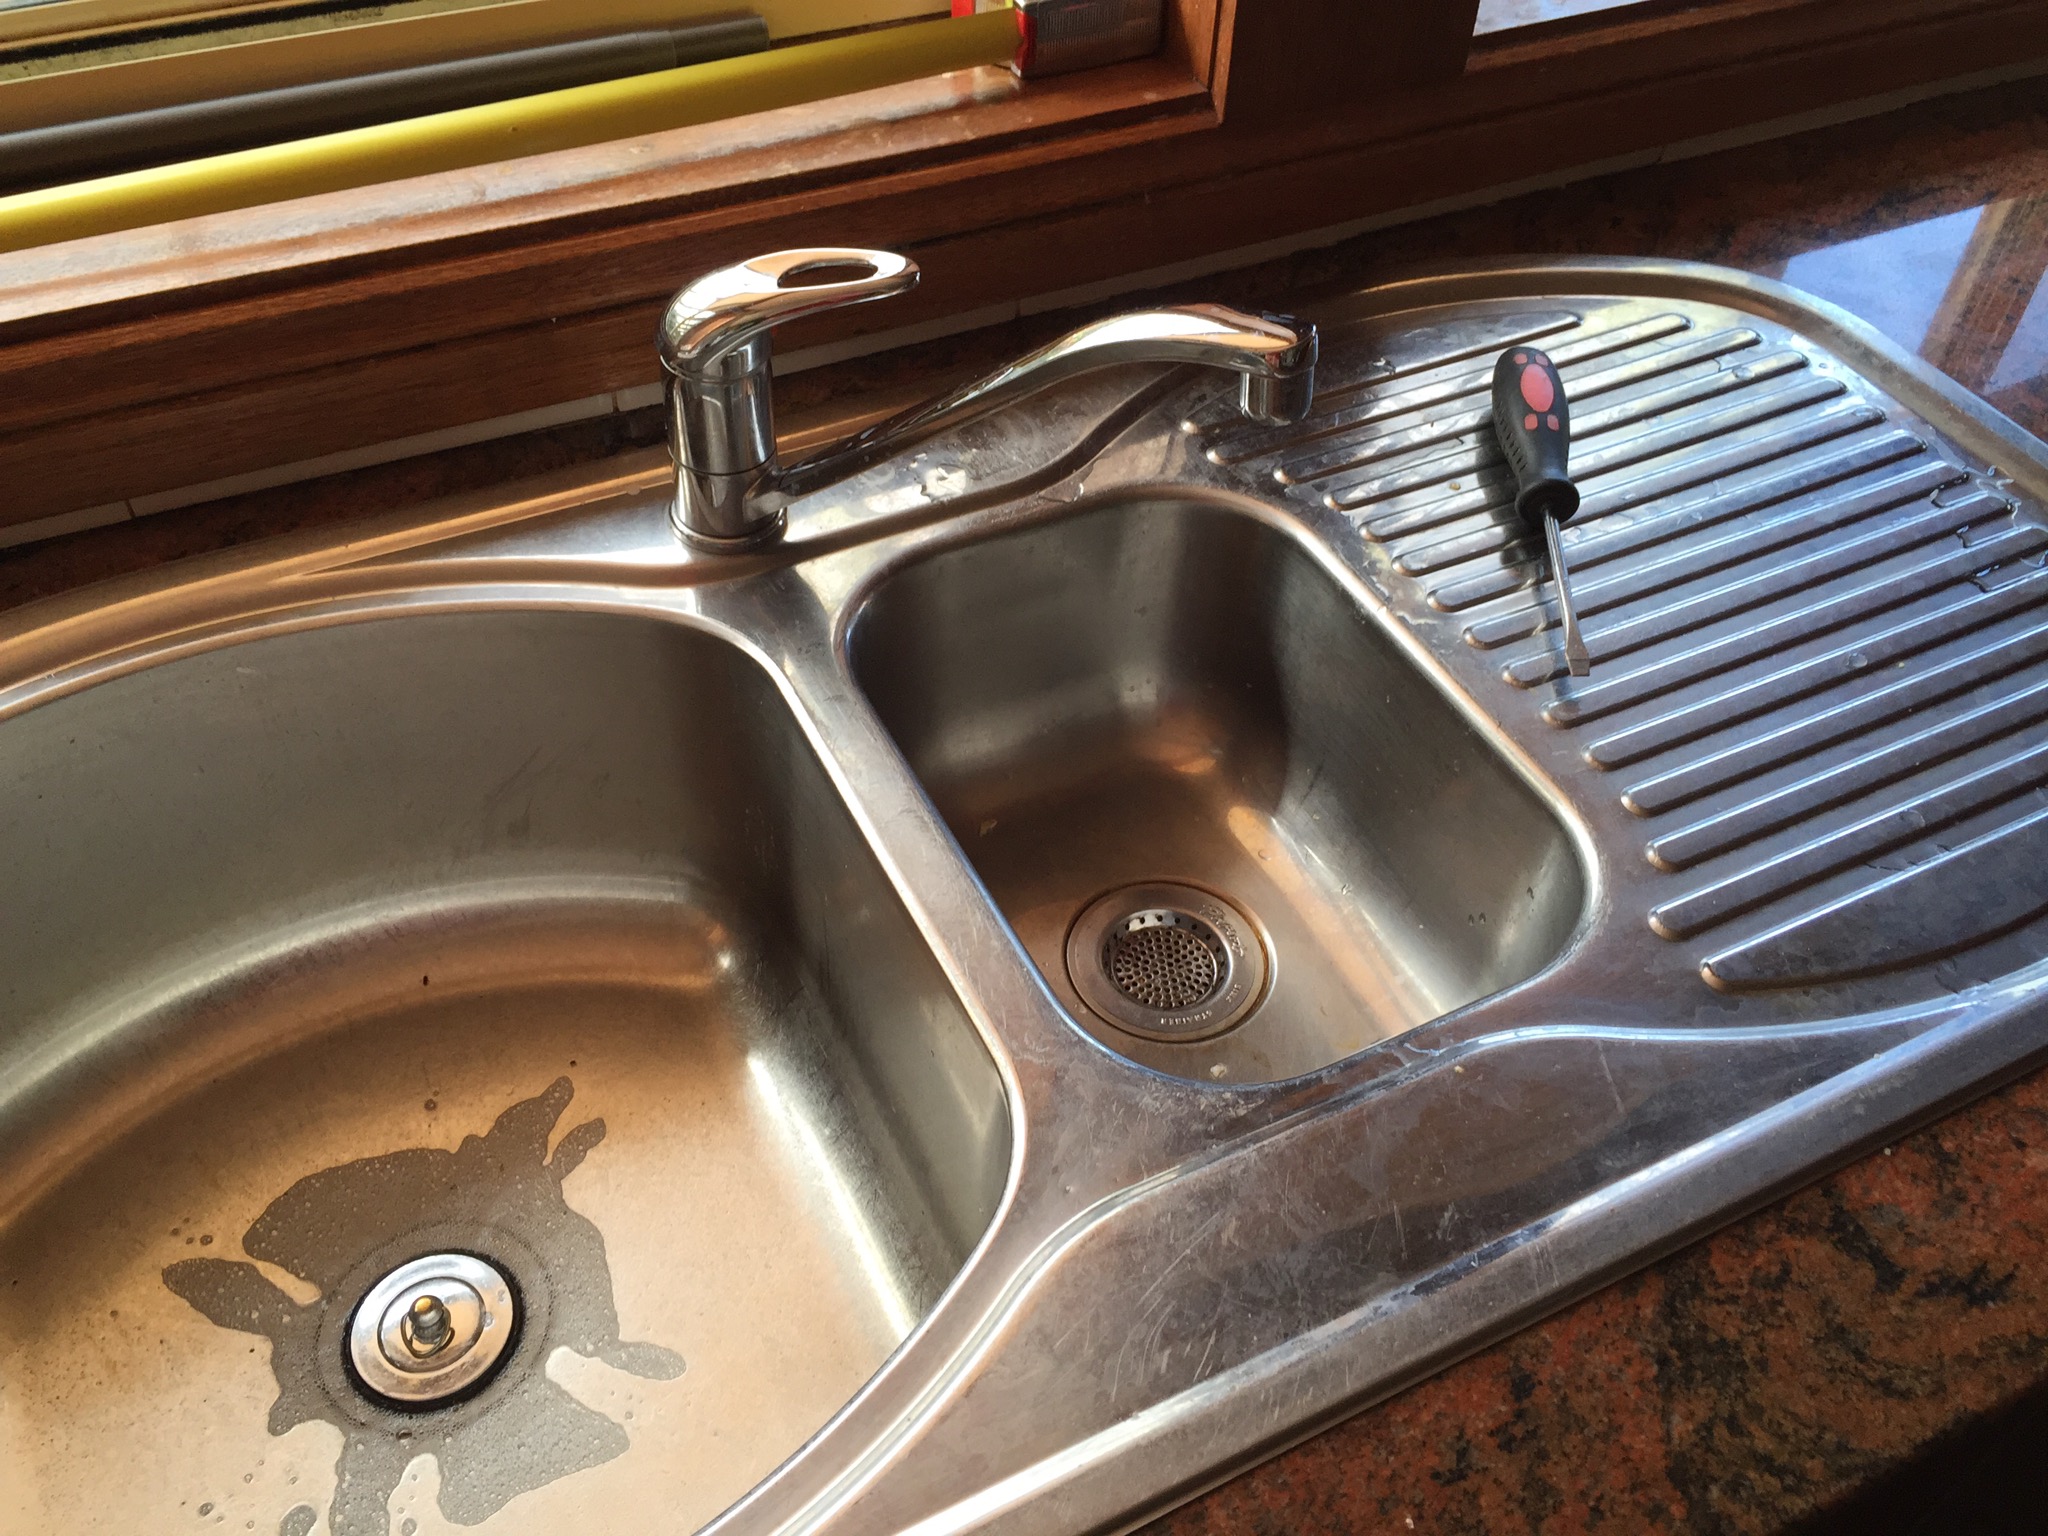
I was able to put one of the mounting screws into the hole left by the previous hardware, so I didn’t even need to get my drill out. Nice! (Oh, and check out what I found when I removed the old hardware! That’s a Phillip’s head screwdriver poking into that gap!)
By the way, here’s a neat tip for when you are working above a sink: cover each drain hole so that if you happen to drop a screw, it doesn’t disappear down the gurgler!
Once I had the brackets in place I decided to test fit a simple curtain to make sure I had the height / depth correct. Enter the budget white sheet:


I folded a single bed sheet so that it would drape the height of the window when clipped up by those cute little alligator clips. Then I clipped the fold every ten cm or so, and slipped the rings onto the rail. This method of hanging the curtain was everything I hoped it would be: easy to put up and take down for cleaning! And no chance of the hooks slipping off the rings, which is something that happens elsewhere in the house, and which I hate!
But the result was kind of “meh”. It was okay, and I felt it did the job, but it just didn’t feel right.
I wondered whether making the curtain shorter would help?
So much better! To do this version I simply folded the lower section of the curtain up and caught it into the existing clips. To “replicate this look” (haha) all you need to do is fold a single bed sheet into thirds (roughly) and clip it up onto a curtain rod. Easy, huh?
The height might need a bit of adjusting, but it was immediately obvious that this made my window area more functional (I can still use the sill, for example). I decided that this arrangement would be great for Springtime / Summer, because we don’t need the warmth from a full curtain, but we do need to cut the harsh Australian sun that comes in during the morning.
I figure that I will swap this curtain out for a “Window Quilt” come next winter. Plenty of time to plan for that, right? I’ll start next Autumn. 😛
Next I went looking for the other sheet in my cheap sheet set. I’ve been using these sheets as a seasonal tablecloth (to disguise the green ping pong tables I use when we have guests at Christmas). So I chose really, really cheap sheets, intended for getting red wines stains, and only slightly better than a truly disposable plastic sheet. If I put these on a bed, I think an elbow would make a hole in the first twenty seconds!
Uh oh, where the heck is that sheet? I looked everywhere I thought it could be, but alas: Earwax.
Having pulled down the old blind, it was time to get creative:


I’ve had my eye on these flour sacks for ages — they are the packaging left over from the bulk flour I buy. They are so useful! I had to empty out my potato bag and my felt craft scraps to get enough bags to string across the window, and boy, do they need a wash.
Again — this seemed okay. It had promise — maybe if I unpicked the sides of the sacks and sewed them up properly, giving myself extra length in the process? I did a bunch of surfing on Pinterest (because that’s how I roll 😉 ) and figured I would just have to try it and see.
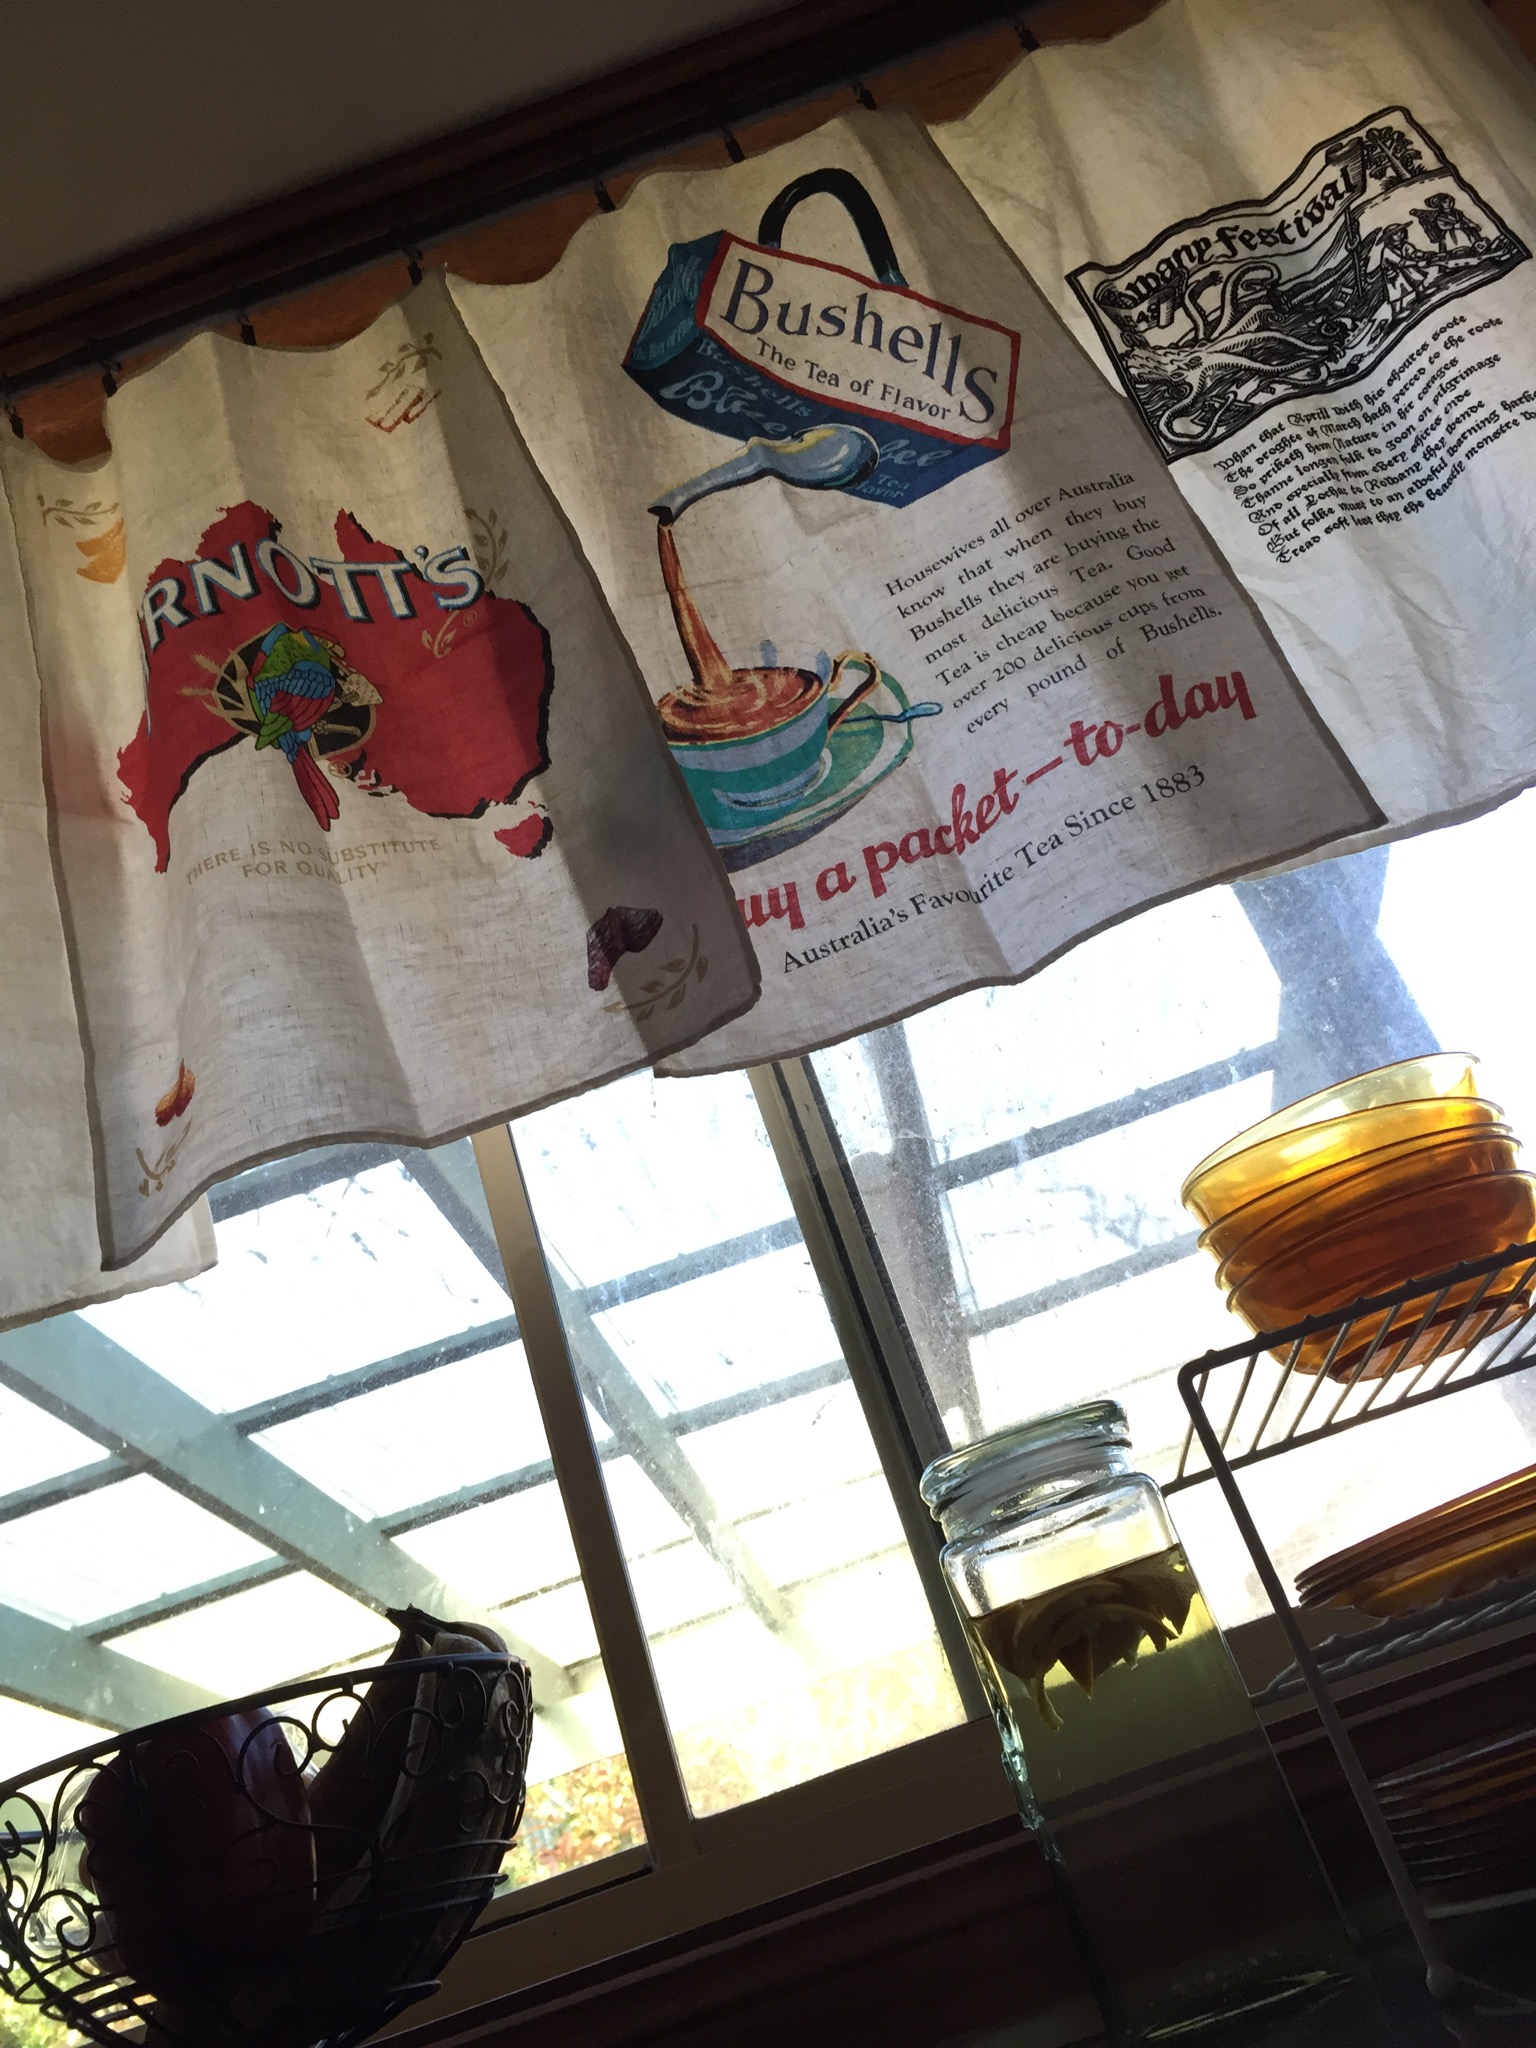
And then, brainwave! What about the wonderful tea towels I received last Christmas, with the vintage Australian brands? Awesome!
They match my vintage Australian brand red tin I have sitting on the counter. They are white (not cream — I really, really don’t like cream) and match the colours in the kitchen that I want (red / white / dark grey, with splashes of other colours). They even match the length of the other curtain quite nicely.
Win!

So up they went, with a couple of tea towels designed for Rowany Festival by one of my good friends, Lou. I’m going to have to convince her to do next year’s tea towel in red, white and charcoal so I can replace the white sheet on the other side with another set of towels!
The last towel on the end is actually wet from the washing machine because I use these towels in my normal rotation. What’s the point of having tea towels that are purely “for keeps”? 🙂 I figured it would dry just as well up there in the Spring breeze as out on the clothesline. I still have plenty of other tea towels left for regular use.
Have you noticed how much mess there isn’t in all these photos? Nothing like a good spring clean to keep the counter tidy (for today, anyway!)

So what do you think? The tea towels have been growing on me all afternoon. This kitchen is starting to make me happy. 🙂
