
Today I used up some of my yoghurt whey to make some tasty dinner rolls. I thought it might be fun to present this as a pictorial how-to, rather than a “recipe”. Enjoy! 🥖
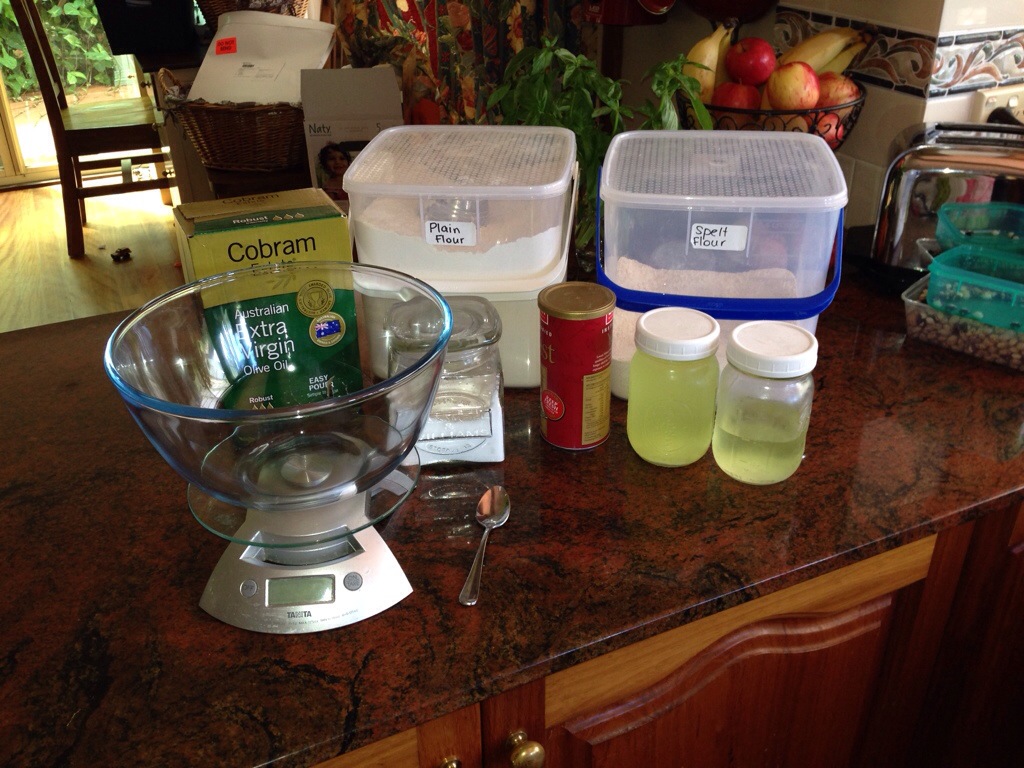
These are the ingredients for basic bread: baker’s flour, liquid (yoghurt whey in my case), salt, yeast and oil.
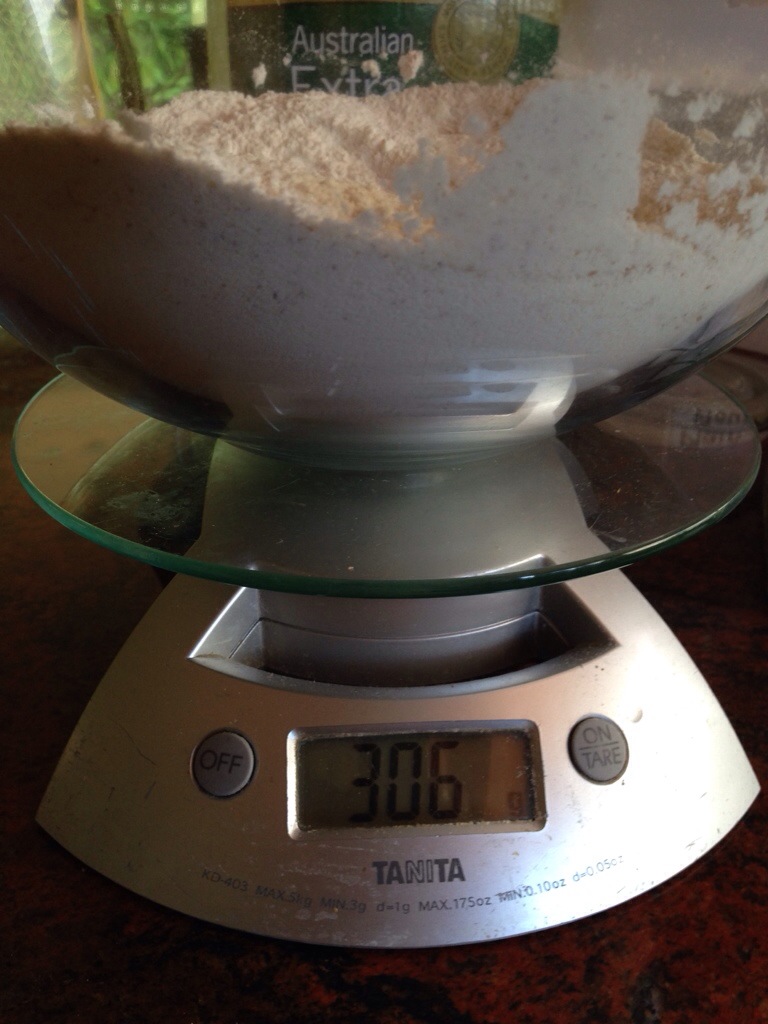
First measure out 300 grams flour. I combine organic wholemeal spelt with regular organic plain baker’s flour. I use organic because it’s great quality, and I buy it in mega-bulk so it’s cheaper than the regular stuff at the supermarket. When choosing your flour, make sure it is high in gluten, for the best result. Regular “plain flour” (ie. cake flour) is not a great choice for making bread.
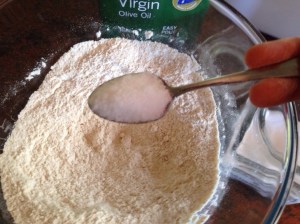
Add 1 teaspoon of salt …

… and then 1 ½ teaspoons of yeast.
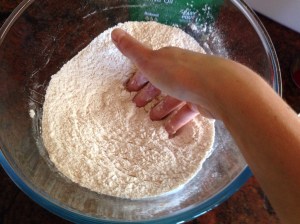
Then mix the dry ingredients up and make a well in the centre.
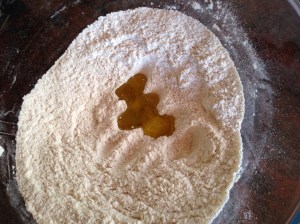
Pour in about a tablespoon of oil (I just do it by eye).
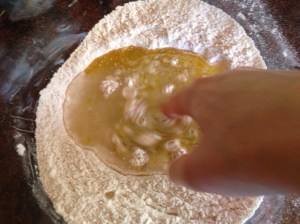
Then you add 200 grams of your liquid, in my case, leftover yoghurt whey. I make sure the liquid is slightly warm (not too hot — less than blood temperature — or it will kill your yeast, and your bread will be flat). I start swirling the liquid in the centre of the well, and as it swirls it starts taking up some flour from underneath.

After some more stirring it looks a bit like pancake batter …
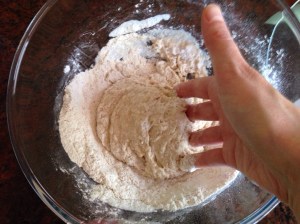
And more, and it comes together.
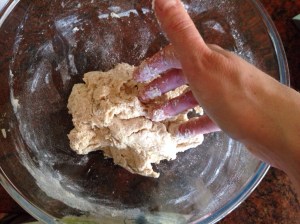
Finally, you have a rather sticky bit of dough. Notice how clean my bowl is? That’s because I have refined this stirring technique after a lot of practice. If you avoid the liquid touching the bowl, you avoid a bunch of mess. 🙂
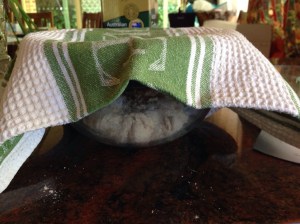
Cover it up with a tea towel, and leave it for a while. I went and mucked out the chicken coop, so I think it was about half an hour. You might choose to do something more salubrious: maybe a cup of tea? ☕️🫖

After your dough has finished “resting”, uncover it. It might look slightly less sticky, now. Turn it out onto a lightly floured surface, and knead it (there’s not “right” way to knead. Just go to town and stretch it, fold it, push it, whatever you want). If you didn’t rest the dough, it will be very sticky and you will need to keep putting flour on your surface and your hands. Resting the dough gives it a chance for the flour to absorb some of the liquid you added, making it more like dough, and less like taffy! 🙂

When it feels stretchier (and it won’t need too much because you let it rest first), form it up into a ball and pop it back into the bowl.
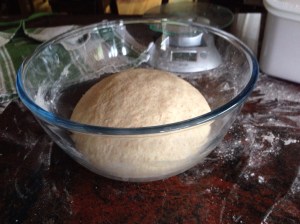
Cover and leave it to rise for a while now, until it “doubles in size”. This is a very woolly recommendation, and I feel a bit squirmy perpetuating this one, but you are just going to have to practice until you get the right amount of rising.
I’ve seen a cute idea for a more measurable approach: pull off a small chunk of dough and squash it into the bottom of a cylindrical glass jar. Mark the jar at the height of the dough, and mark where you think “double” height should be. Then you check the jar periodically until the dough reaches the second mark. Never tried it! Sounds neat though.
After a couple of hours (in my warmish early autumn kitchen — longer if it’s cold) it’s ready to knock back. Get it out of the bowl again onto a floured surface, and lightly poke it all over so that the gas comes squishing out (a bit). Be gentle, because now your dough is almost ready to bake, and it wants to be treated nicely. You can let it rest for a minute or so, but I’m too impatient, so I just shape it straight away.
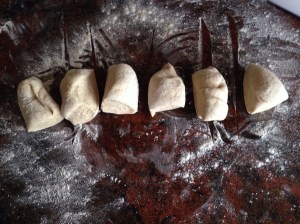
I cut it up using my “dough cutter / scraper” (which is one the the most awesome bread tools I’ve ever used). A sharp knife works too.
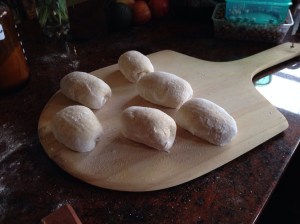
Fold each shape over and over, turning it as you go, so that it forms a nicely rounded ball. I elongated mine to make a dinner roll.

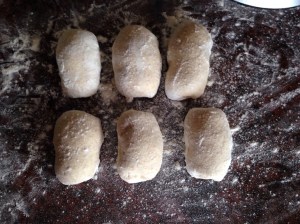
Make sure the bottom of each roll is well dusted with flour, and lightly floured on top, then cover and rest on your bench (or wherever) until it’s time to bake (it took about twenty five minutes today).

As soon as I’ve shaped the rolls I get the oven ready. I dust off my baking stone (it lives in the oven unless I want to bake something like a roast, which uses lots of shelves), and wipe out any stray crumbs from last baking. And I pre-heat to at least 220 °C. That’s a hot oven! Really make it hot, don’t be shy. I use 250 °C for sourdough, so there’s room to go hotter than this.
If you are using a baking stone, give it about twenty minutes at full temperature for the stone to really get hot … if you are patient enough, and the dough is still rising.
At this point you need to bake when the dough is ready, and not take too long.
So if your oven in slow to heat, start warming it up before you shape, unless it’s really cold in your kitchen.
The dough is ready when you gently poke it with your finger and it springs gently back, but you can still see a clear poke-mark. If the poke-mark fills in, leave it longer. If the poke-mark doesn’t bounce back up … your bread need to bake ASAP, and is likely to deflate on you as you transfer to the oven. If in doubt, bake it early rather than late. The most common way I have made saggy or flat bread is by letting it over-rise.
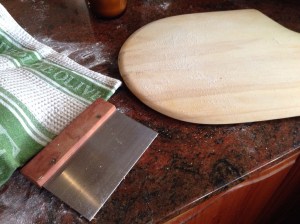
To get my rolls into the oven, I scatter rice flour (semolina is good too) onto my bread paddle. A lightweight cutting board works, too.
I put the rolls onto the paddle … and then I scoot them into the oven with my dough cutter / scraper tool I mentioned before (no photos of me doing this, as I’m not ninja enough to take pictures at the same time!).

Close up the oven and set the timer for ten minutes. When the timer goes off, open the door and let out any steam, and turn the oven down to about 180-190 °C (a medium oven). Then I bake for a further ten to fifteen minutes. (Dinner rolls are pretty quick to bake! The times are longer if you made one loaf instead of rolls.)
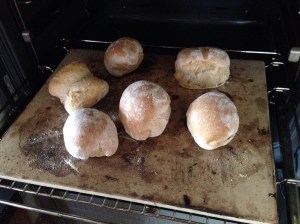
Here they are at twenty minutes — look at that funny one on the left! It has popped open with the effort of rising. 🙂 See how much difference in size there is? This is called “oven pop”. You get more “pop” if you transfer to a hot stone, than if you use a cold tray inserted into your oven.
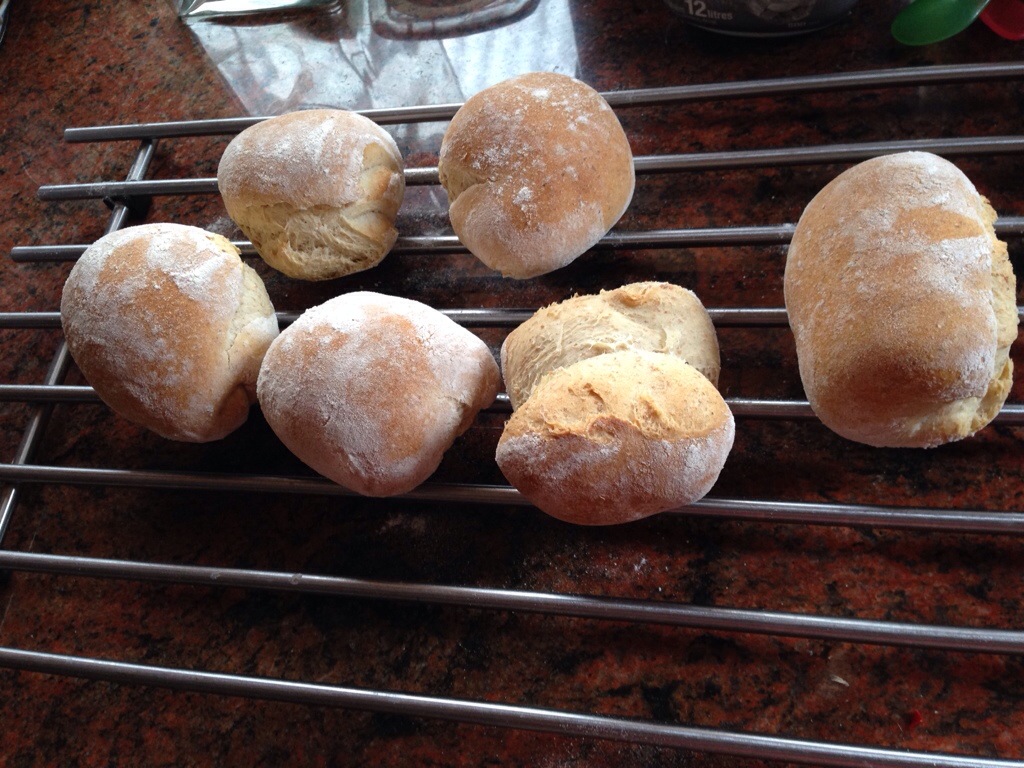
All done! I served these with carrot and lentil soup. They have a wonderful smell about them – almost like a sourdough, because they have a faint yoghurt-aroma. Quite like what Naan has (which is made with actual yoghurt), only more subtle. Yum!

Excellent looking rolls. Thanks for the recipe, I was looking for something to use up extra whey today. Dough proofing now!
LikeLike
Thanks Johanna! Hope they turn out well for you! 🙂
LikeLike