Today I’d like to share with you how I make my yoghurt, using fresh milk.
This is not the first method I’ve used: a long while ago now a friend in my Mothers’ group revealed she made yoghurt using a system she bought at our supermarket, and I was intrigued. Turns out, you can buy a yoghurt-making kit at Coles! Who knew?
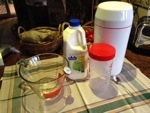
So I did. The kit is basically a thermos with a 1 Litre capacity flask that sits inside it. You tip in a sachet of powdered milk and yoghurt culture, and then add water. Stir it up and stick it into the thermos with some boiled water, and some hours later you have yoghurt! It really is that easy.
But I wanted to make my yoghurt from organic fresh milk, not from powdered milk of some random unknown origin. And the sachets are more expensive than using fresh milk, too. (Although they are cheaper than buying ready-made yoghurt!)

To make yoghurt using fresh milk, I need to take a little bit more care, and more time. Here are the basic things to remember:
- Good hygiene. This is important because when making yoghurt you incubate “yoghurt culture” (ie. good bacteria) and you can also incubate bad bacteria if you happen to add some yourself with unwashed hands or utensils. This goes for making yoghurt with any method. I don’t sterilise my equipment, but other people do. I wash everything with soapy water and scald with hot water before I use it.
- You will need a thermometer. You don’t really want to guess when the milk is hot enough, or cool enough, or you could end up with yoghurt that doesn’t set properly.
- There is a lot of waiting, so schedule it. Either start in the morning, or just after dinner time. It takes about two hours for the milk to heat and then cool again, at which point the yoghurt must sit for a further eight or so hours. So, if you start at 10 am, expect yoghurt at about 8 pm. There is not much you have to do, there is just a lot of waiting.
Step One: Pre-heat your milk.
Pre-heating the milk is basically pasteurising, but I think it changes the milk so that it is more likely to set into firmer yoghurt. I heat mine to 90 degrees Celcius (90 °C), which is just short of boiling. (Please note: Celcius! I will use Celcius throughout, and if you want Fahrenheit instead you need to convert. Otherwise you will not have the milk hot enough.)
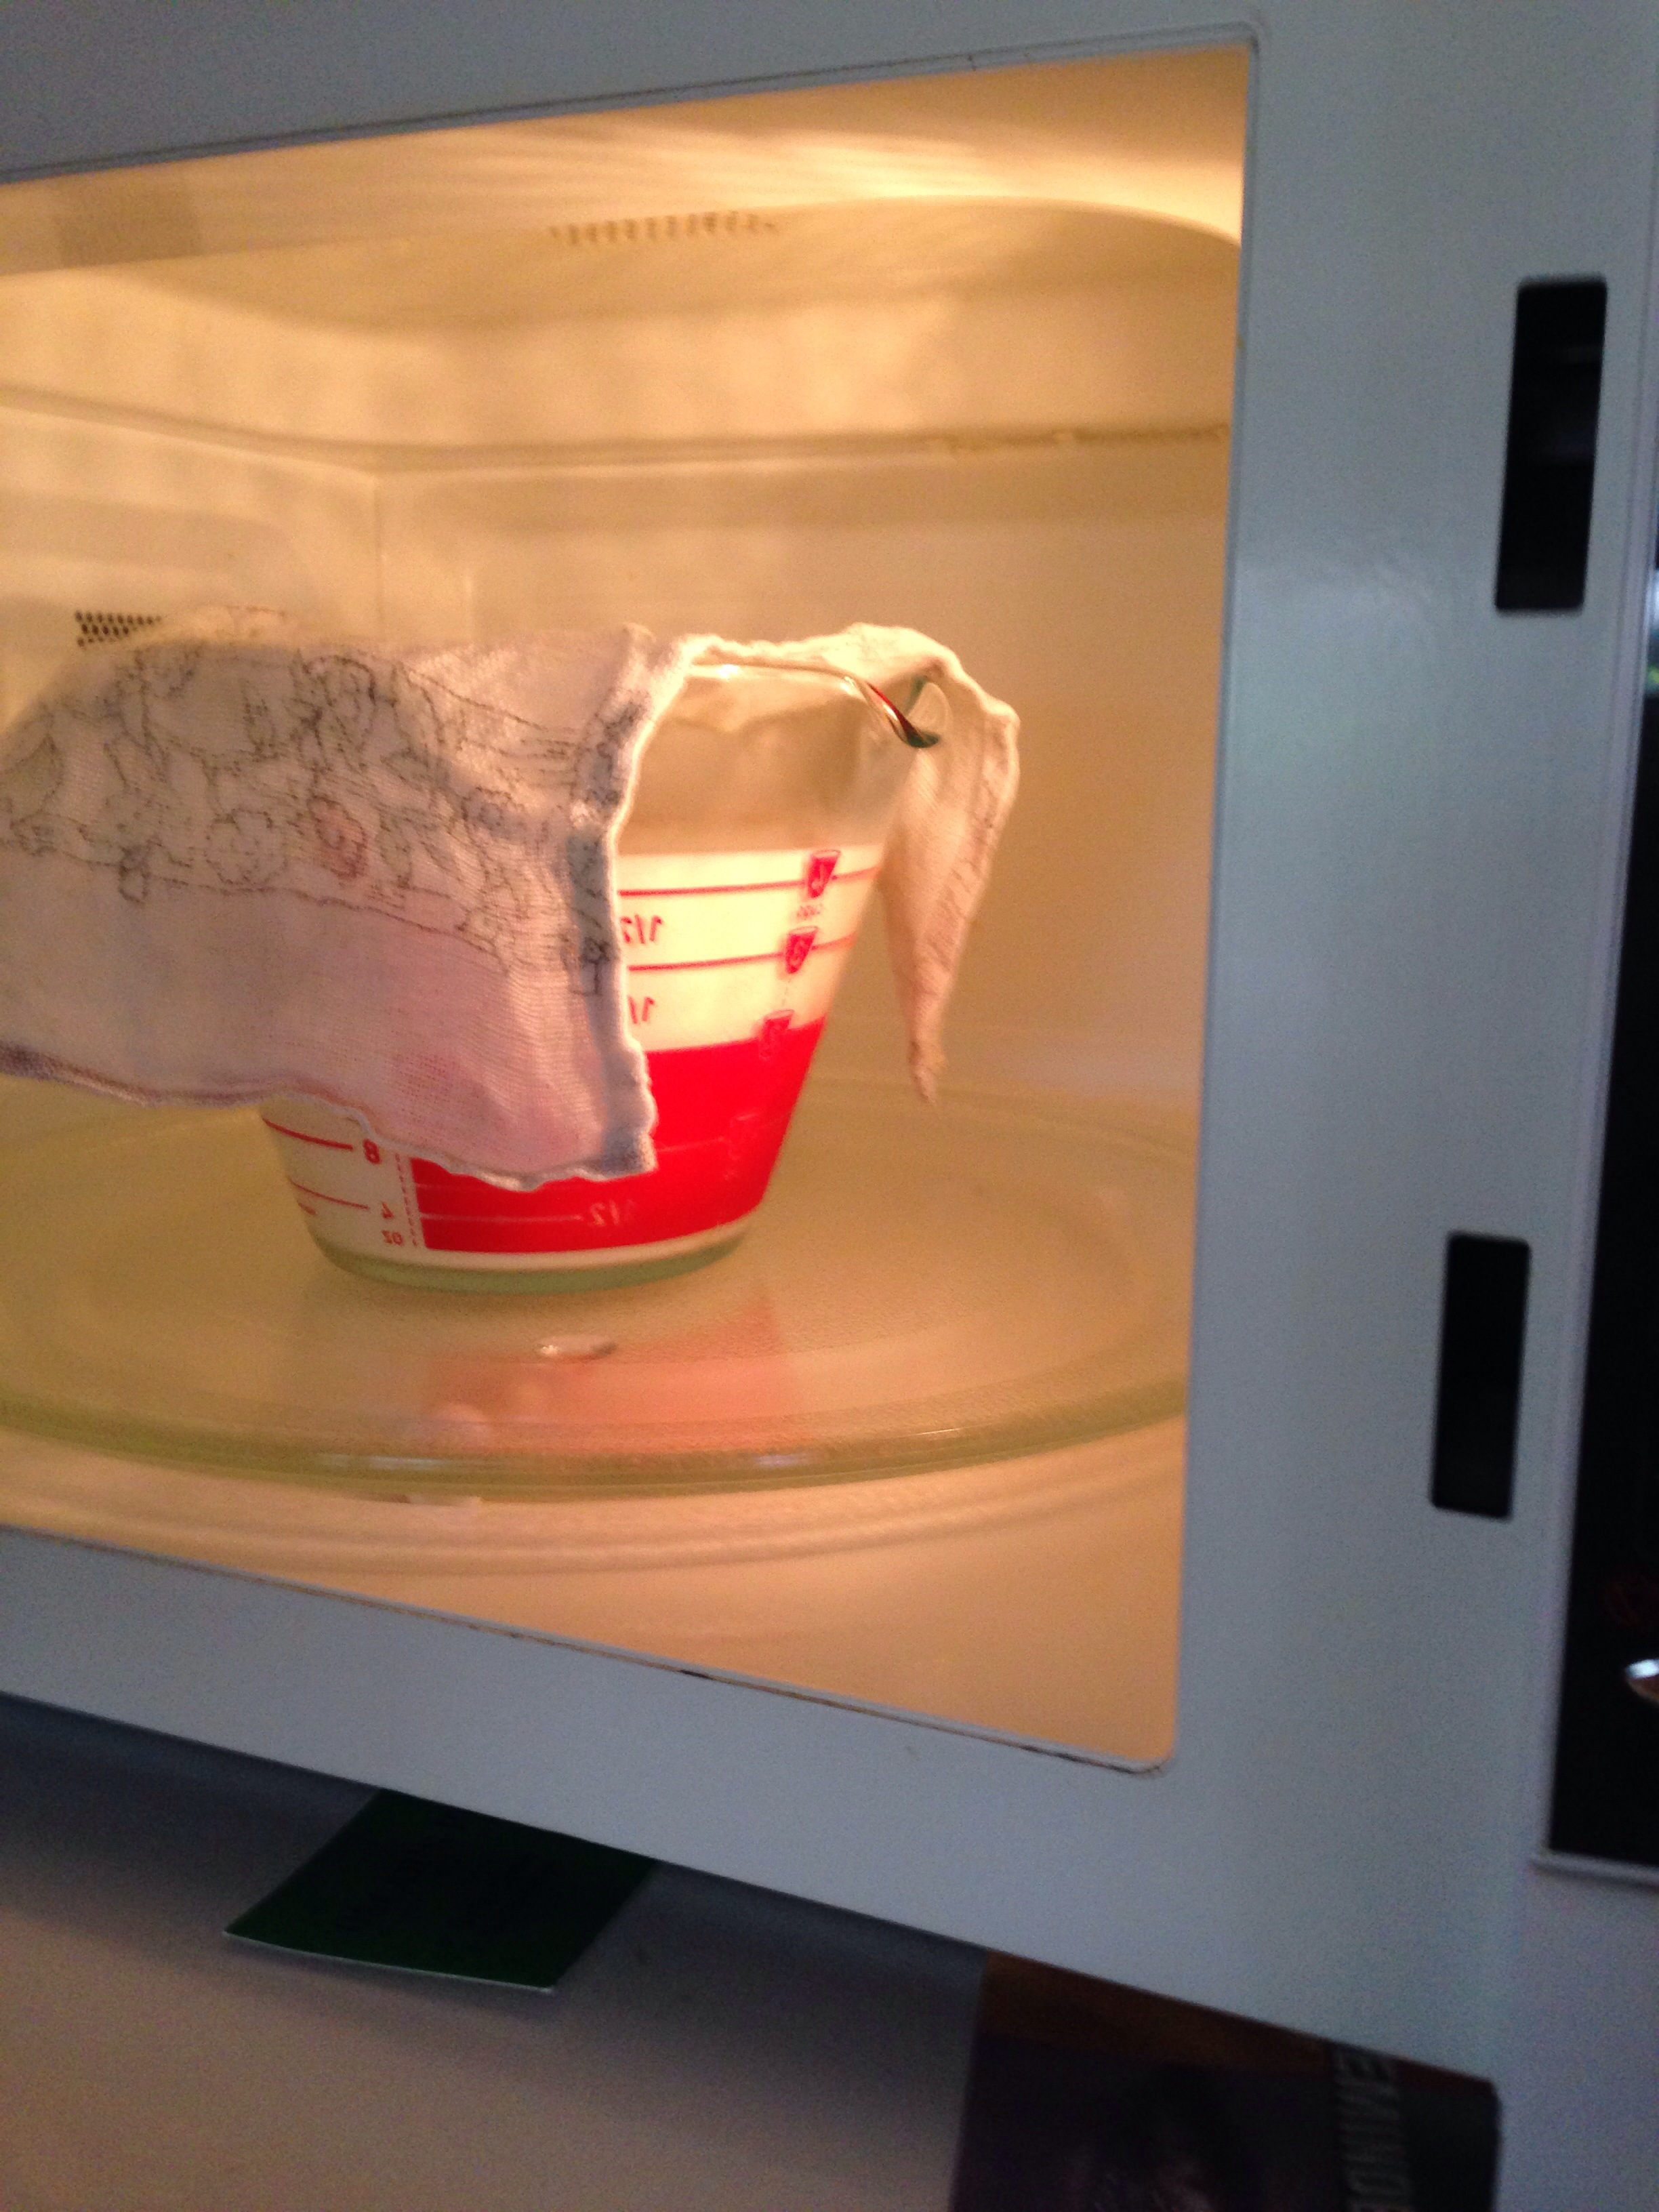
I do this in my microwave! Much easier than on the stove because I don’t have to keep stirring (milk will stick to your pan if you heat too quickly or don’t stir). 1 Litre of milk takes ten minutes to get to 80 °C, then a further two minutes to get to 90 °C (I check part way through because my microwave has a button that sets for 10 minutes). Your times may vary if you have a more or less powerful microwave, so test your temperature every five minutes to be sure.


Step Two: Wait until the milk is back to blood temperature.
Blood temperature is 37 °C, so I leave my thermometer in the milk, sitting (covered) on the bench until it gets to just under 40 on my dial. This step is important because if the milk is too hot, you will kill the yoghurt culture, and your yoghurt won’t set.


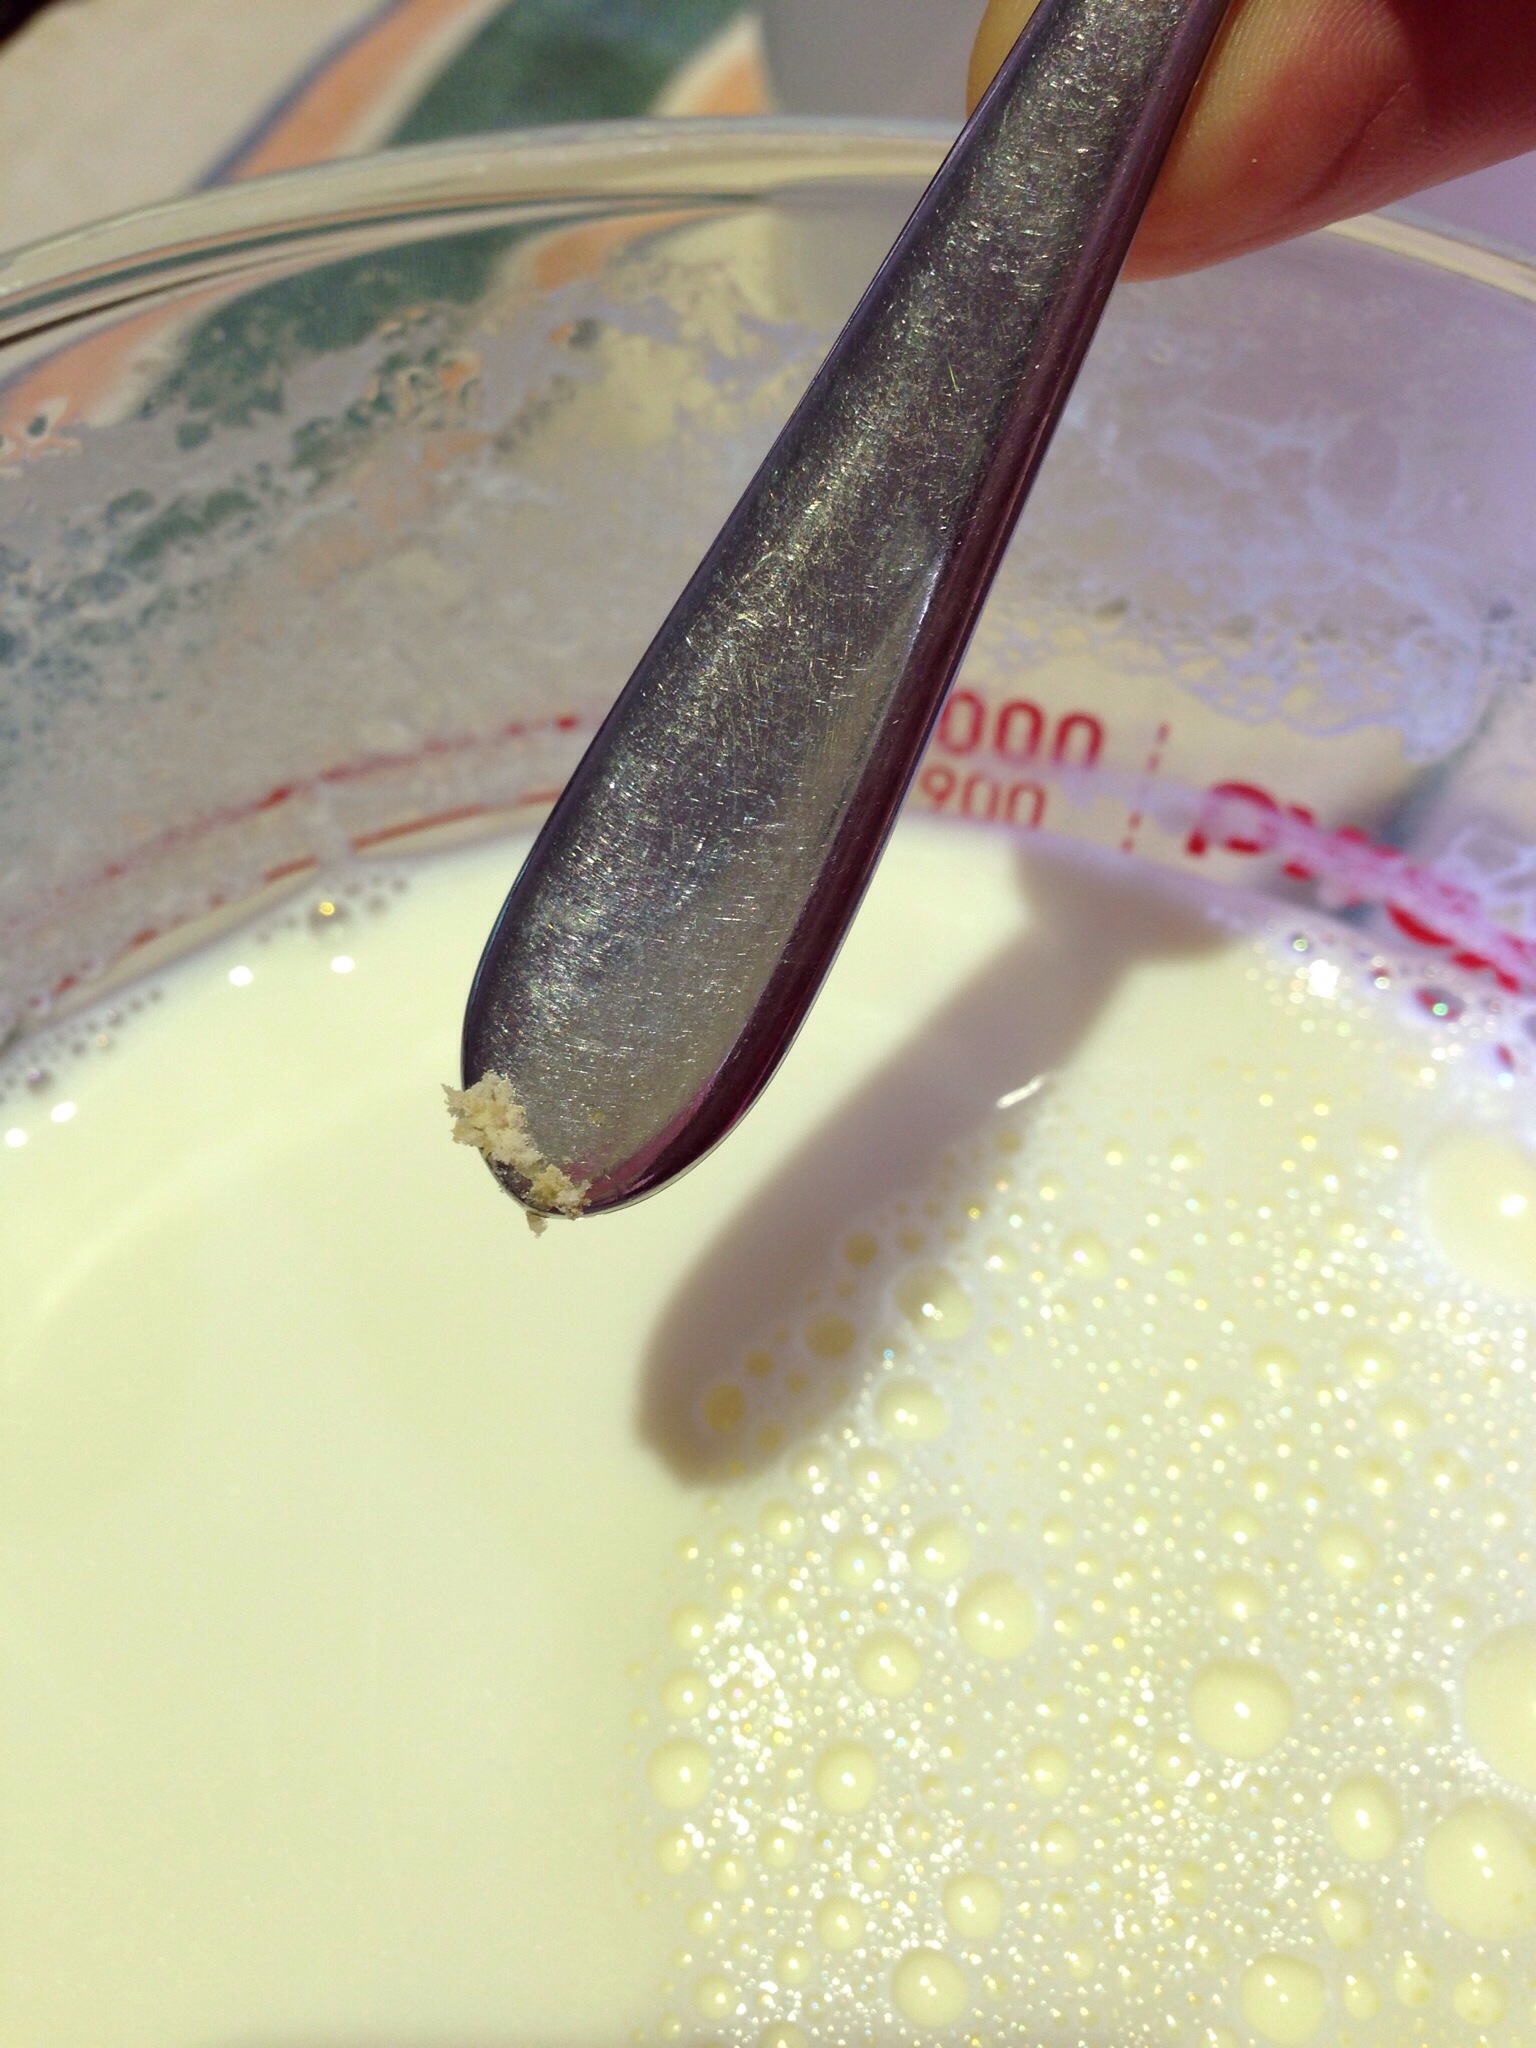
Step Three: Add culture.
Now it’s time to add some yoghurt culture. There are two ways I do this:
- Using 1/4 cup of very fresh yoghurt. Use yoghurt that is really fresh, or the culture will have died off. Any yoghurt will do, even flavoured. Pick something you actually like the flavour of! I would use a bit of organic greek yoghurt, which is unflavoured. 🙂
- With a purchased powdered yoghurt culture. This is the main way I do it, since I frequently don’t have any fresh yoghurt left when I go to make more (yoghurt can last for over a week in our house, or it gets eaten up straight away!). I store mine in the freezer.
Whichever way you choose, you should stir the culture in thoroughly to your milk. Today I’m adding the purchased culture (I use the tiniest, tiniest, amount of this stuff, you can barely see it in the pictures). I stir it through using my thermometer to avoid adding more bacteria to the yoghurt.
Step Four: Wait for 6 to 8 hours.
Finally all that remains is to let the yoghurt sit at blood temperature, unmolested, for about six to eight hours.
To keep the yoghurt at the right temperature, I use the same thermos system I purchased from the supermarket. I add boiling water to the thermos, but I make sure the water won’t come into contact with the flask at all (I don’t want to kill my culture by heating the sides of the milk too hot!). Then I place the flask into the thermos and seal it up. Easy.


Other people wrap it up in towels to insulate it, or even bubble wrap, or sealed an esky (“cooler”) with a bottle of boiled water, or in a box stuffed tight with hay … any way you can insulate your milk will work if you are in a warmish climate (most kitchens are warm enough for this). There are also special yoghurt warmers which can plug into the electricity and keep it at exactly the right temperature. I prefer to go grid-free to save electricity, and in case of a blackout!
The yoghurt wants to sit unmolested, so don’t leave it somewhere you have to move it around, or anywhere it will be jostled.
In about eight hours, open the flask carefully and check the top. If you used full cream milk like I do, chances are the top will be yellowish with a fairly firm top. This is the cream floated to the top, and turned yoghurt (yum!). I have learned that my yoghurt is now ready at this time, but if you’re not sure, gently tip the flask sideways so you can see how thick the yoghurt has become. Leave it longer if you want a more “sour” yoghurt (growing more culture eats up the sugars in the milk).
I re-seal my flask and leave it overnight in the fridge to harden up before I drain the yoghurt (optional), or before we eat it. If your yoghurt is still sloppy after you have chilled it, then it hasn’t properly set. Chances are there was not enough live culture to convert your milk to yoghurt. Did it get too hot? Was your starter yoghurt or culture too old?
I’ve only had this happen twice (in a row!) and I worked out it that I had tainted my powdered culture. It had clumped together and I guess was just out-competed by other bacteria. I threw that batch away and started next time with fresh stuff.
Update: I’ve just checked on my yoghurt to take a final picture for you, and guess what? It didn’t set!! Boohoo. It is thicker, but still milky, so I must not have used enough started culture after all. I’ve given it a bigger dose, and mixed it in. The temperature was still at 37 °C, so I just refreshed the thermos and I’ve set another timer for three hours. Typical! I’ll update again in a few hours and let you know if it worked. 🙂
Another update: Three hours later, and it set, with a vengeance! I’ve never had the yoghurt curd separate from the whey before. Check it out:


I’m tilting the yoghurt container to try to show you how there is a white solid core (curd), with a clear yellow liquid (whey). I’ll be amazed to see how firm this is tomorrow after chilling. Wow.

I love this tutorial Jess. Do you put the red lid on the actual container of yoghurt before closing the outer thermos flask lid? Also, while the packet yoghurt mixes say to pour boiling water up to the top of the red insert piece (thus the yoghurt maker is sitting in a couple of centimetres of boiling water), do you pour water in until it just reaches the bottom of the red insert?
LikeLike
Hey Mum 🙂
Yep, the flask gets closed up with a red lid before I close the thermos. Normally I would do this before I put the flask in the thermos!
I do only pour boiling water into the bottom part of the thermos, so that it laps at the bottom of the red insert thing. That way the flask just sits on top of the water but doesn’t touch it. The thermos keeps the flask heated nicely!
LikeLike