
When we first moved into our house (almost five years ago now) we were lucky enough to have a place that was already rather nice, with only a couple of minor eyesores. We had lived for a few years in rental accommodation, and we were used to blank walls and adequate kitchens and bathrooms. Our new place was really a lot better than “adequate”. We had a lot of space: two living areas, including a formal lounge with carpet, and an informal living room with floating hardwood floors. Nice, right?
We immediately painted the bedroom that Izzy chose: it started out as aqua, with green cornices (!) and a patched and shabby white ceiling. The master bedroom was a little more sedate, but sported a frieze of frolicking cupids (!!) with apricot cornices (I’ve run out of exclamation marks). I wish I could show you the pictures of the original rooms, but alas, we had no idea I might one day want to reveal these horrors to the internet. We painted the two rooms before we moved in.
From a rental to owning your home: we were so excited to be able to paint! So we were bold with our colour choices and had great fun with feature walls in each room. We even let Izzy choose a very vibrant shade of pink for the main wall colour! When that colour was going on the walls, we thought that Izzy would have a pink glow-in-the-dark afterglow from spending the time in the room: it’s sunny, and boy was it pink! It softened with furniture, though. 🙂


We loved our coloured bedrooms so much that we painted the nursery in time for Will’s arrival (yellow, with orange feature wall). And by the time Evie came along, we’d prepared the final bedroom for William with yellow and blue (can you guess we liked the feature walls?)


Now our world was coloured upstairs, but downstairs was still the original wall colour: yellow greenish cream. Once I had babies at home, I spent a lot more time staring at those walls, and learning to despise them. Before too long, I was starting to prepare a grand plan of eradicating that wretched colour from the entire house! There are a surprising number of walls in a house, once you start really looking at them. Preparing dinner, doing laundry, sitting in the lounge room pushing toy cars on your leg for hours at a time … basically, those walls were becoming oppressive!
I don’t think my husband and daughter had any idea of just how deep my plans were running. I took thing easy at first, suggesting that maybe a new lounge room colour might be a good idea … maybe the living room would be more cheerful in winter if we had some blue on the wall … maybe the living room could be a nice warm colour … how about a lovely deep red?
One of the wonderful things about my husband, is he lets me have a go! So I got to try out my red lounge room. We love this room now!


Blue in the living room? No worries! Now we’ve really got the colour-my-house bug!


We decided to replace the yellow-green-cream colour throughout with “Warm Neutral” by Dulux. We are slowing (ever so slowly!) painting walls and removing the sickly pallor room by room. It was such a relief to take this colour off the kitchen ceiling! It immediately made the sink area a whole lot brighter. The lighting in the living areas is also hugely different. Both of these rooms face West, and we get a lot of sun in the afternoons. Having darker colours on the walls really changed the “glow” in the evening. Sometimes when the sun is setting in winter, the red lounge room really lights up with a warm fiery glow. The calmer blue room always feels cooler, and we love using this room in summer time.
I really wish we had more “before” photos so you could compare what things used to look like. Especially upstairs in the bedrooms! Unfortunately, you’ll just have to take my word for it. 🙂
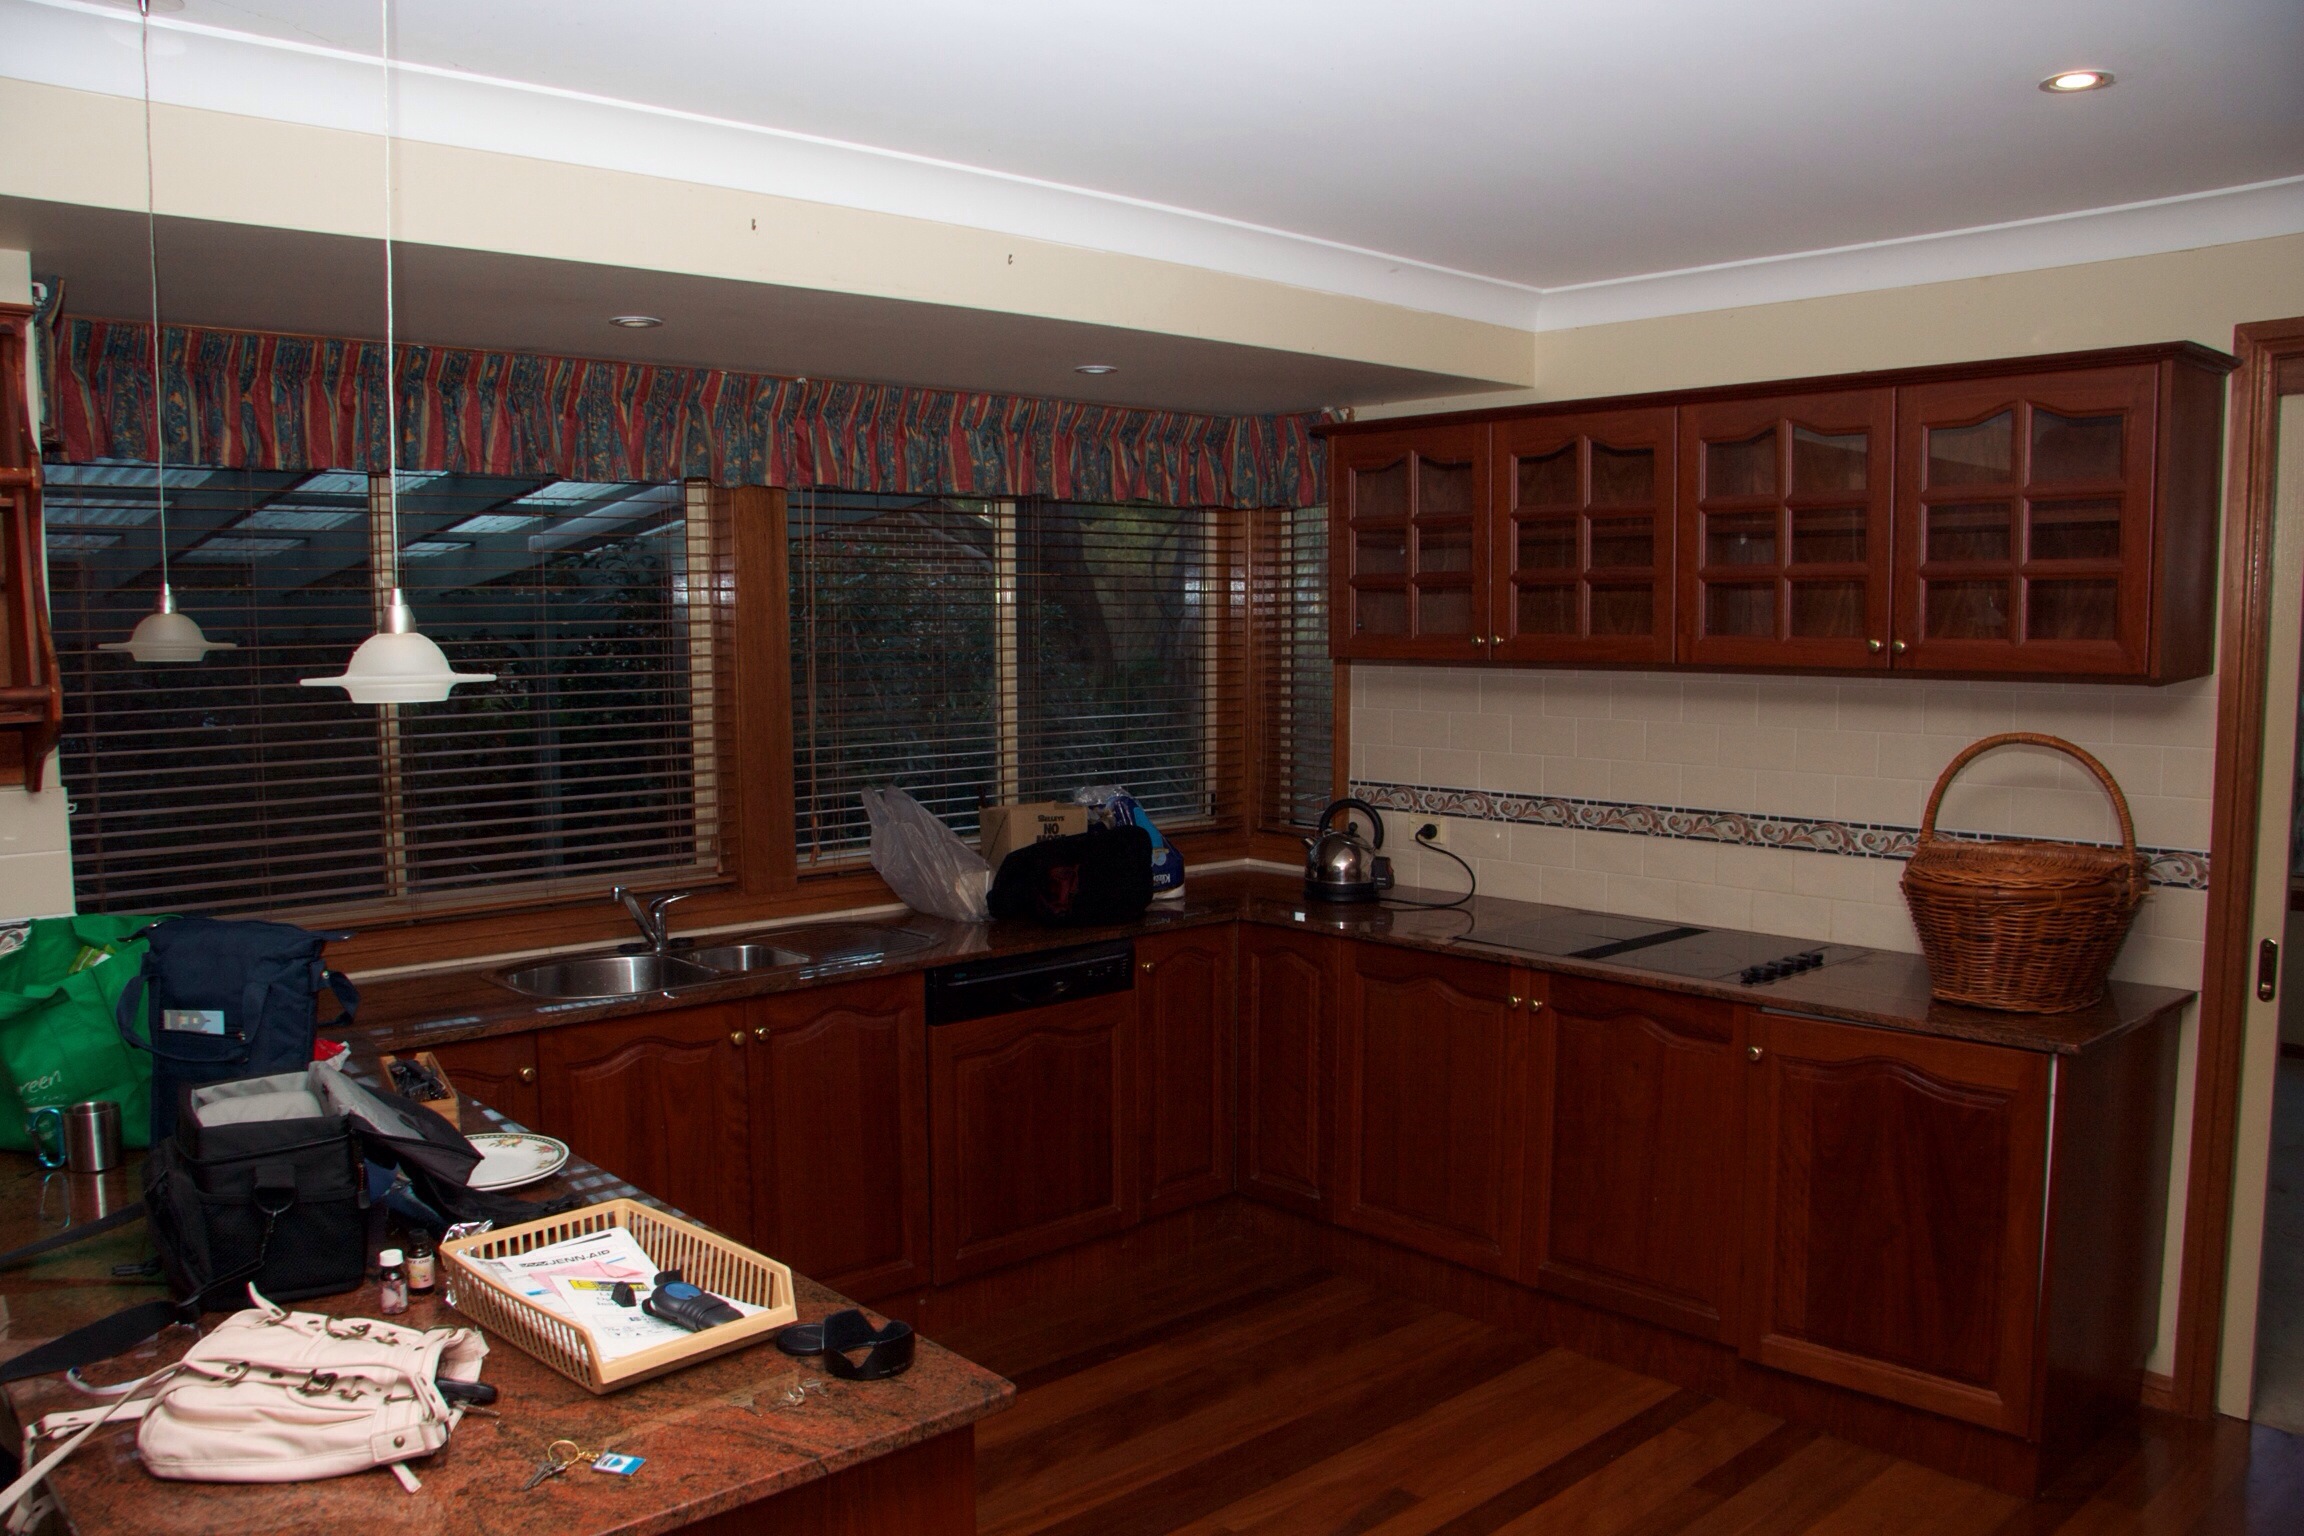
All this is leading up to the biggest change we’ve embarked on yet: updating our kitchen cabinets! This room suffered most of all from being gloomy, and although the layout is very functional, we’ve always disliked the red-brown tones that goes pretty much from wall to floor. After upgrading our living spaces elsewhere, it was time to tackle some change in the kitchen, without it costing us thousands of dollars! This project has taken on a life of its own, and has morphed into a full kitchen redo. I’m going to post some of the details of what we’ve done so far, and what we’re intending to end up with. There’s so much detail, though, it’s going to take me several posts to get through it. Hopefully, you will find it useful, and maybe even inspiring. 🙂
I’m going to leave you now with a shot of the kitchen that we took on the first day we took possession of the house:

Love the white curtains with the blue living room! Currently suffering from that rental-white fate, color-starved fate of all pre-marital 20-somethings 😦
LikeLike
Thank you! I’m glad that some of our colours have struck a chord with people. 🙂
House prices in Sydney are very expensive, and it’s common for people to be renting their whole lives. Quite a lot of people who own their own homes have that same blank wall look, though. I think you get used to it, and other people’s houses are often the same. Nothing to inspire!
Having said that, all the TV shows I watch have coloured rooms in them. Even the detective get nice colours in their offices, and I watch a fair few different detective shows! 🙂
LikeLike