
Autumn is here! It’s time to prepare for Rowany Festival, and this year that means adjusting a pair of old Thorsbjerg pants.
Background
I made these pants a long time ago, based on a pair of extant trousers found in a Danish bog called Thorsbjerg Mose. I think I must have used this article by Shelagh Lewins to construct the pants.
I made some design choices back then that I wouldn’t make now: it’s easy to go too far down the “make it exactly like the original” rabbit hole and make something that’s not much fun to wear.
Here’s what I didn’t like about my pants:
- The pants are too loose around the butt and waist and are thus unpleasant to wear. Nobody likes wearing super baggy pants.
- The waist band is a simple draw string, which is a pain in general, but especially when using a portaloo. It’s even worse when you have a bunch of knee-length skirts to get out of the way!
If I had my time again, I’d let go of an “ideal” reconstruction and remember that these pants are always covered to the knees with at least one tunic. The waistband, crotch and seat of the pants is never on display.
These areas don’t need to be medieval unless the wearer wants it to be.
Far more important is the comfort of the wearer, and an elasticated waist would be a more practical option for camping with portaloos.
The adjustments

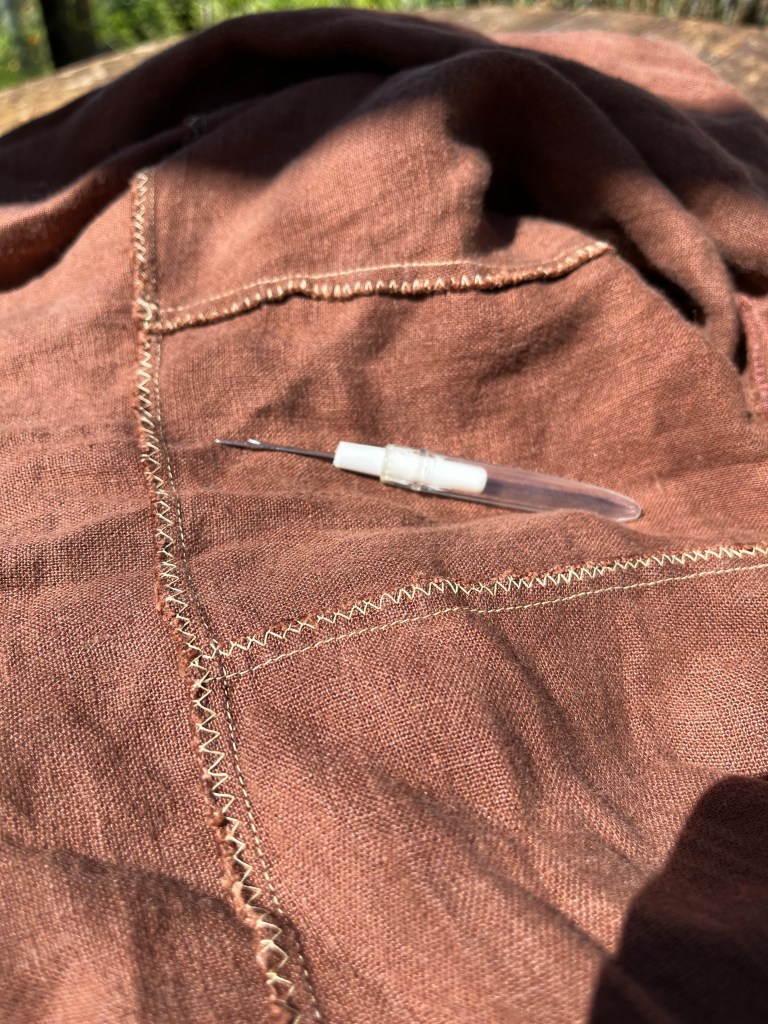
First of all, what on earth was I thinking when I made this waistband? (Answer: probably I was faithfully reconstructing the extant pants.)
This is a single layer of linen, attached with zig-zag stitch on the good side of the garment, with belt loops for a drawstring.
To say nothing of the hideous seam binding in multiple colours, chucked on the top.
This waistband needs replacing, as it’s basically a hot mess.
I had a strong suspicion that this draw-string waistband was making the “too baggy” effect much worse, as all the excess fabric was bunching in the front.
This pair of pants probably dates to after I stopped using my overlocker (serger) but before I started finishing my seams with flat-felled edges.
I wrote about different seam treatments for a medieval context a long, long time ago, if you’re interested in some options.
Flat-felled seams are now my favourite choice, and would be perfect in this situation.
Since I need to reduce the size of the “seat” of the pants, I’ll have extra fabric to finish the seams neatly.
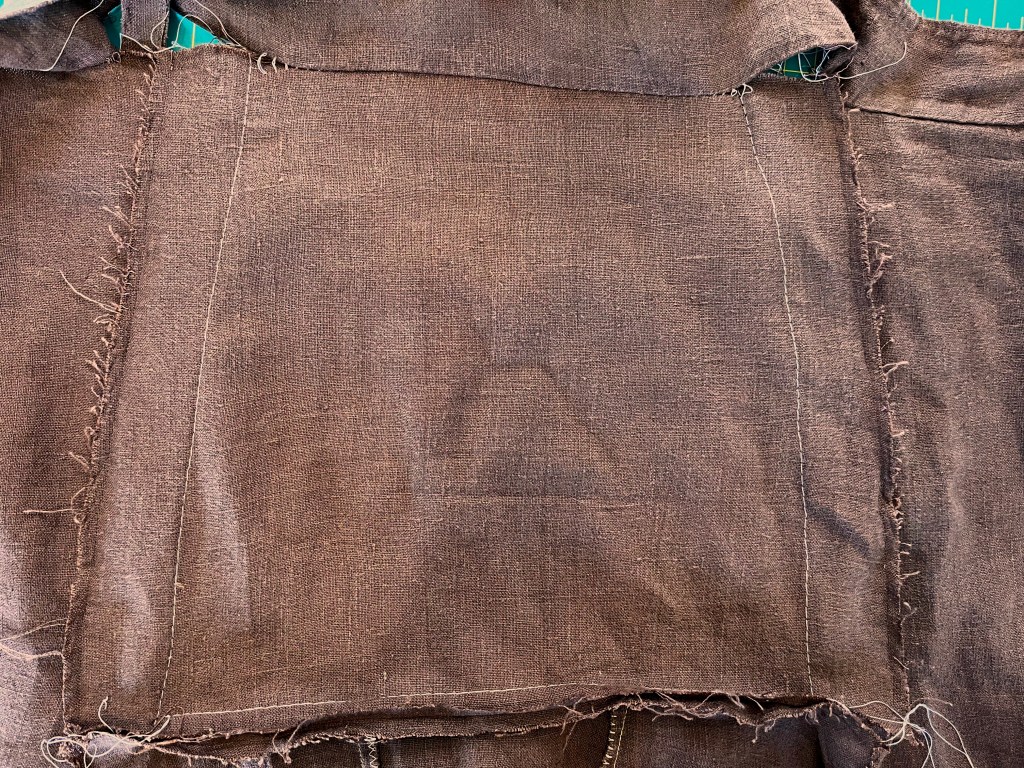
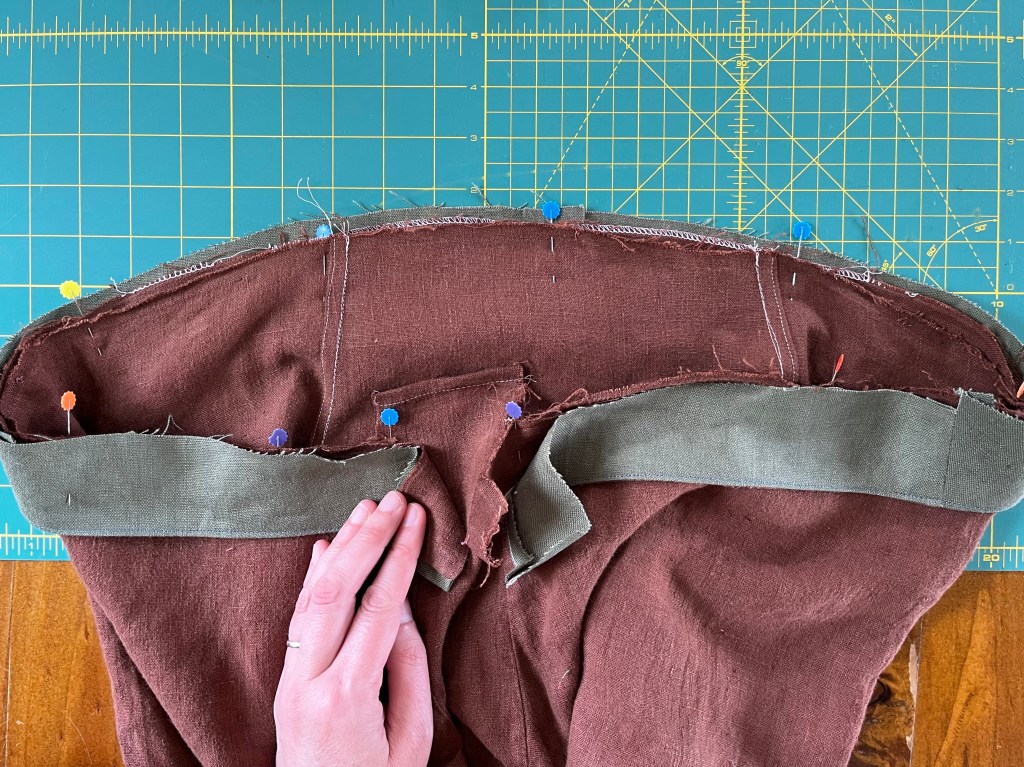
This is the adjusted “seat” area of the Thorsbjerg trousers. I’ve used basting stitches so I can check the fit.
I’ve taken in the sides of the panel dramatically, which has also narrowed the waist circumference.
Note: the trapezoidal panel is meant to be wider at the bottom end.
Don’t insert it the wrong way around, or you definitely won’t be able to sit down! (Ask me how I know.)
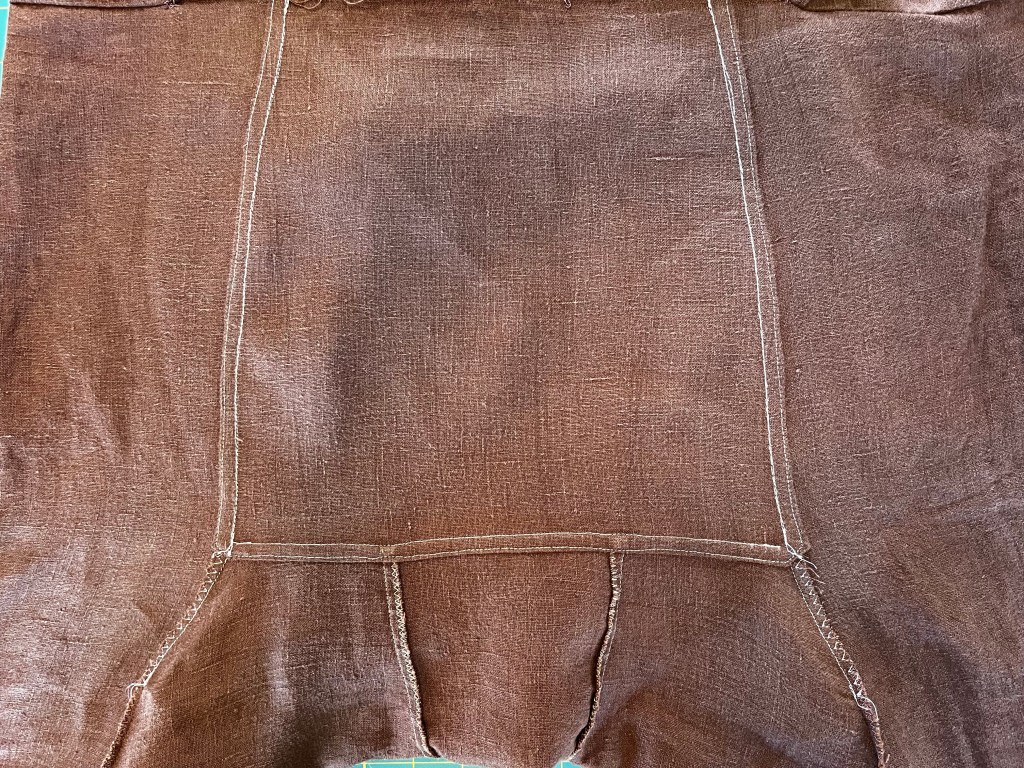
The seat area is now neatly finished on the inside with flat-felled seams. This is a much stronger seam than before!
I used a sewing machine with a random thread colour, but I don’t mind: these pants are worn under a knee-length tunic, and will never be seen.
To fix the waist band, I decided to create a casing for elastic.
First I removed the band from the pants, and took off the belt loops.
When making an adjustment like this, it’s really helpful to press all the pieces as flat as you can, especially the seams that were unpicked.
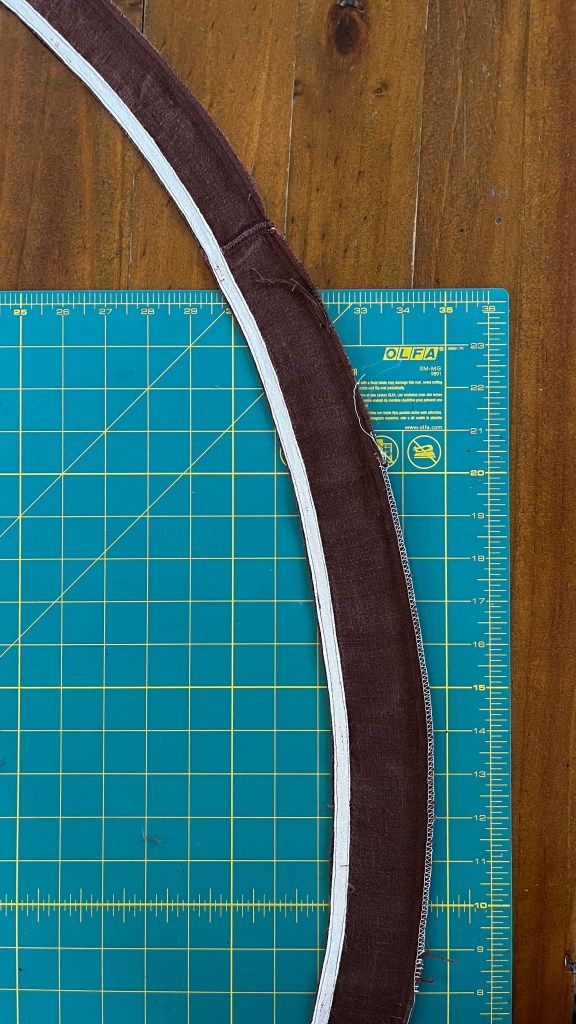
This is when I discovered I’d originally cut a curved band!
To make a casing, I would need to piece together a matching lining.
Since I had no more brown linen, I used a fragment of thicker green linen to create the lining.
Rather than unpick the seam binding from the original, I just left it in place and joined the two pieces together with edge-stitching.

I found some waist elastic in my stash, but it wasn’t quite long enough to fit the pants comfortably.
At this point I had a brain wave and decided to re-purpose the old draw string (actually a knitted band pulled from an old dressing gown).
I cut the black tie in half and attached the ends to the elastic piece with a stretch zig-zag stitch.
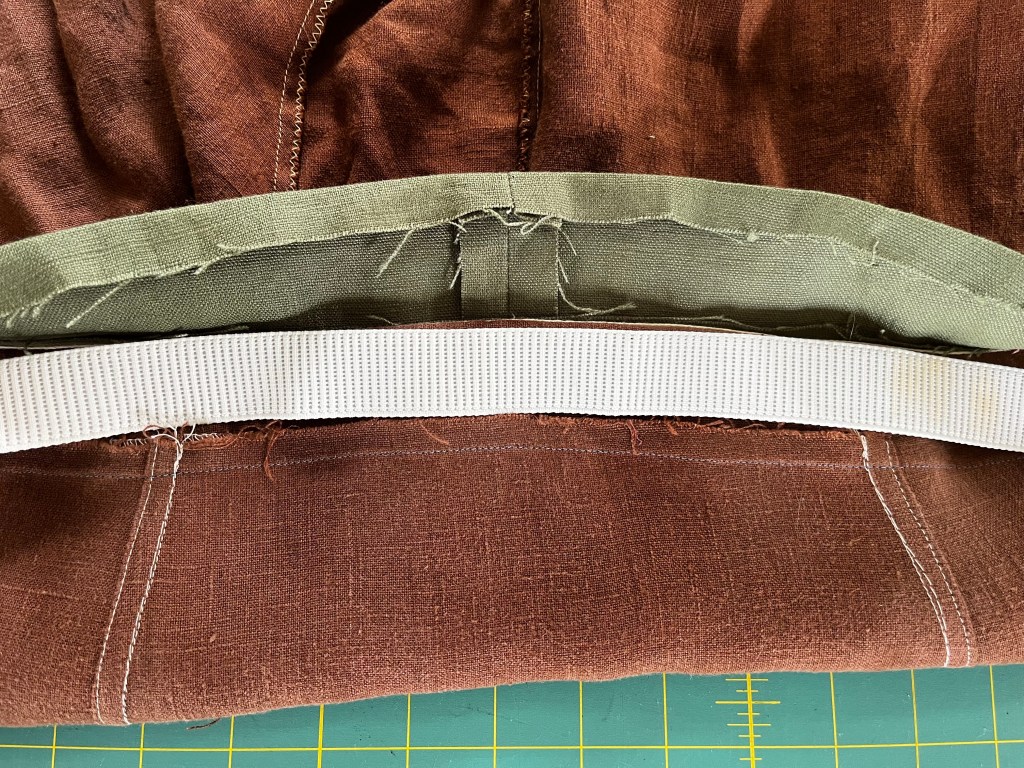
Then I tucked the elastic up into the waist band and pinned the lining in place.
This avoids later having to insert the elastic into the finished casing, which in my mind is a major win. Hooray!

To attach the lining I top-stitched front of the waist band, taking care not to catch the tie or elastic that was pinned inside.
You could stitch-in-the-ditch for a less visible machine stitching. Again, I don’t mind this showing as the waist band will never be visible.
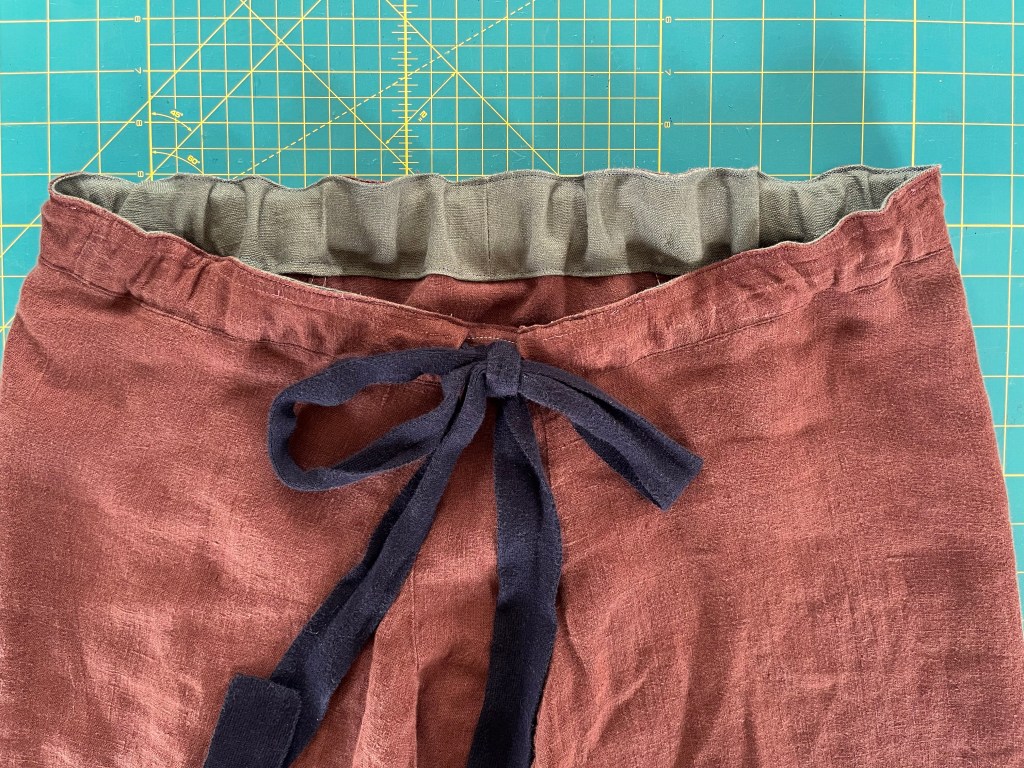
Here is the finished waist band: so much neater than before!
The ties here never need to be undone because the hidden elastic stretches when you pull the pants down. Very practical.
It’s looks exactly like a pair of medieval draw string pants!
I don’t mind at all that I’ve deviated from the design on the extant pants. This is much more comfortable and practical, and I will remember this lesson for next time: think about practically as well as historical accuracy!
