I have made an astonishing amount of fabric since I started learning to weave in earnest. Since my first warp in August last year I think I’ve woven at least 80 metres of handwoven fabric!
Quite of lot of this fabric was destined for Christmas presents, so I couldn’t really show it off until the gifts were distributed. Now I can finally reveal some of the best bits!
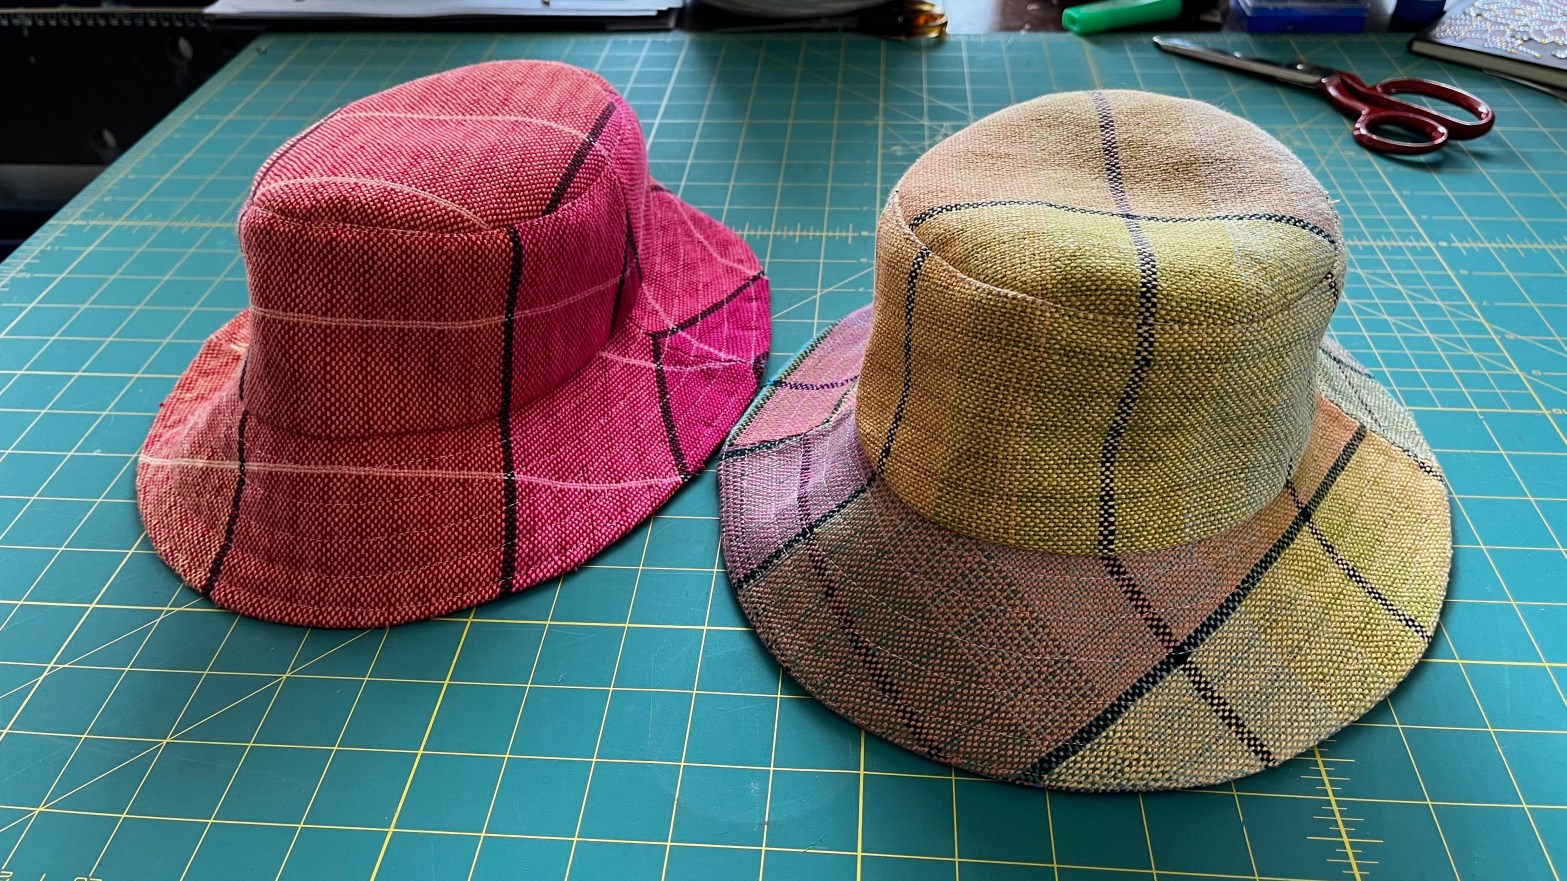
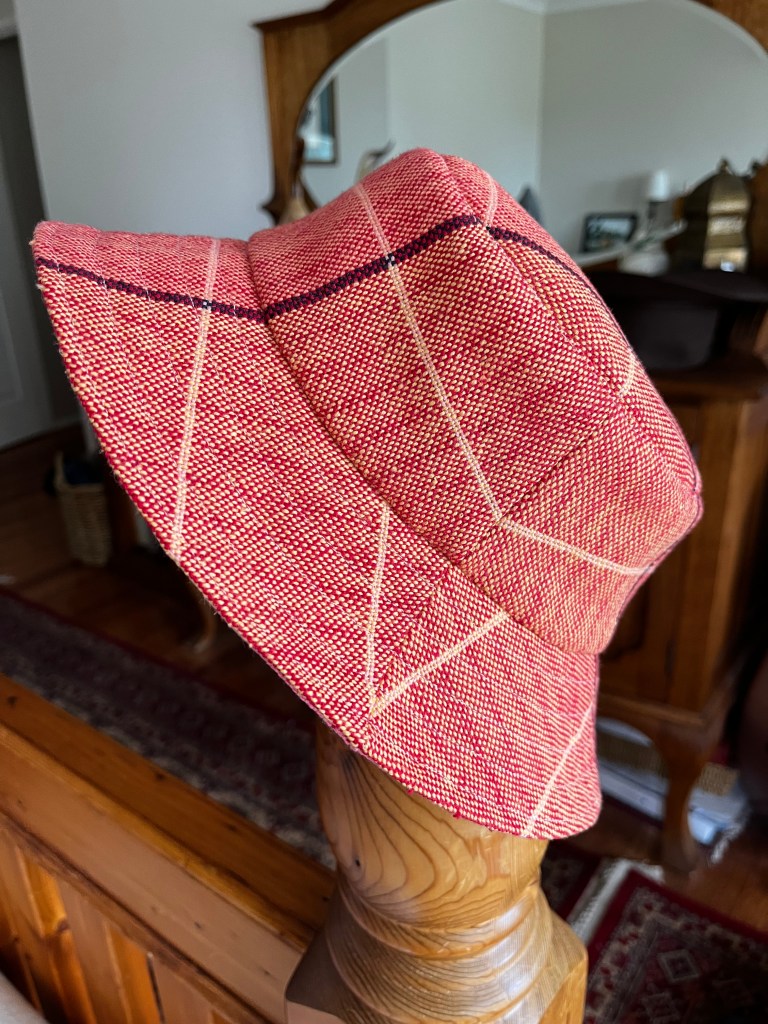
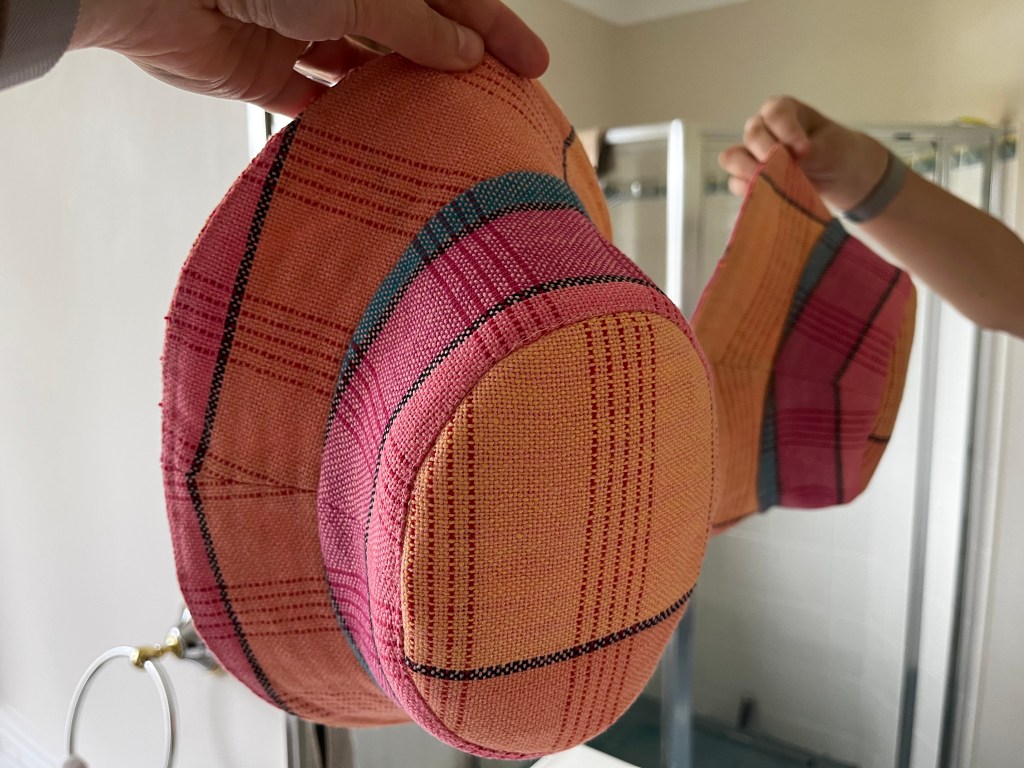
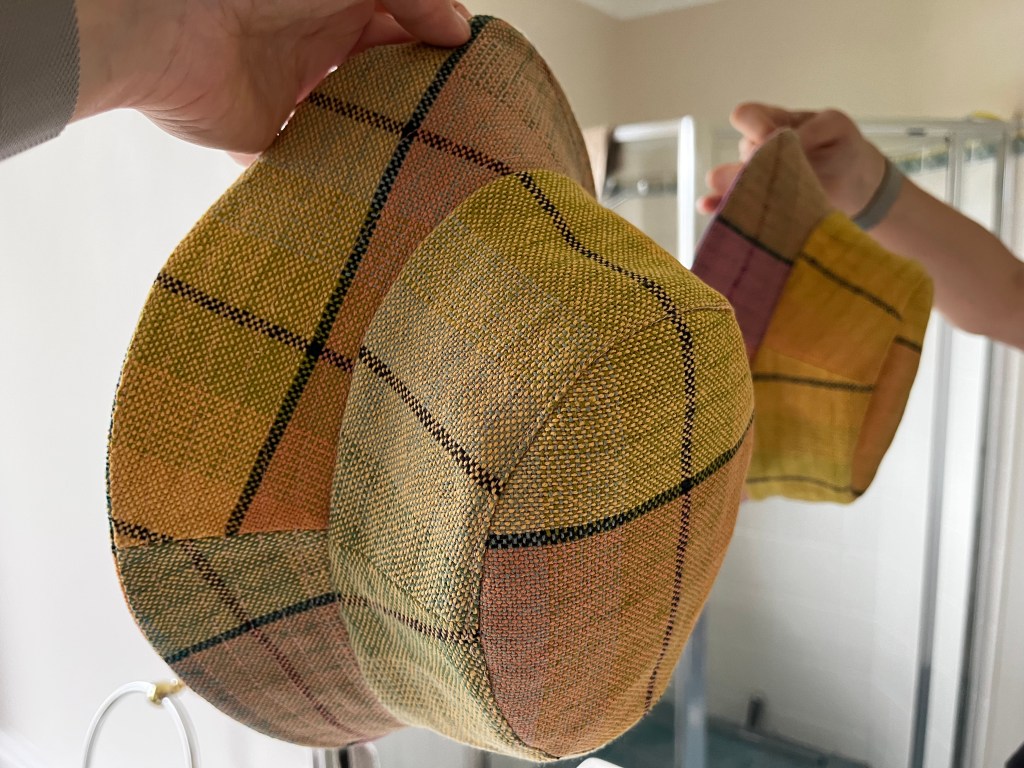
In particular, these two adorable reversible bucket hats that my nieces scored. Aren’t they just amazing??
Planning the project
I’ve had this Oliver + S bucket hat pattern in my stash for years and years, and I’ve never made it up. I figured with hand woven fabric it would make a great Christmas present!
Could I do it? Turns out, yes. With knobs on.

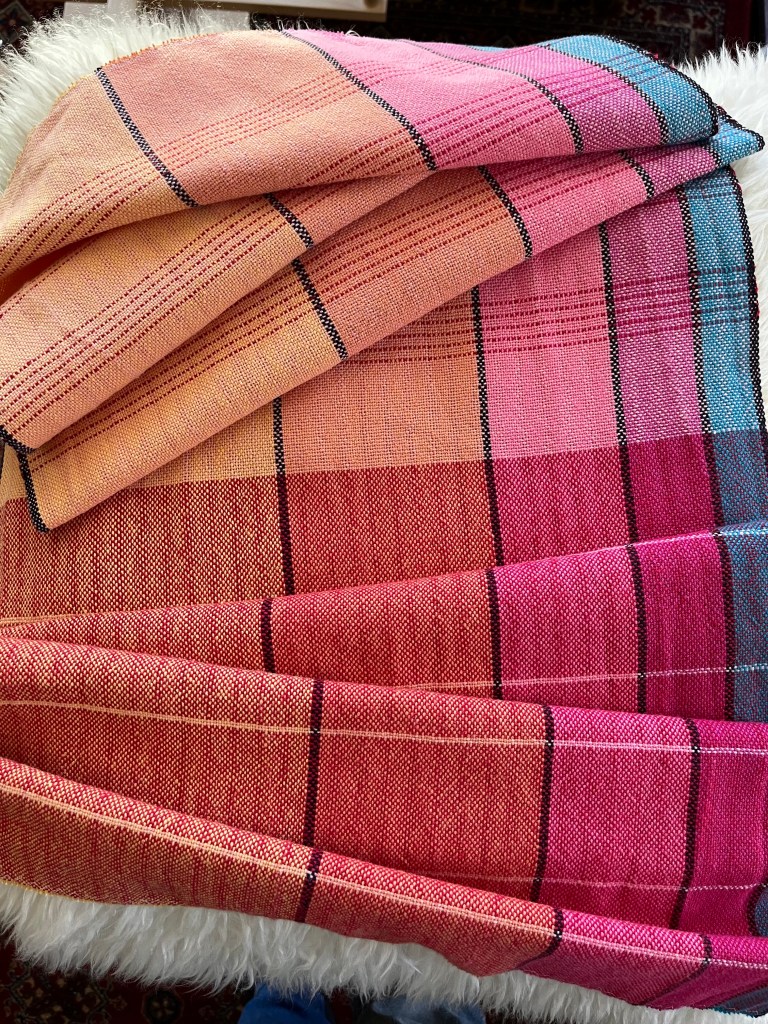
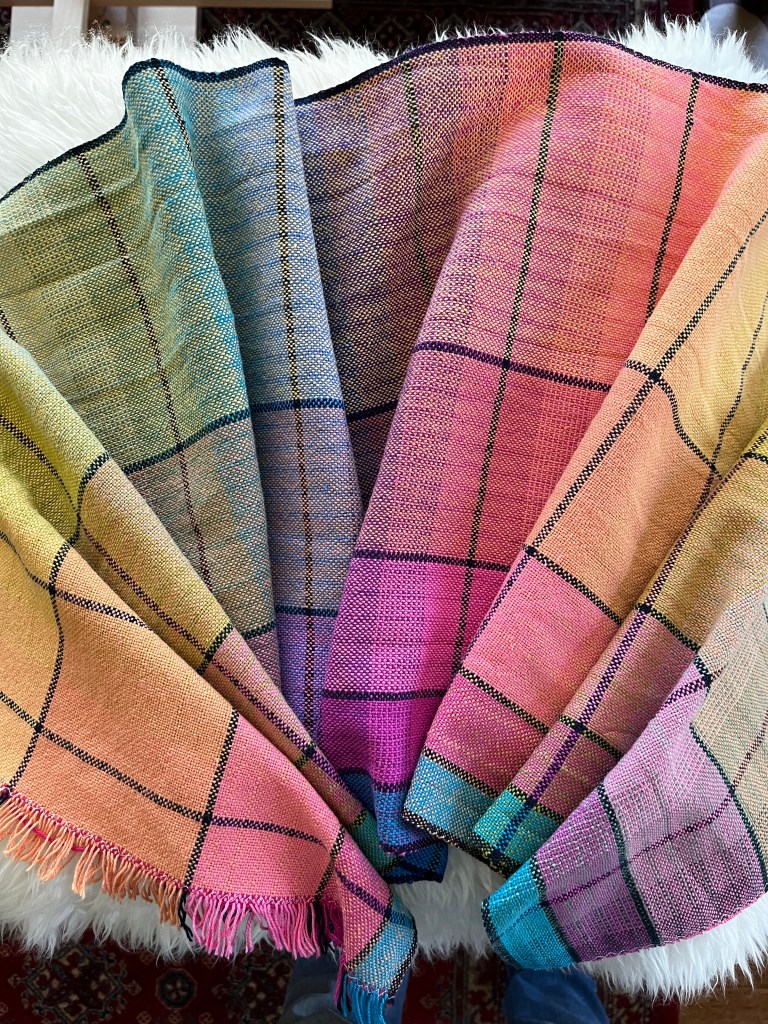
One of my online classes at the Jane Stafford School of Weaving is a colour study called “Parrot” (based on the colours of a bird). It’s woven in 2/8 cotton, sett at 18 ends per inch (epi) and is an asymmetrical colour gradient across the warp.
It’s a little bit rainbow! 🌈
And at around 17 inches finished width, it would be perfect for making a large child’s bucket hat.
I printed out my pattern pieces, cut them in the largest size, and laid them out so I could judge how much length of weaving to do for the inner and outer parts of each hat. Since none of the pieces was very wide, I could see that they would all fit inside the finished width of the cloth.
I was generous with the spacing between each pattern piece because I knew the fabric would shrink in both directions and I wanted to definitely have enough to work with.
Unfortunately I didn’t record how much cloth I actually wove, but it was similar to a large tea towel per inner / outer hat. Maybe 40 inches?
The weaving
I needed to wait until my new Louët Spring II loom arrived so that I could weave the warp I’d pre-wound, because 18.5 inches in the reed was too wide for my little retro-fitted table loom. As Christmas hove into view it was looking grim for me being able to get this woven and sewn up in time!
On the 24th of November I was giddy as a school-girl as the delivery truck finally arrived. I wasted no time putting the loom together and beaming the Parrot warp onto the loom.
Weaving on the new loom is a dream.
I wove yardage for the first hat as follows:
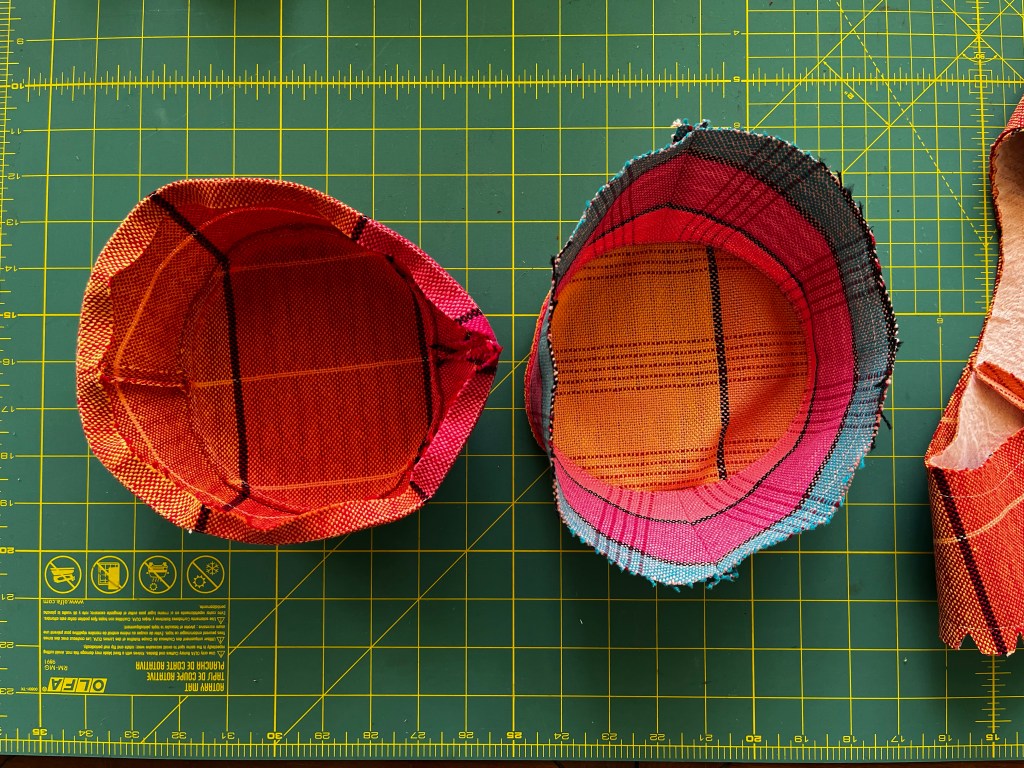
Inner: background of Salmon, with five single pick stripes of Cerise every few inches.
Outer (almost the opposite): background of Cerise with a two pick stripe of Salmon every few inches.
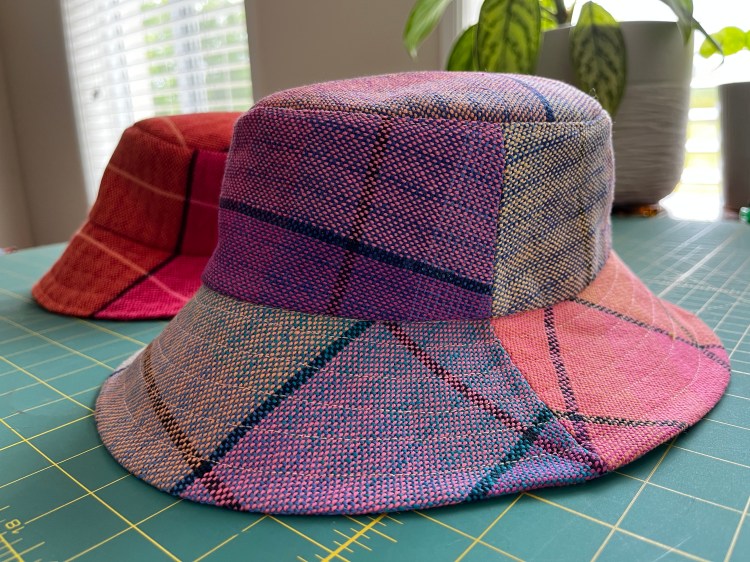
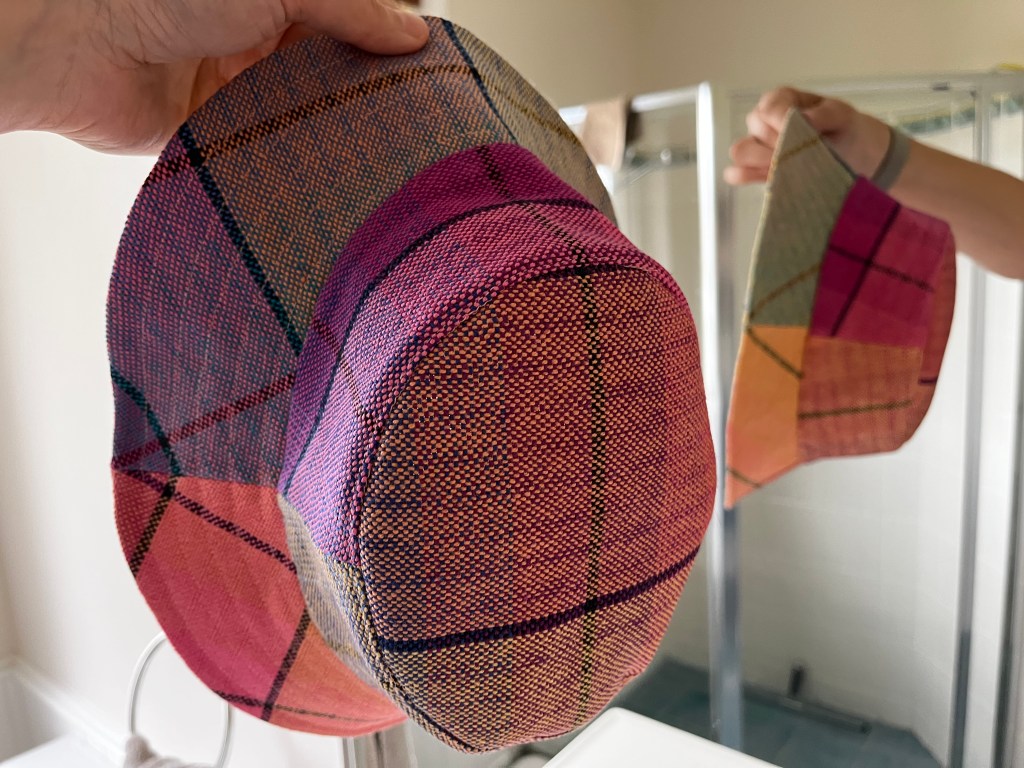
The yardage for the second hat was a continuous colour gradation round the colour wheel (channeling serious rainbow vibes).
I blended from one colour to the next by alternating picks of each colour for an inch. Each colour pair was separated by a black stripe.
Soooo yummy!
Preparing to Sew
Lots of people say that preparing to cut into handwoven fabric gives them chills. I have to say with the time pressure I was under, I was just keen to go, go, go, so I just plunged straight in!
To give myself confidence cutting out curves, I decided to starch the fabric. Boy, I’m glad I did!
I’ve used starch before, for quilting projects, so I know this makes for easy cutting and sewing. This time was no exception! I had no frayed edges, and my fabric pieces were easy to manipulate, even though they were bulkier than typical store-bought cloth.
This time I used flour starch from this recipe. I diluted the thick goopy mixture so I could use a water sprayer to apply the starch, and I ironed the fabric under an old pillow case until it was flat and dry (it smelled pleasant: like toast!).
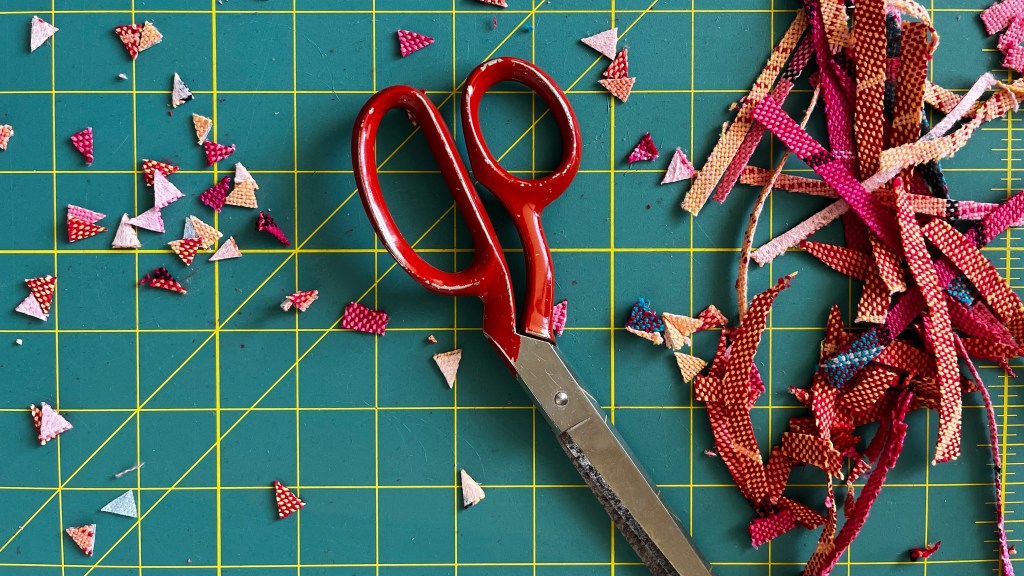
I cut the shapes using a rotary cutter (and nerves of steel).
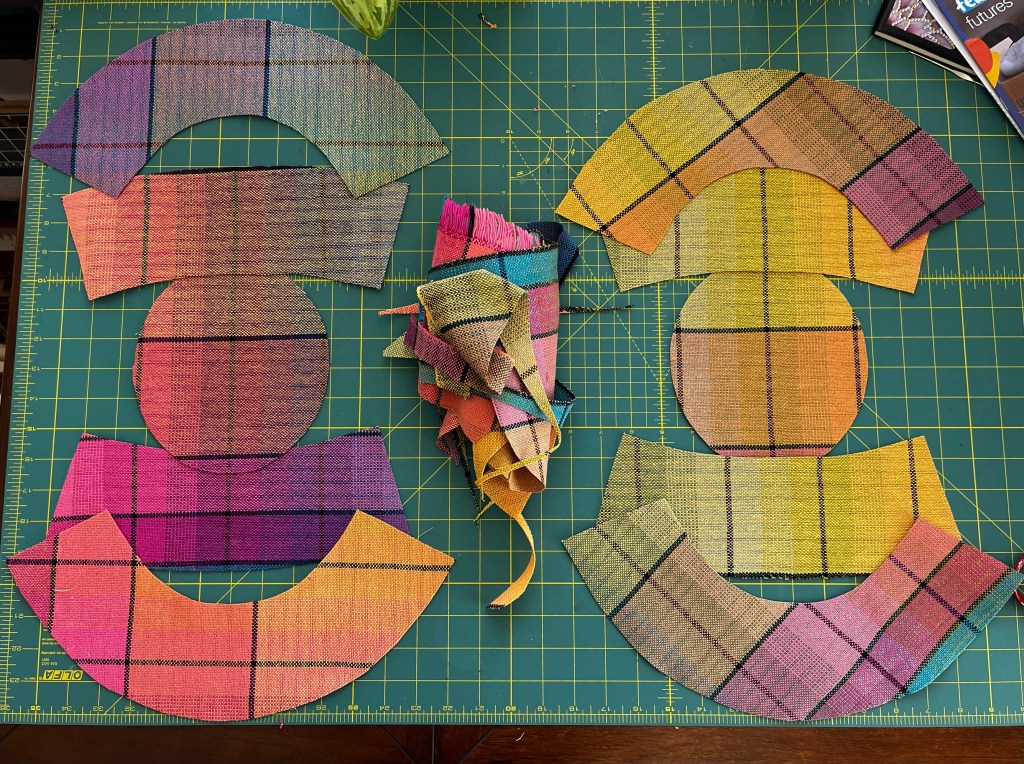
The first hat I cut laying the pattern pieces straight up and down the warp, using the suggested grain line. This meant I could pattern match the vertical lines on the hat, and resulted in a very smart result.

The second hat I barely had enough yardage to do both inner and outer layers, so I got creative with the brim pieces and laid them off-grain and on the bias-grain to fit them in. This resulted in amazing colour complexity.
Sewing the hats
Sewing with a bulky handwoven fabric turned out to be not such a big deal for this project, although I did lose some of the hat dimensions to turn-of-cloth-thickness.
I made sure I stay-stitched all the curved edges (there are lots of those!) and I clipped the curves before I stitched pieces together.
The instructions that came with the pattern were easy to follow (I have lots of sewing experience so YMMV), and I believe I just followed them until I was done.
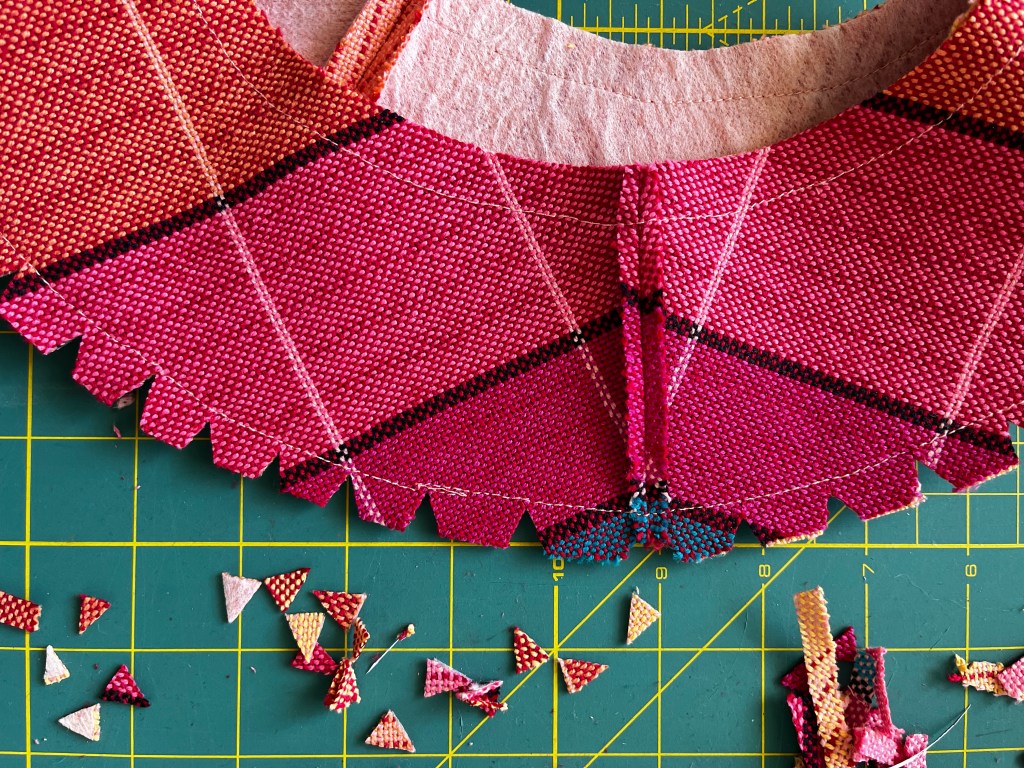
I do recall topstitching at the crown to give a crisp finish, and I trimmed the inner seam allowance there to reduce bulk when the two hats were aligned (one goes inside the other at the end of the build).
I also topstitched the edge of the brim and continued into a spiral quilting pattern to add extra strength (hoping to reduce future floppiness).
Final verdict?
Wow, just wow.
I wanted to keep both of these hats for myself! Luckily, they were both too small for my adult head. 😉
My nieces loved the hats, and I couldn’t have been more pleased with the outcome.
The project took a fair bit of time to complete. From starting weaving to the finished project I took 8 days of elapsed time, which included:
- Dressing the loom (a day),
- Weaving (several days because I also did tea towels and napkins from the same warp),
- Washing and drying, and a first press to finish the fabric,
- Starching and pressing again,
- Cutting, sewing and hand stitching the final step (several more days, IIRC).
Phew!
Basically, it was enormous fun, and I’d do it again like a shot.

That looks so pretty!
LikeLike
Thanks Colin!
LikeLike
Oh wow 😍 This hat is beautiful.
LikeLike
Thank you so much!
LikeLiked by 1 person