I’ve recently discovered how wonderful it is to cut and work with fabrics that have been starched.

It took a long time for me to get on board with this idea. I figured the hassle of finding starch, and then preparing the fabric, would stretch out the cutting stage of the project, and this is where I already tend to get bogged down.
However!
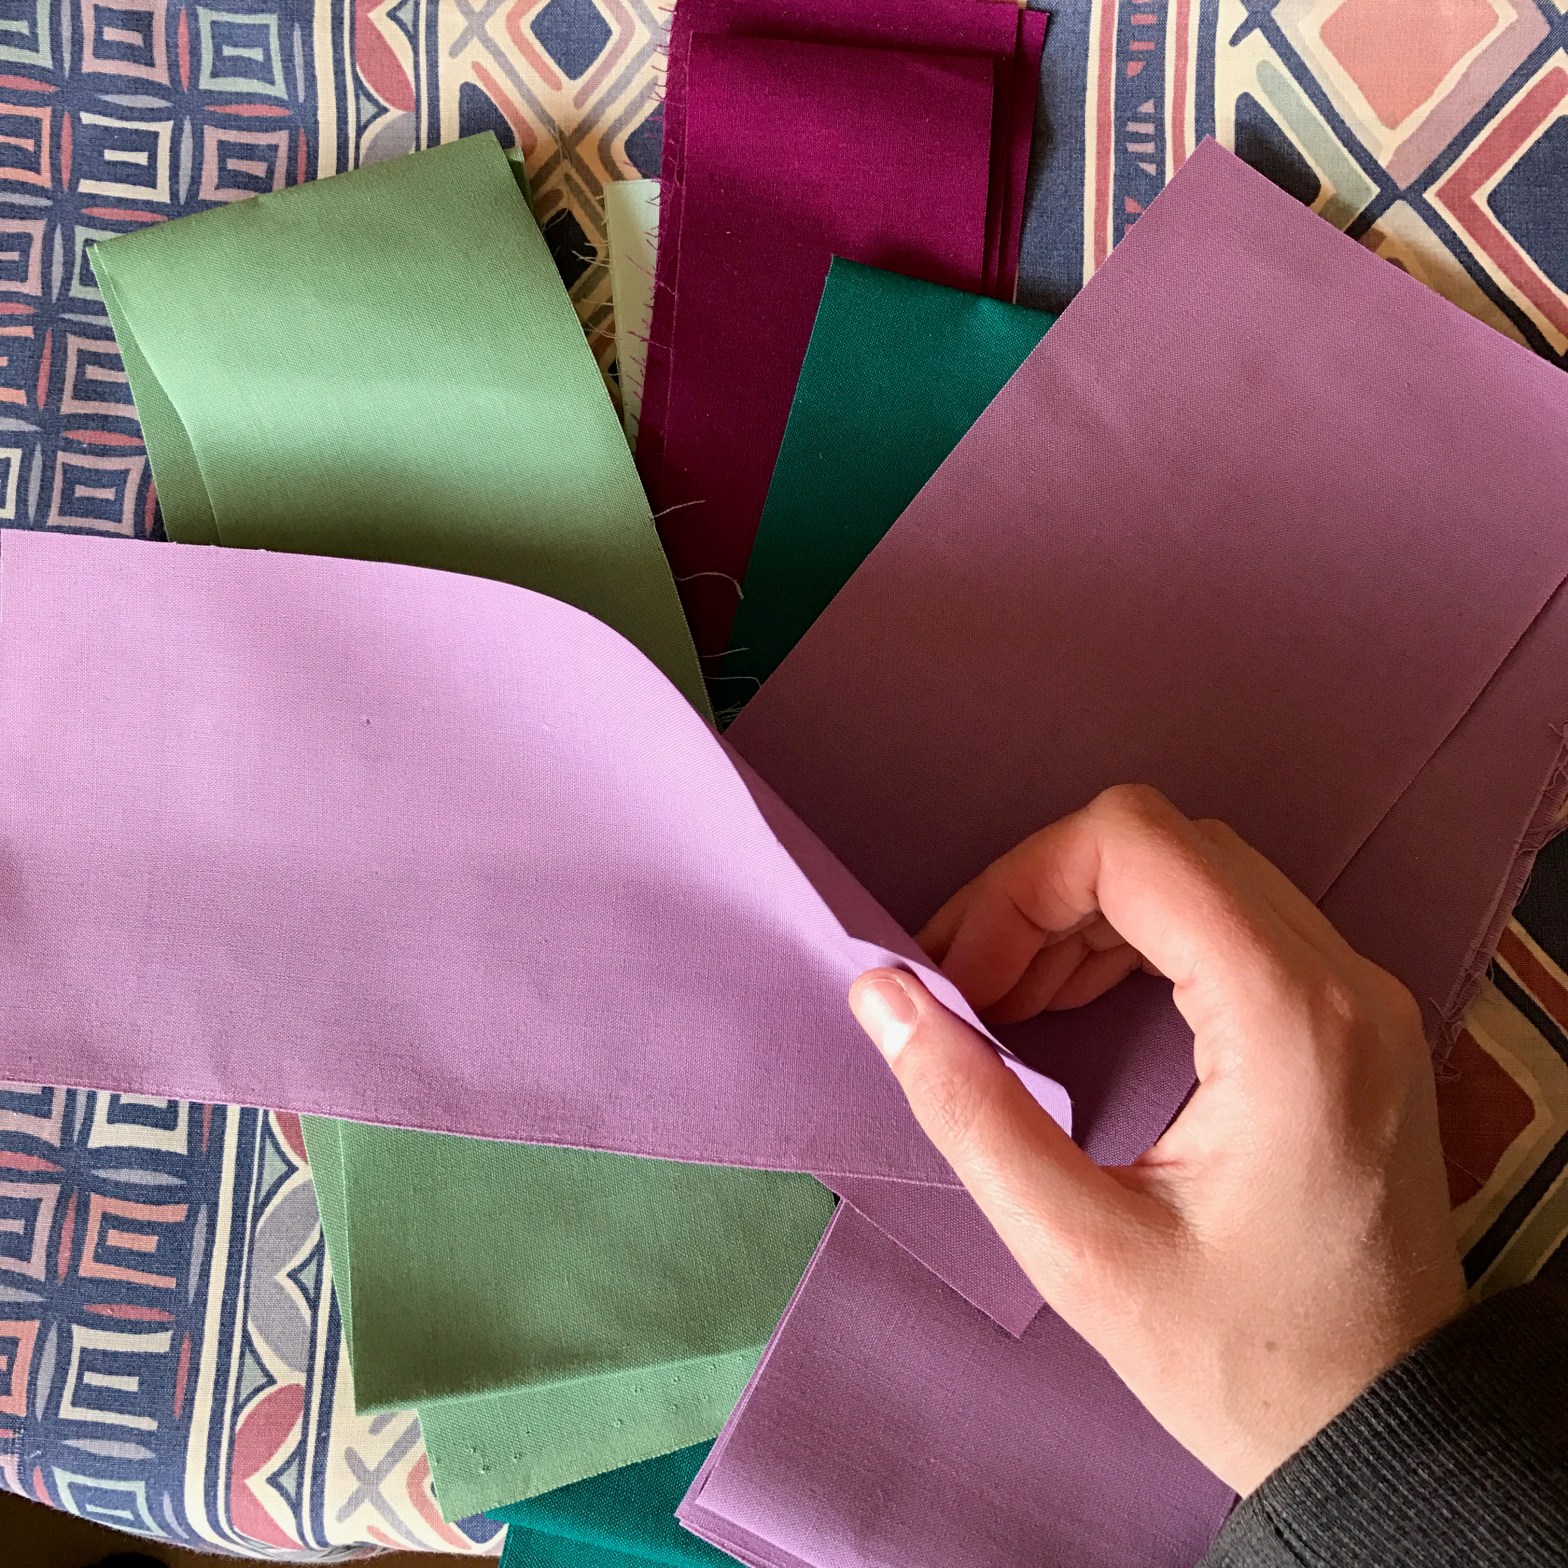
My latest quilting project (or one of them — I’m trying out doing a Leaders-and-Enders quilt whilst I’m working on this one) involves a bunch of bias edges. Many, many stretchy edges that I am advised will be much more manageable with starched fabrics.
Who am I to argue with the wisdom of Pinterest?
Getting hold of starch in Australia is more difficult than just idly wandering through the Laundry aisle at the supermarket, and I figured that this is a problem that was probably already solved in medieval times. So: make my own.

Easy!
I took about two cups of short grain starchy rice, and I cooked it on my stove using my usual no-rinse method. This kept all the starch in the cooking water.
After the rice was cooked, I drained it into another saucepan and poured some boiled water over the top. This rinsed the starch out of the (very!) gloogy rice. I ended up with at least 1.5 Litres of cloudy, starchy, water — possibly more!
I set aside the rice for making into meals (fried rice, etc.), and let the starchy water cool a little. Then I swished it around and poured it directly into a spray bottle.
Done!

I’ve made my own starch 100% for free, since this is just a waste product from my normal cooking process. Win!
I was apprehensive about using starch, as I’ve heard the iron can scorch the fabric pretty quickly. But this turned out to be easy too!
- Place a cloth over your ironing board so you don’t get starch all over your normal cover (I used an old pillowcase, which worked great).
- Lay the fabric down on this — good side up — and spray with the starch water.
- Spray down the length of the fabric so you’ve wet it all down.
- Flip it over so that you can press over the back of the fabric.

Now for the actual pressing. Fingers crossed!
Using an appropriate setting for the fabric, and no steam, quickly and lightly run the iron around the fabric, to heat the piece lying on the board. Quilting cotton is fairly easy to do directly, but if the fabric is slippy or grippy when damp, maybe use a light cotton cloth between the iron and the fabric, to avoid dragging the fabric and making wrinkles like a sand dune.
Once the heat starts to steam the water out of the fabric, it becomes easier and easier to press more firmly. I then made an up-down motion of pressing instead of pushing back and forth, which kept the grain line straight and avoided wrinkles.

It was fun watching the colours of the fabric changing from damp to dry as I pressed!
My iron was used directly on my fabric and I had no fears with the scorching. The pressing plate did get a little dirty and will need to be cleaned, I think. But it isn’t a sticky dirt (yet).

Cutting the fabric once it was starched was positively dreamy. I actually really enjoyed the whole experience! I will certainly be doing this again, especially when using recycled or slippery fabrics like I did on my sister’s Wedding Quilt top. Oh man — hindsight.
