I have finished my sister’s baby quilt! 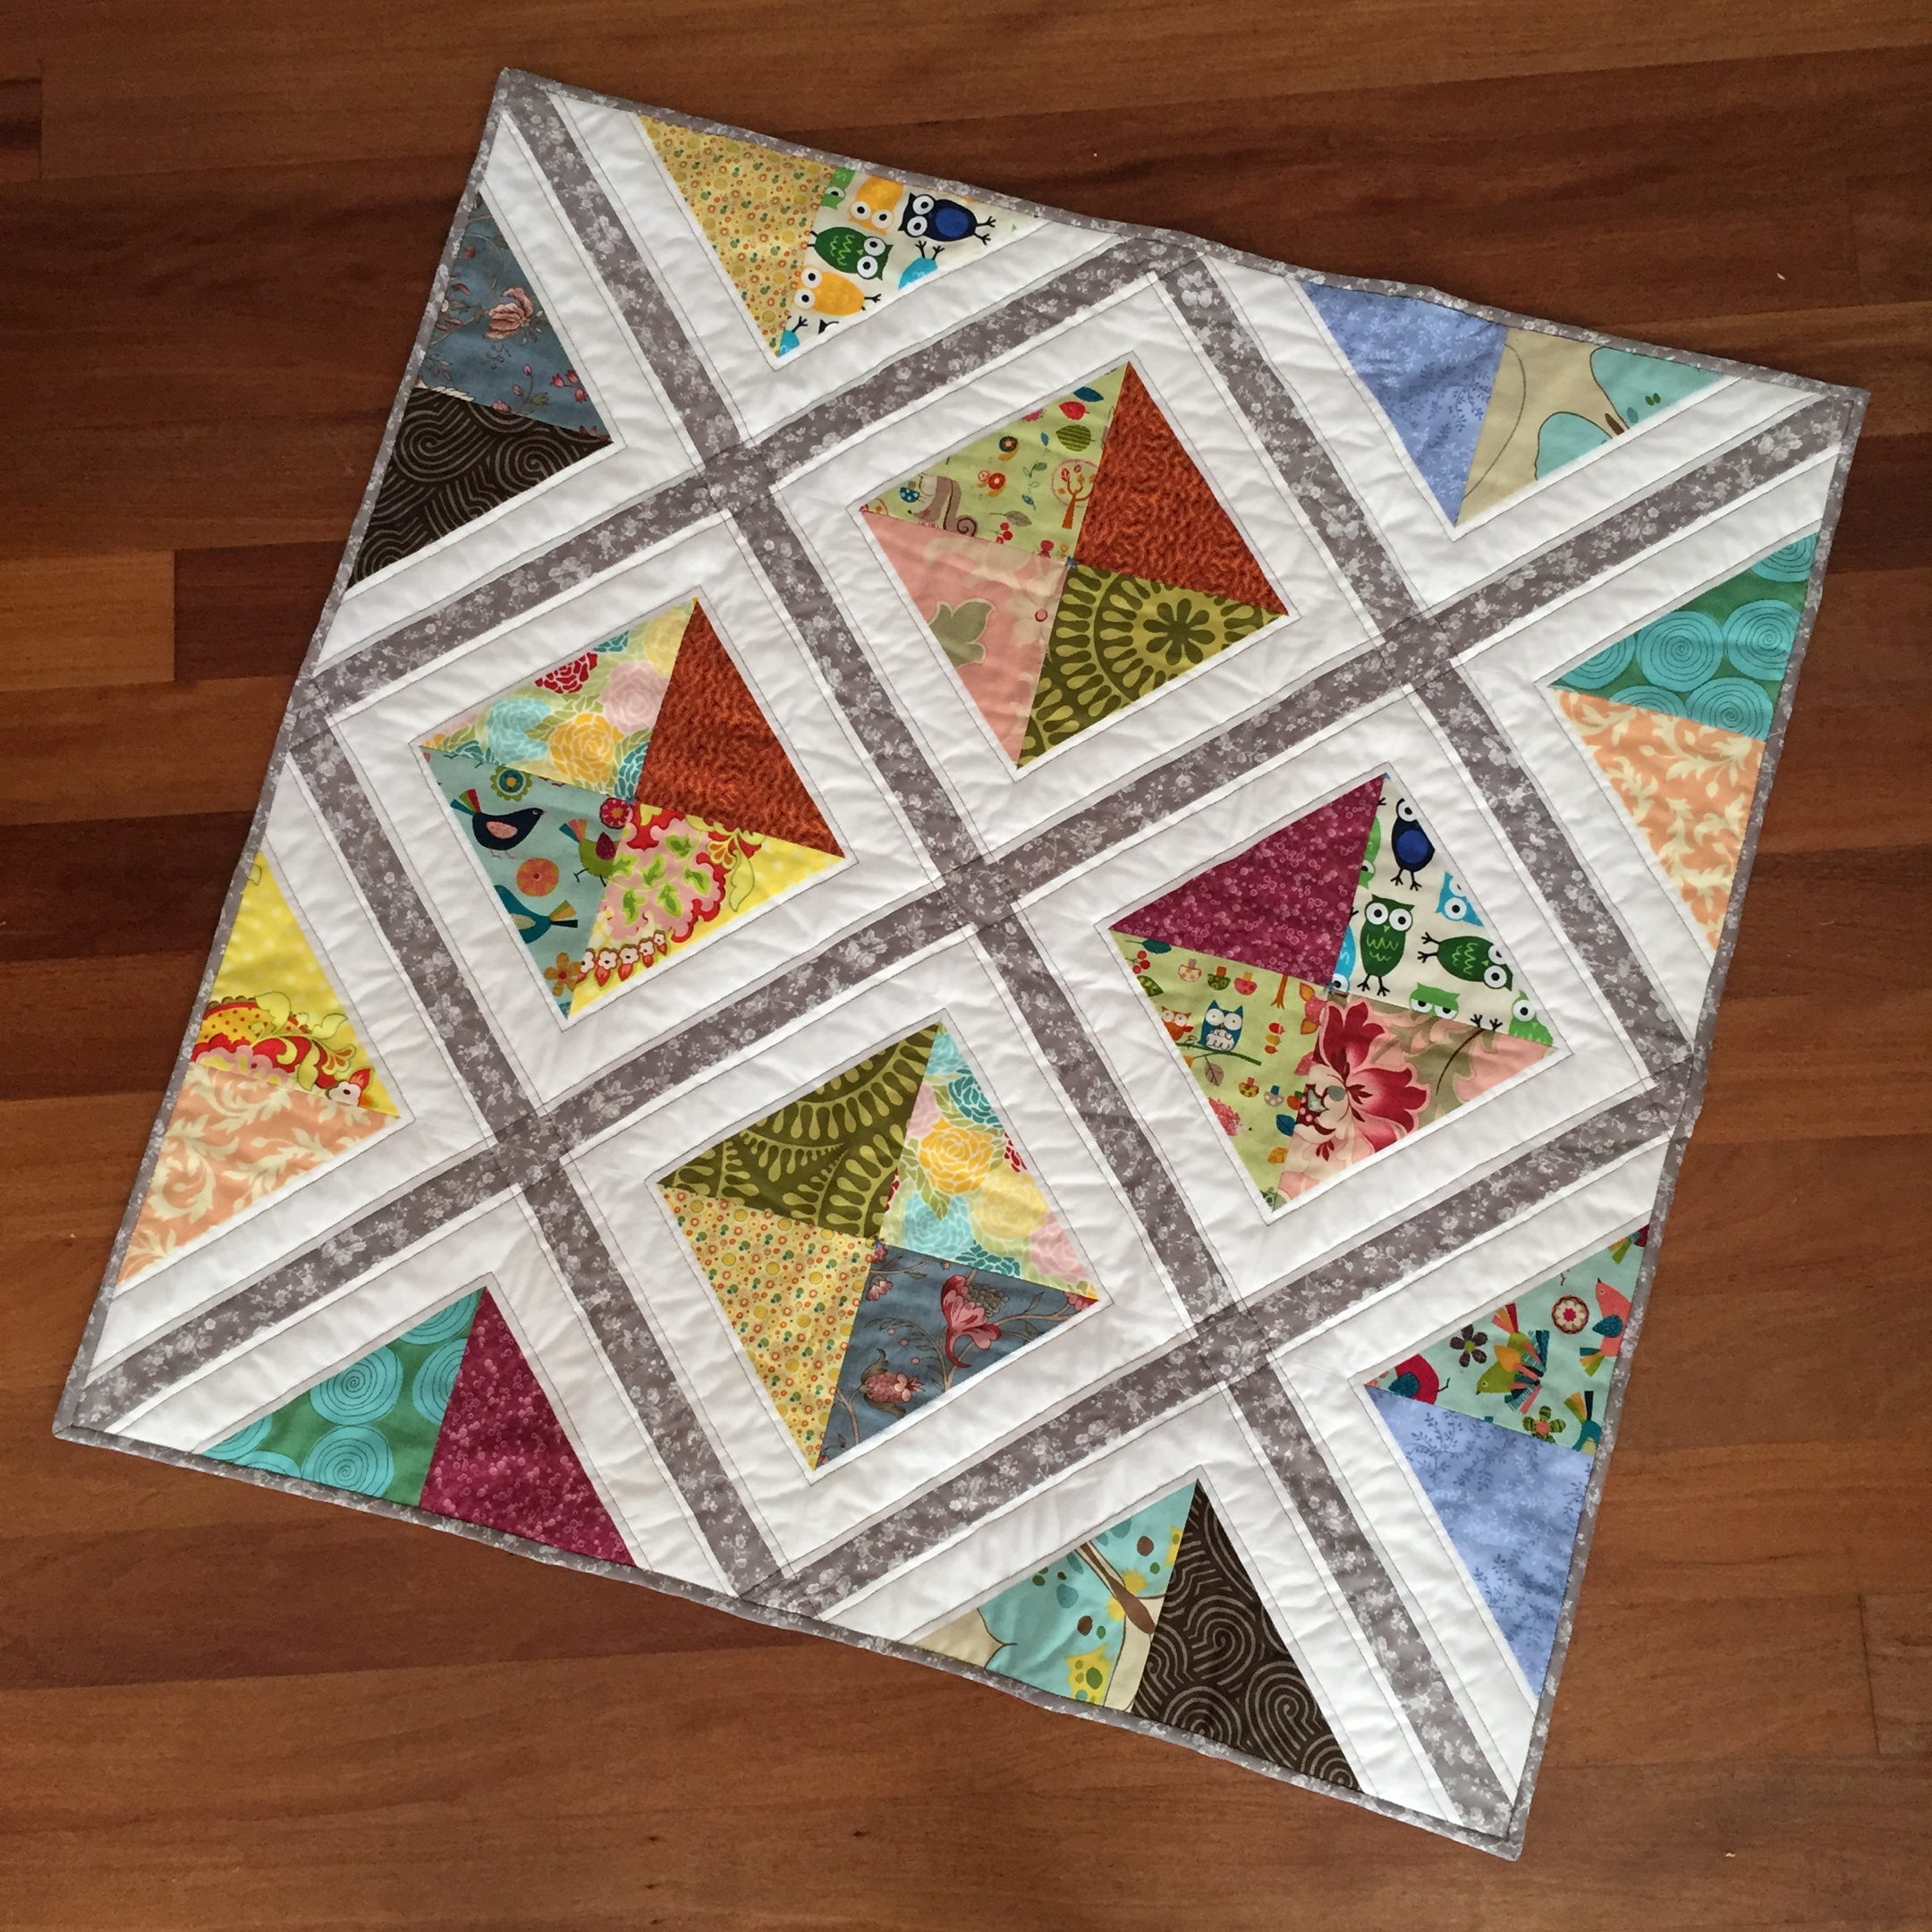 I called this one “hoot!” because the little green owl seemed to pop out at me. Some of these fabrics are so cute!
 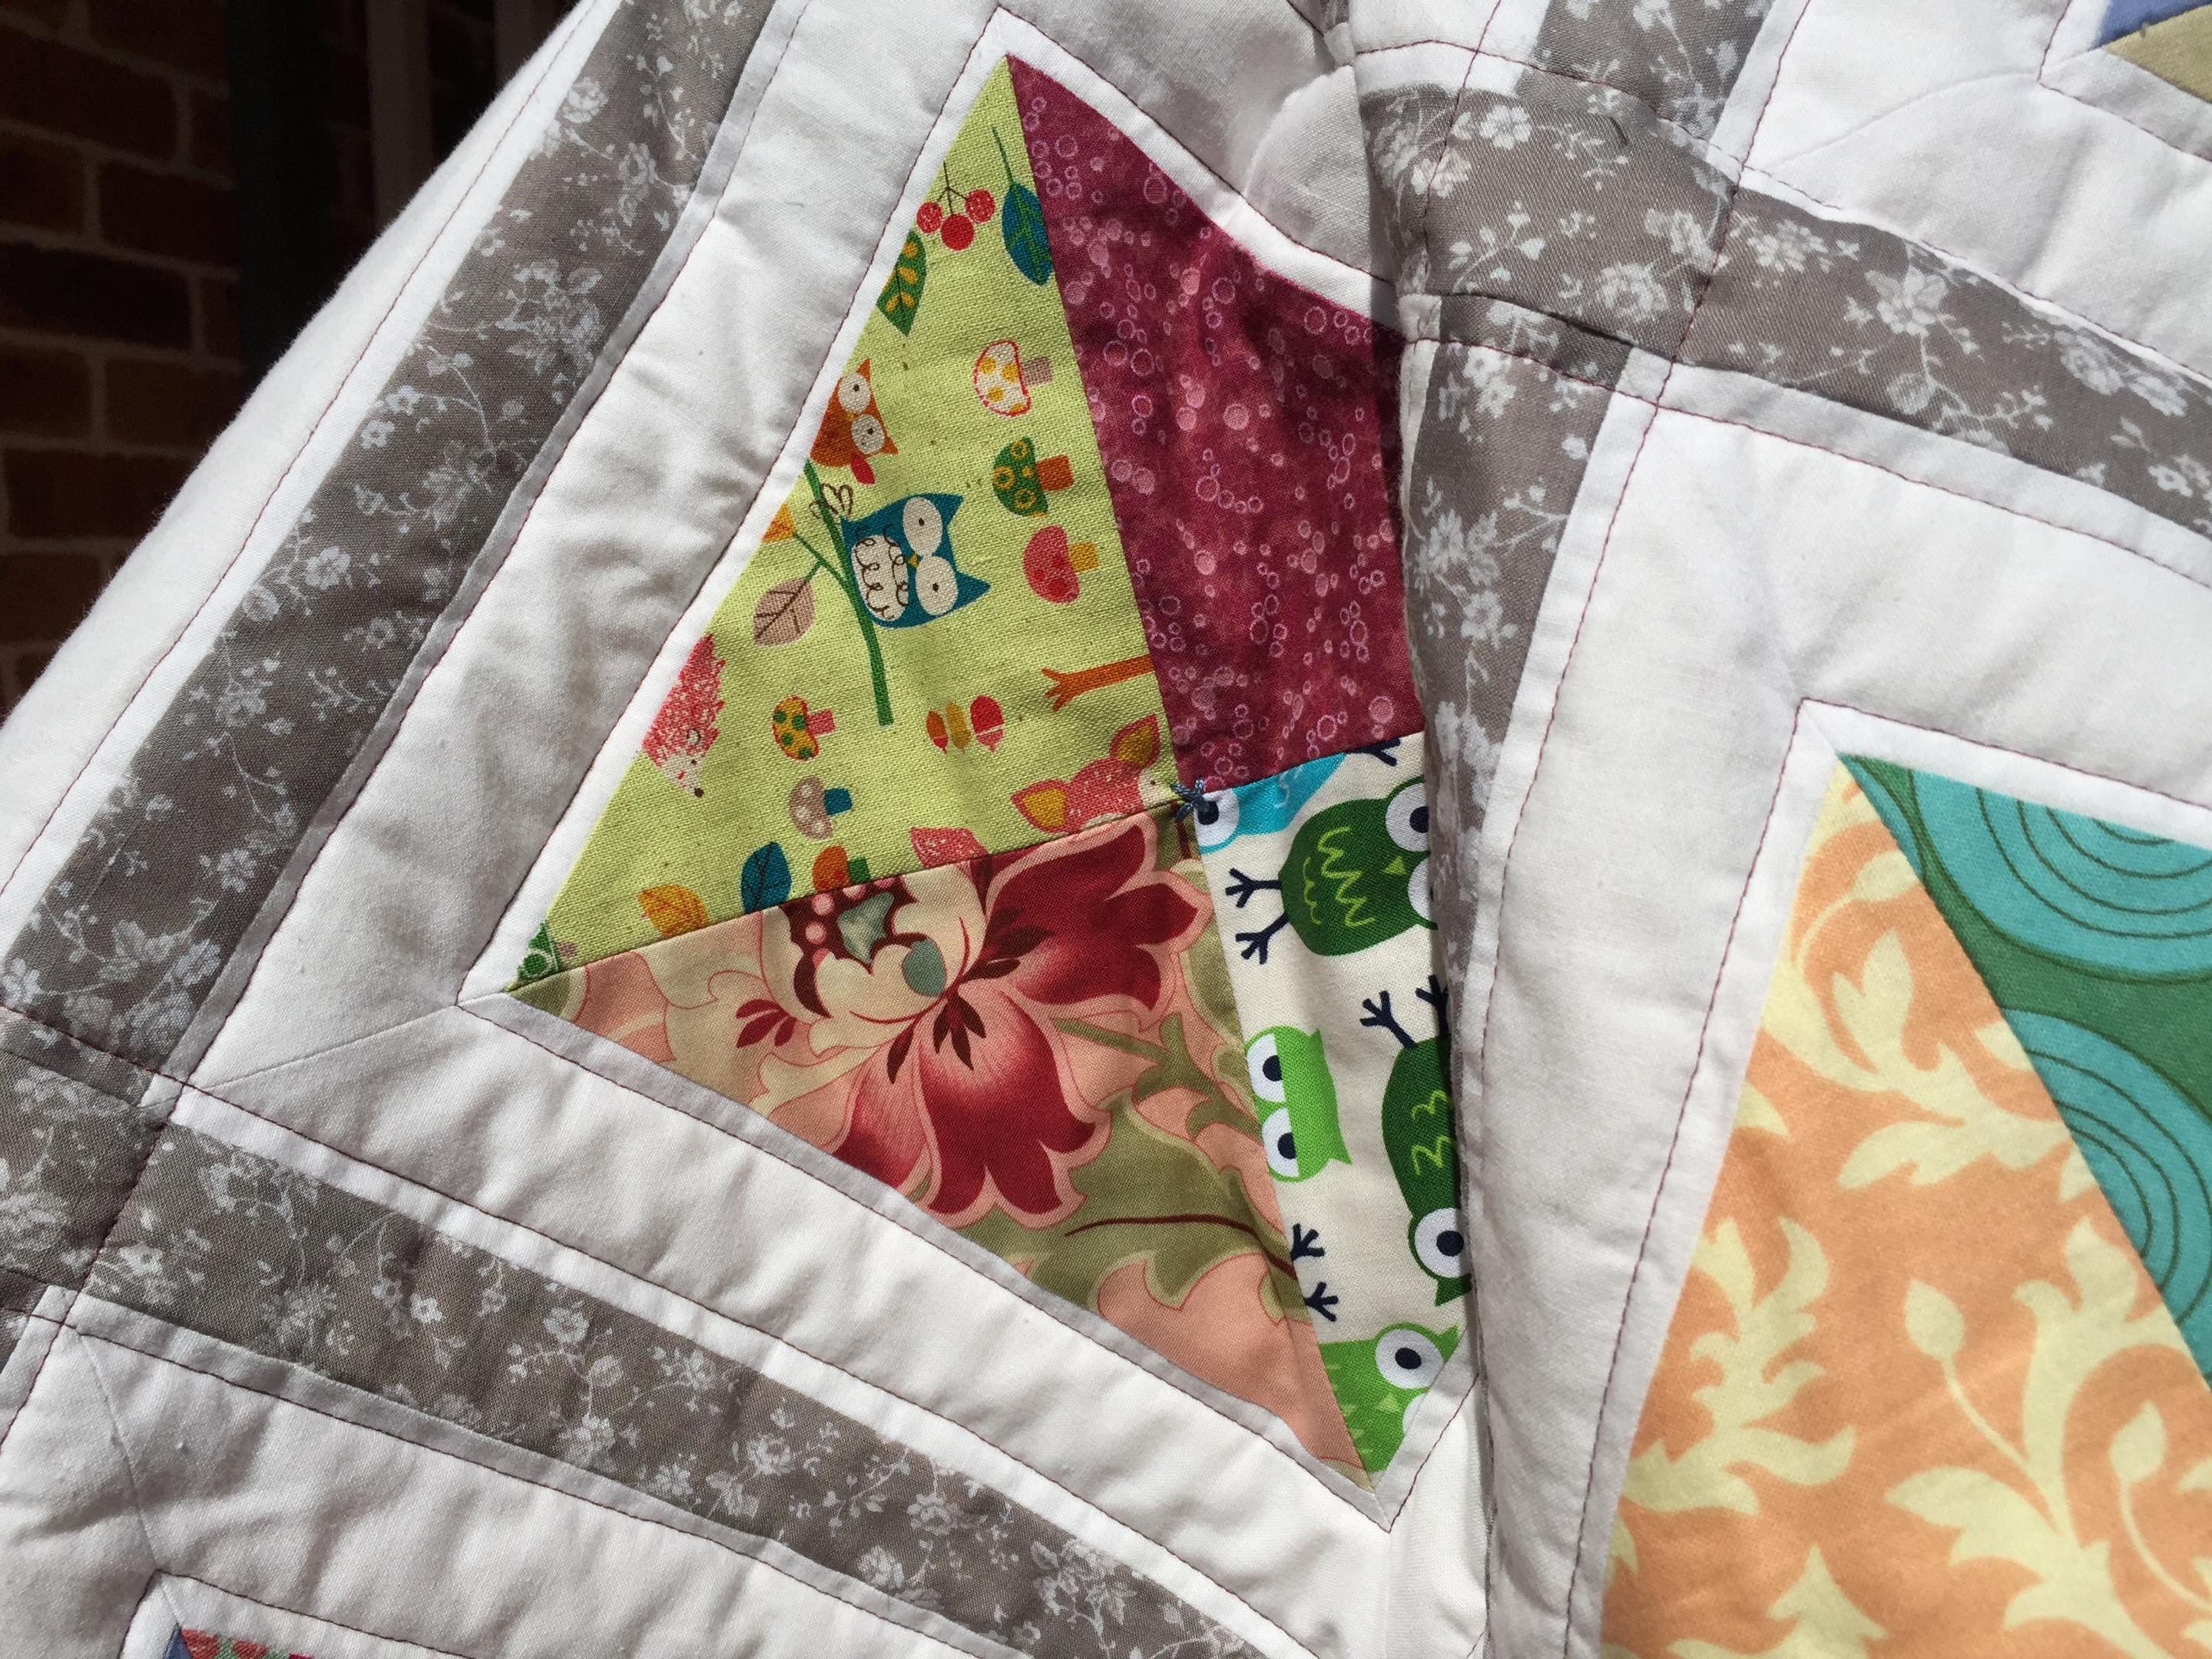 In my tutorial for this quilt top I showed how to put the diagonal sashing together. I decided to echo the diagonal lines with some quilting in contrasting thread.
 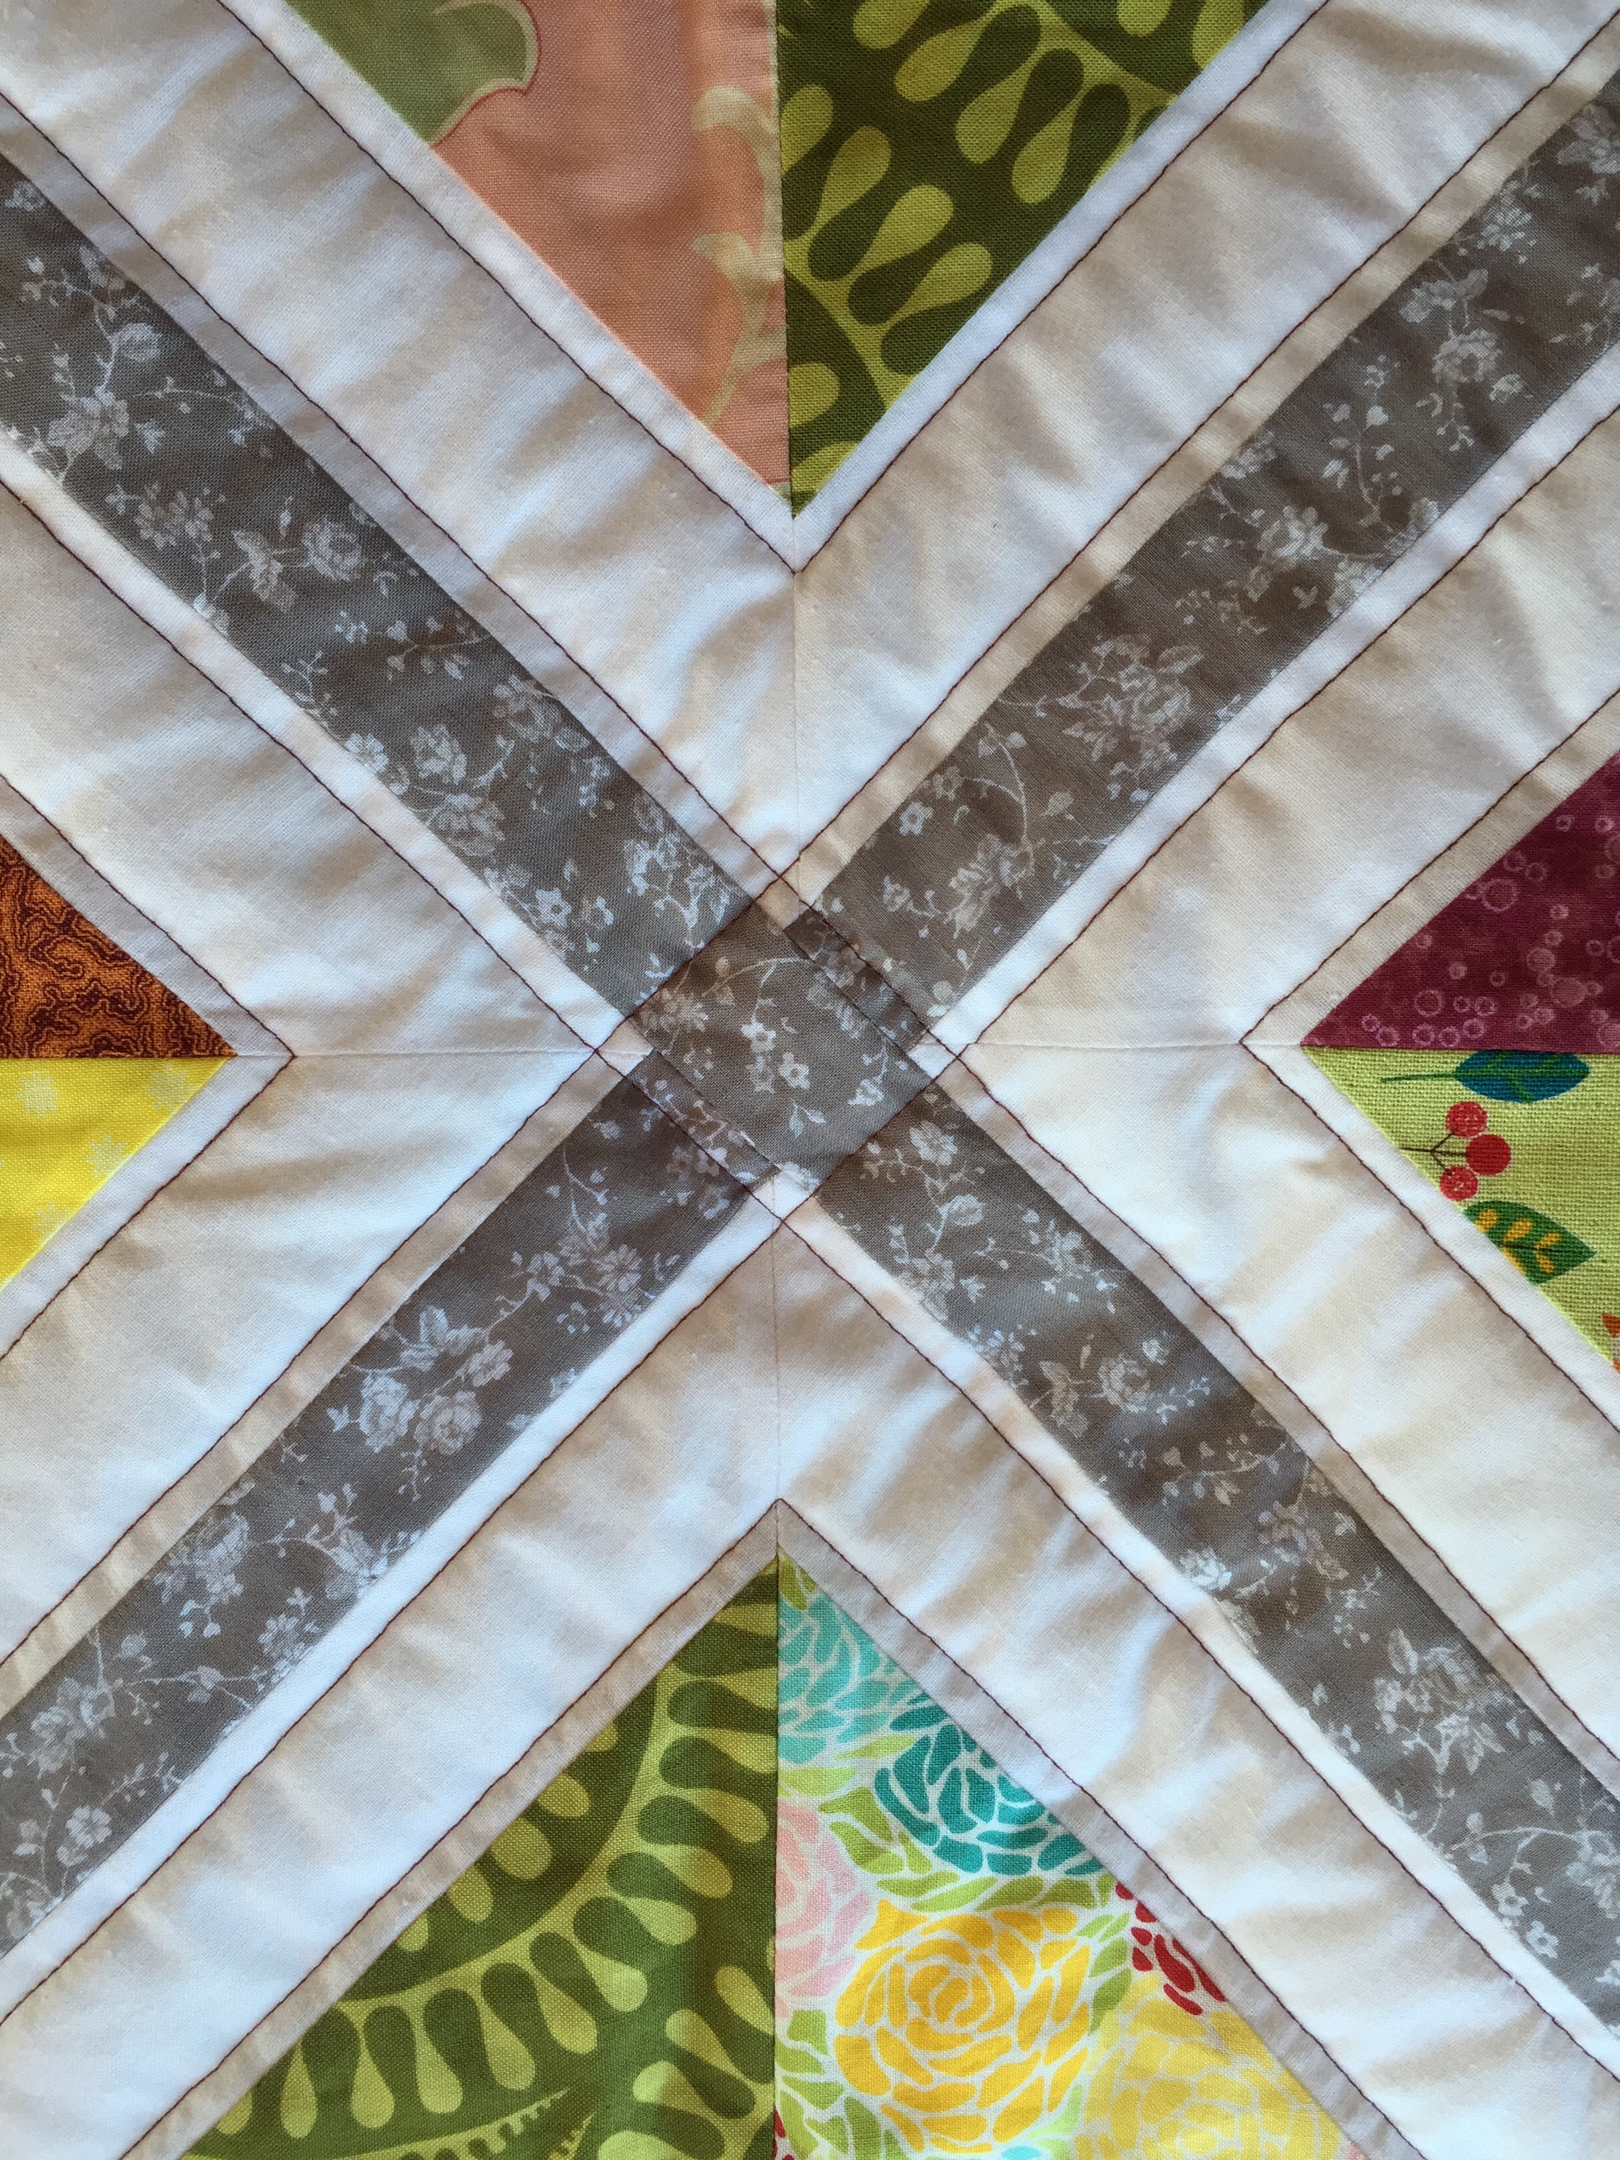 At the centre of each coloured square I placed a single tie, in blue thread. I would have used a button, here, if the quilt was destined for an older child!
  I debated whether I should put a felt fabric flower in the centre instead, but decided against it on the principle that it would be too fussy, and maybe also still choke-able.
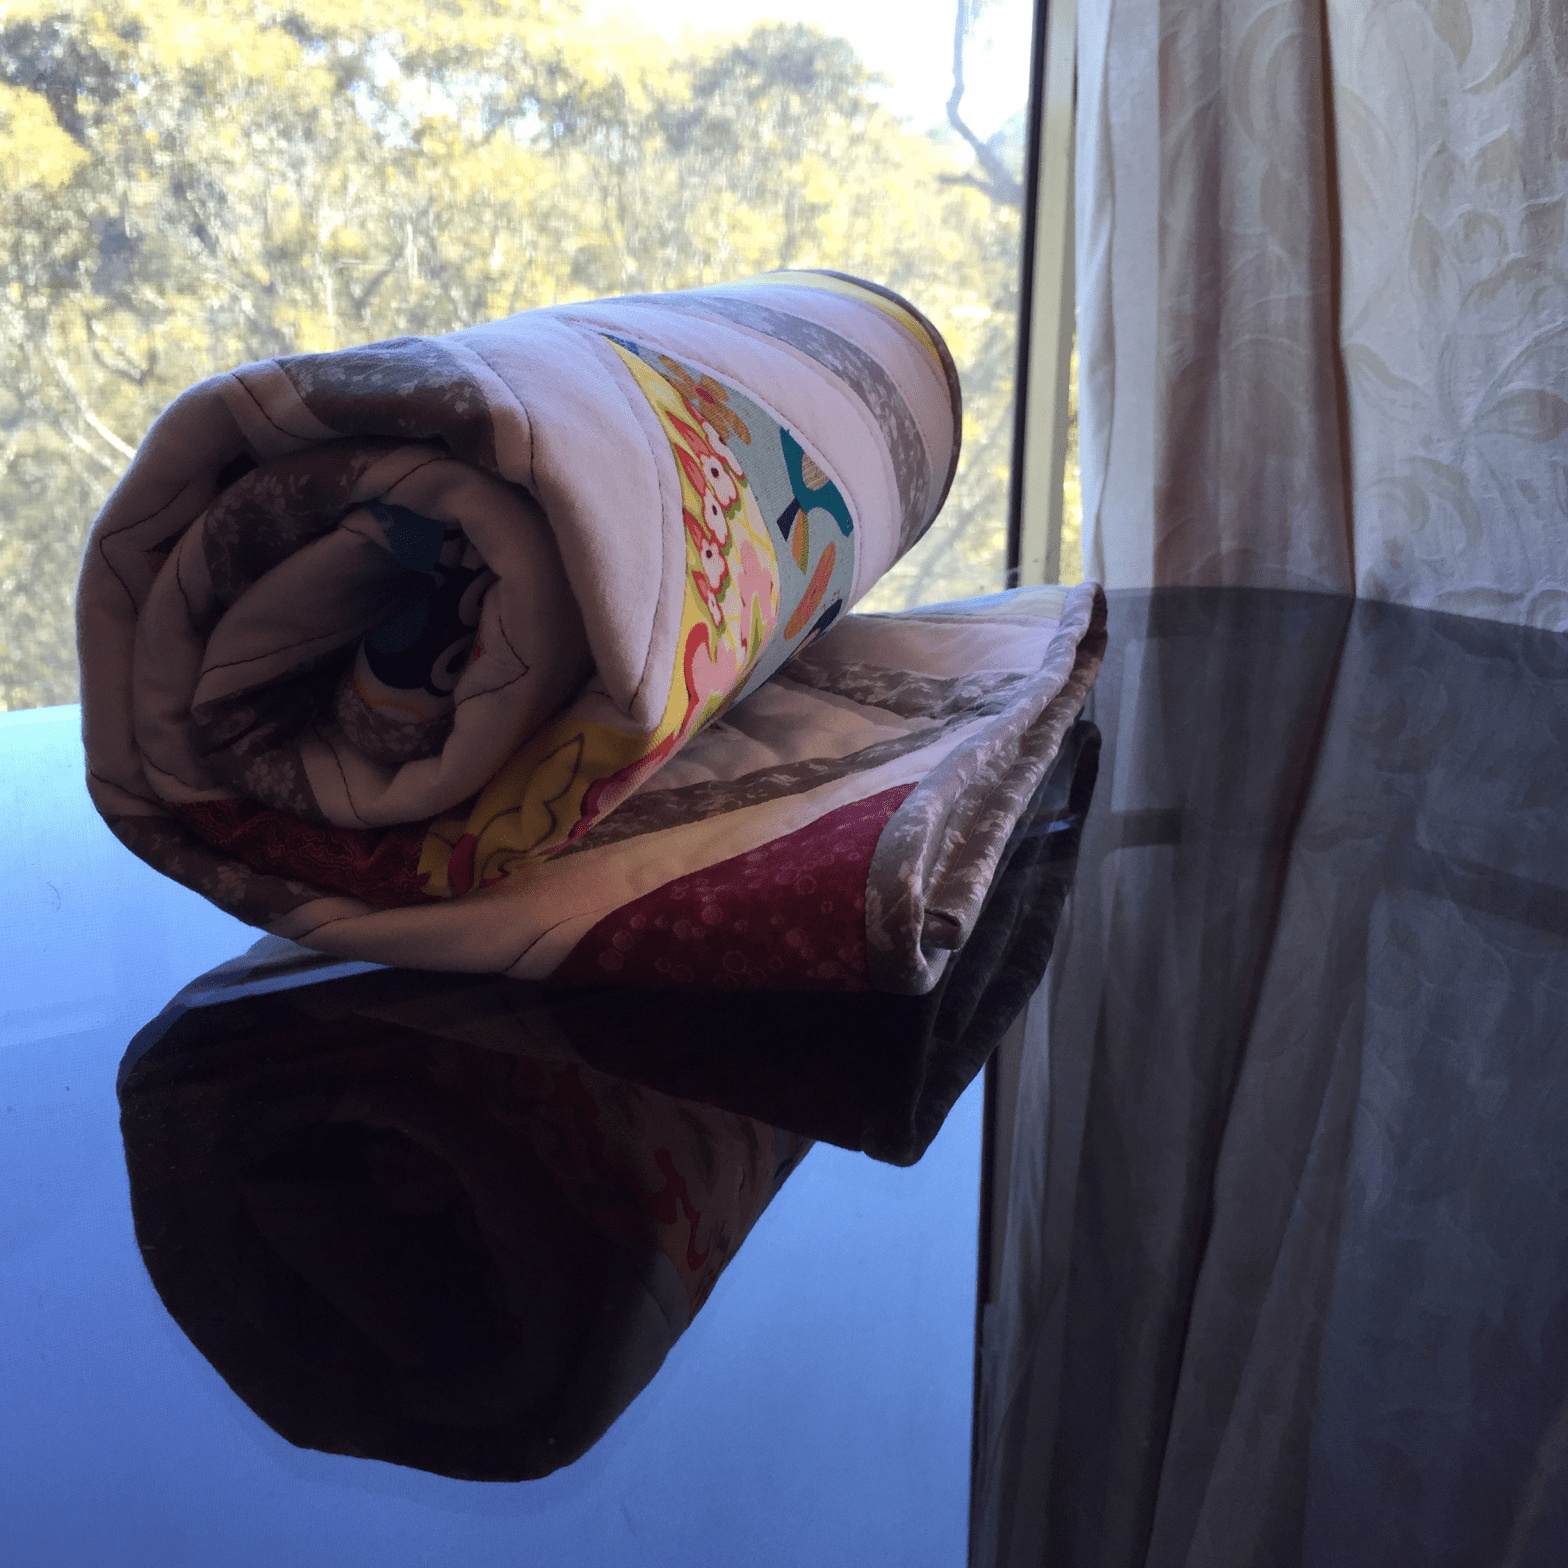
  The backing of the quilt is a flannelette baby wrap from when Will and Evie were little. Now that they are grown out of these, I’m using them up in meaningful gifts like this one, or to make children’s clothes (winter nightgowns, for example).
  My inspiration for this quilt came from this quilt, by Lee at Freshly Pieced. I had some orphan signature blocks (like in this example) that had never made it into a quilt. I cut my signature blocks in half, added a whole lot more, and used some grey sashing I found at the local Op Shop to complete the design.
  I think Rusty-Ted likes it, don’t you?
 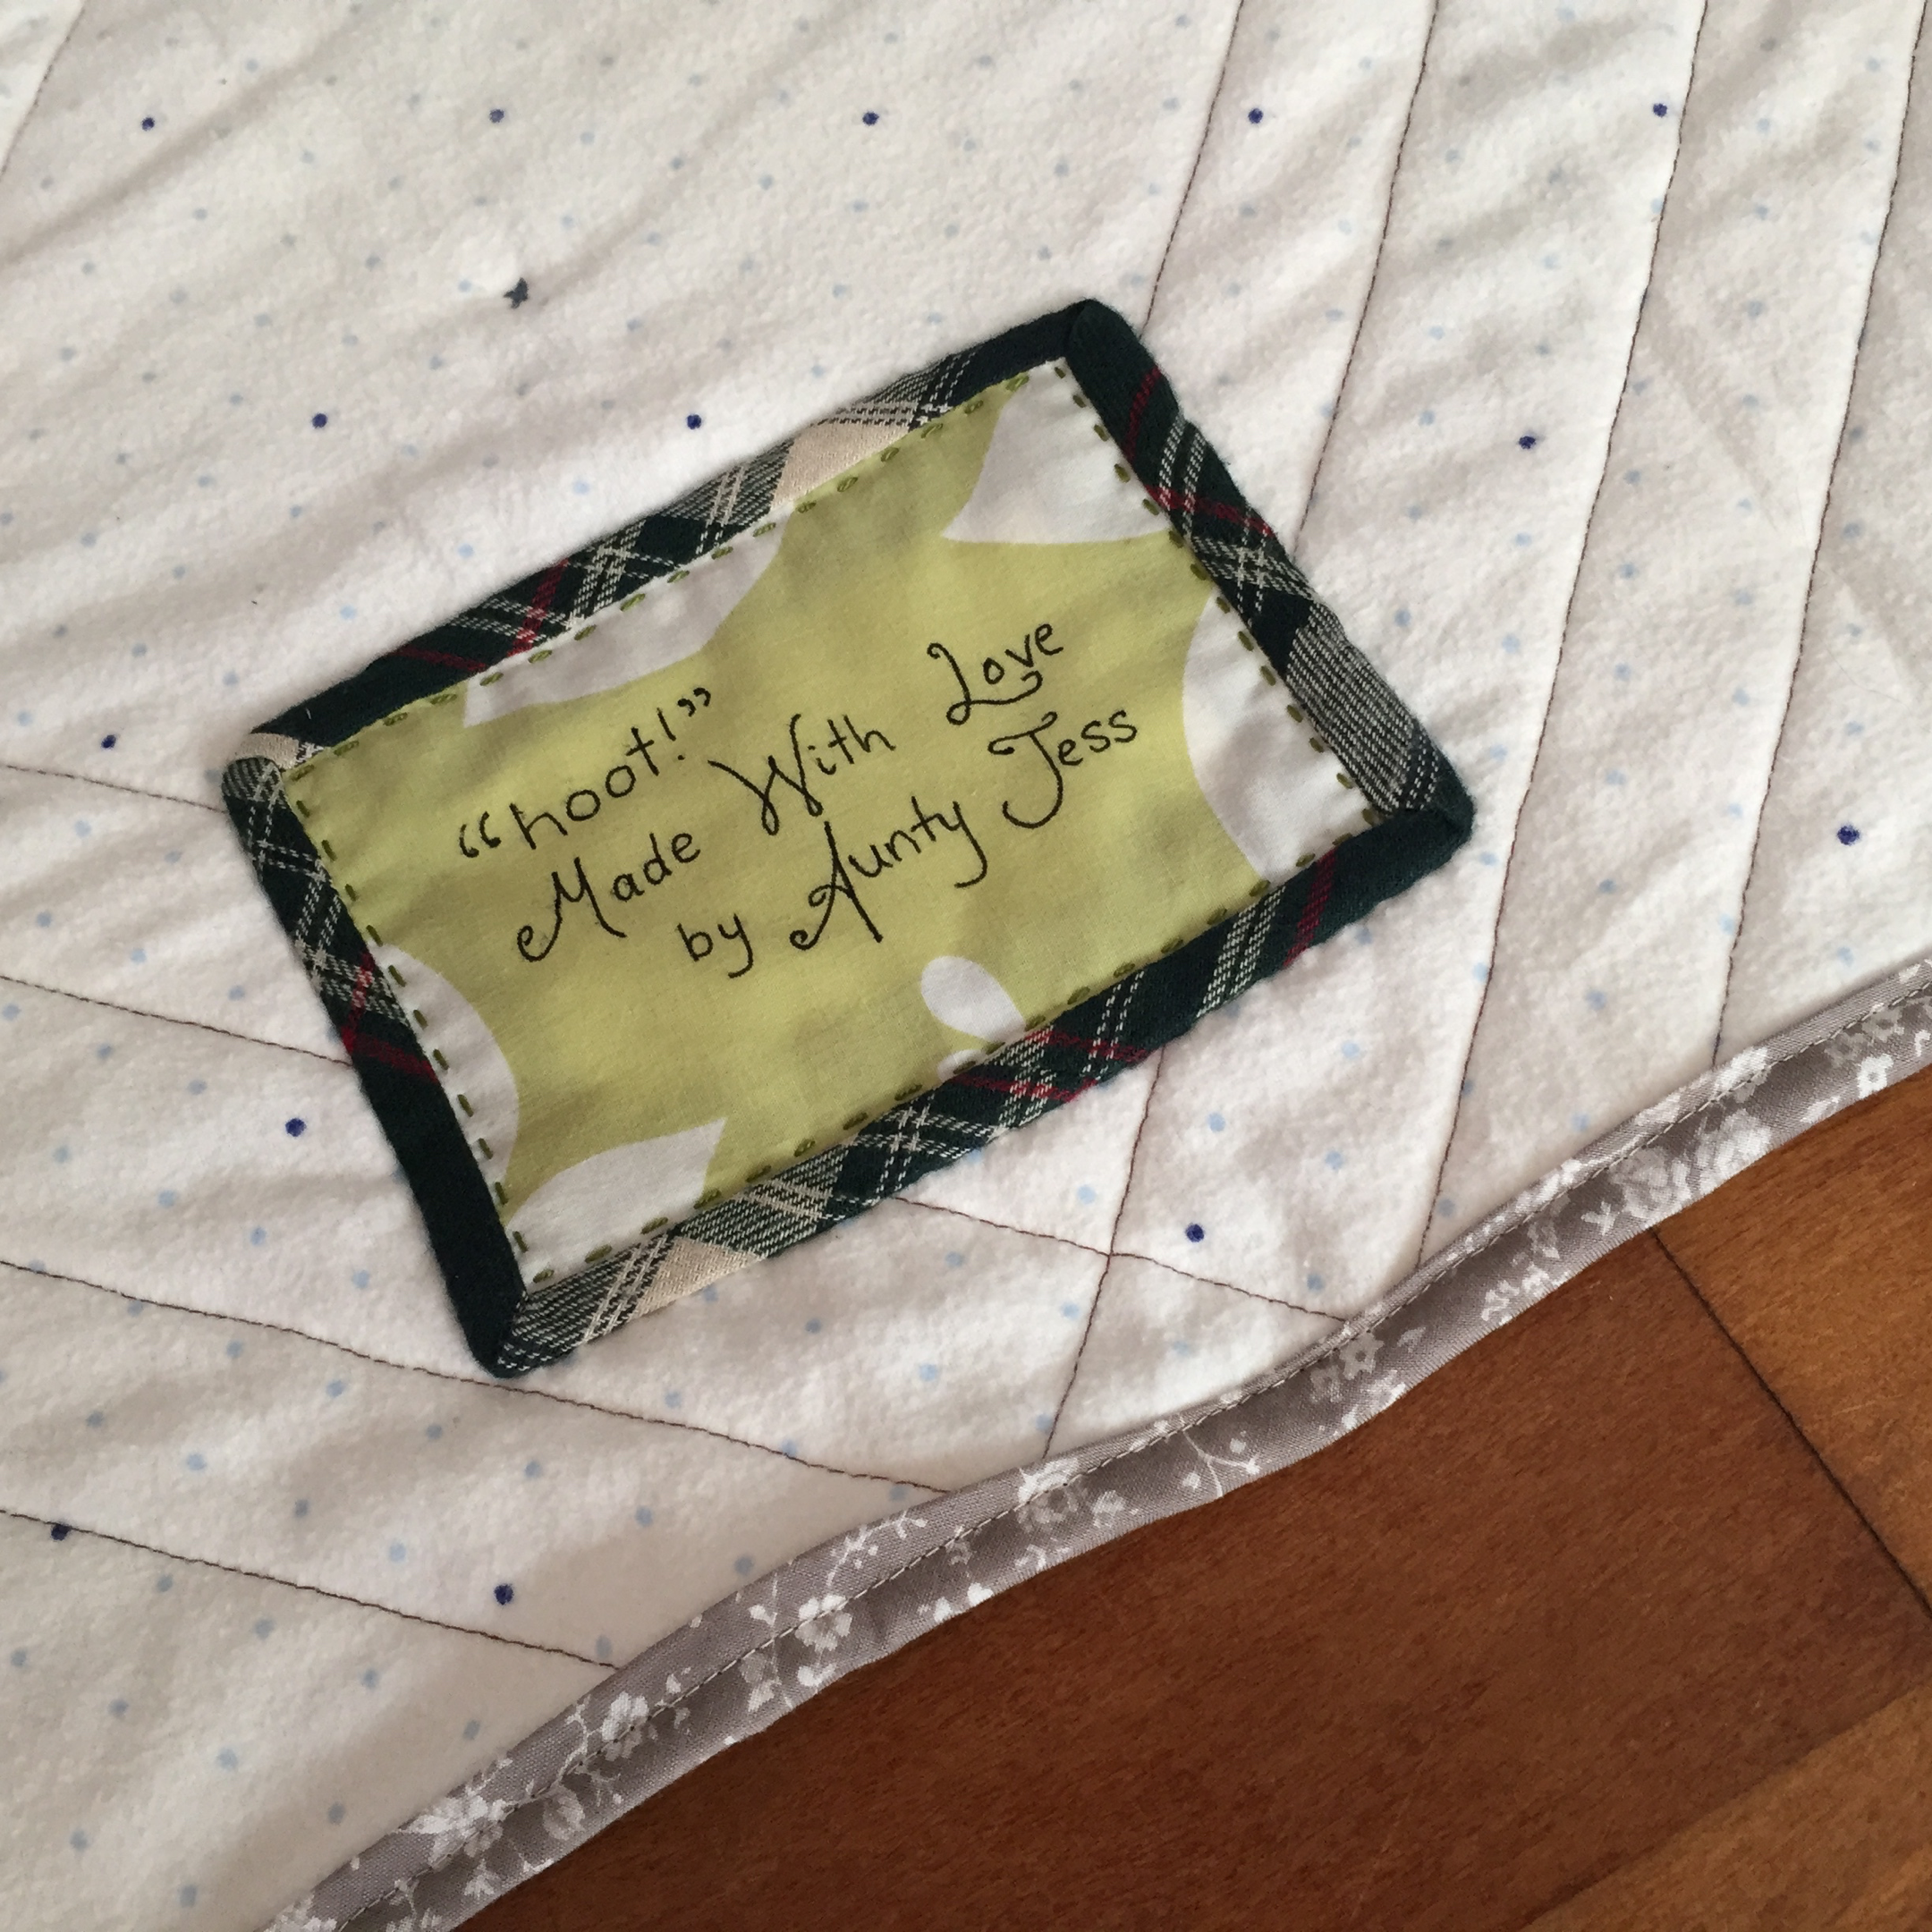 As this is destined for a new niece, I signed my quilt as “Aunty Jess”. As much as I’d love to keep this one for myself, it’s going to give me great pleasure to give it away, some time in December. Not long now!
 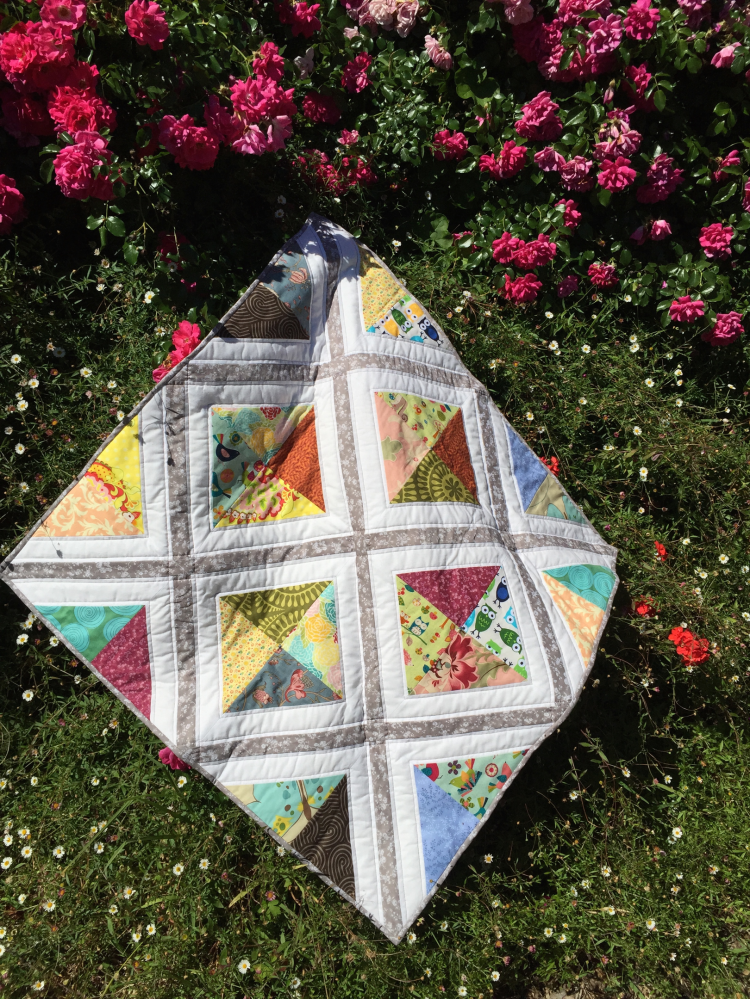 Linking up with TGIFF, and Crazy Mom Quilts. 🙂
“hoot!” baby quilt finished!

Cute! The grey sashing is a perfect addition with all of the colours and prints.
LikeLike
Thank you! I wish I could claim credit for that colour way, but the design honours go to Lee at Freshly Pieced. I’m very pleased with it!
LikeLike
I love this quilt! It’s such a unique design, but still very adorable.
LikeLike
Thanks Jill! I had a lot of fun putting it together, it was reasonable easy (for a quilt) despite the triangles shapes. I found it easy to mix the colours up. Sometimes the colours are the hardest part! 🙂
LikeLike
This is a really neat baby quilt. Actually – it’d be a perfect design for a baby quilt for my cousin. . . Thanks for the tutorial on the diagonal sashings!
LikeLike
Thank you! I thought it worked well in baby size. It was a bit of luck because the signature blocks were a random size and I just re-purposed them for this. 🙂
Glad you liked the tutorial, too!
LikeLike
I love the quilting — and those owls! The way they look out from the blocks is just adorable.
LikeLike
Thanks Michelle. 🙂
LikeLike
What a beautiful quilt! I will check out your tutorial…
LikeLike
Thank you! 🙂
LikeLike