
Darn it, I’ve almost put a hole in my favourite knitted socks! Luckily, I know just what to do: darn it!
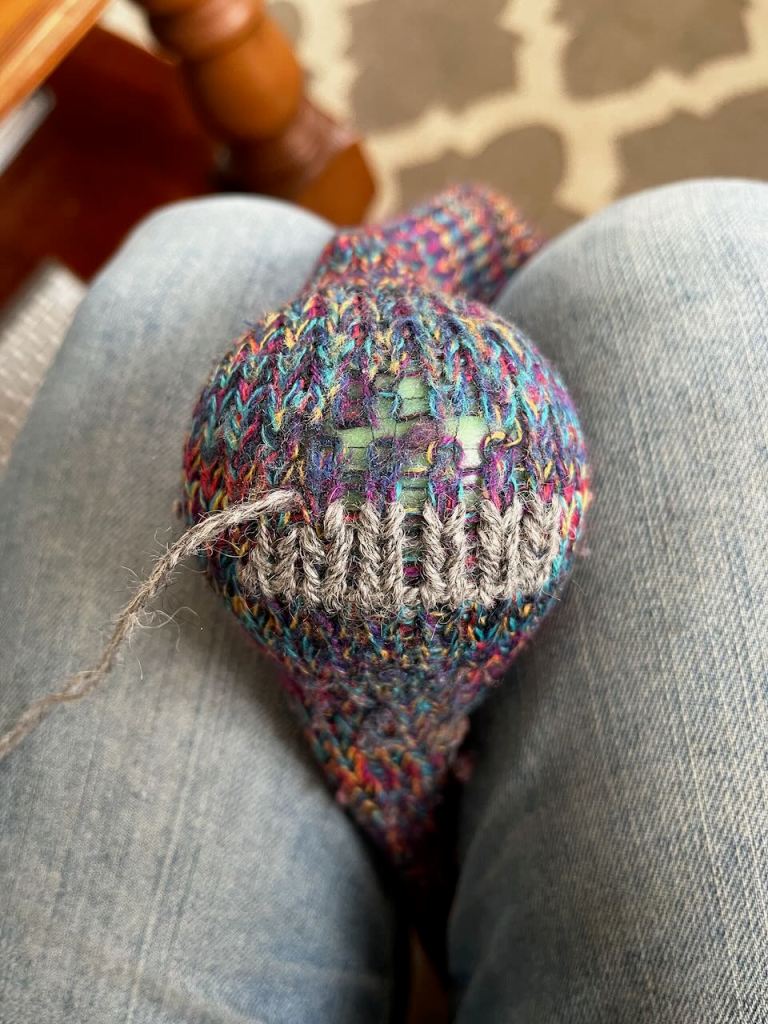
I noticed this hole appearing in the heel of my sock just in time!
Can you see the filament thread tracing the shape of the knitting? That’s all that remains of the original yarn, and it’s all that’s holding the sock together right now!
My go-to technique to fix a hole that hasn’t quite exploded (like this) is to knit over the top with new yarn, using a needle.
I’m calling it needle-knitting. Or Knit-weaving.
Needle-knit-weaving?
Okay, it’s really just darning!
But I’m not making the classic cross hatch needle woven patch, instead I’m recreating the original knit stitches so the sock is still stretchy.
So much more comfortable to wear!
I’m using a tapestry needle to make stitches, following the path of each existing row. Here you can see me making the top of a stitch, working right-to-left (because I’m right-handed).
I always choose to start my first row a couple of stitches wider than the degraded yarn (the hole) so I cover a couple of “good” stitches on either side.

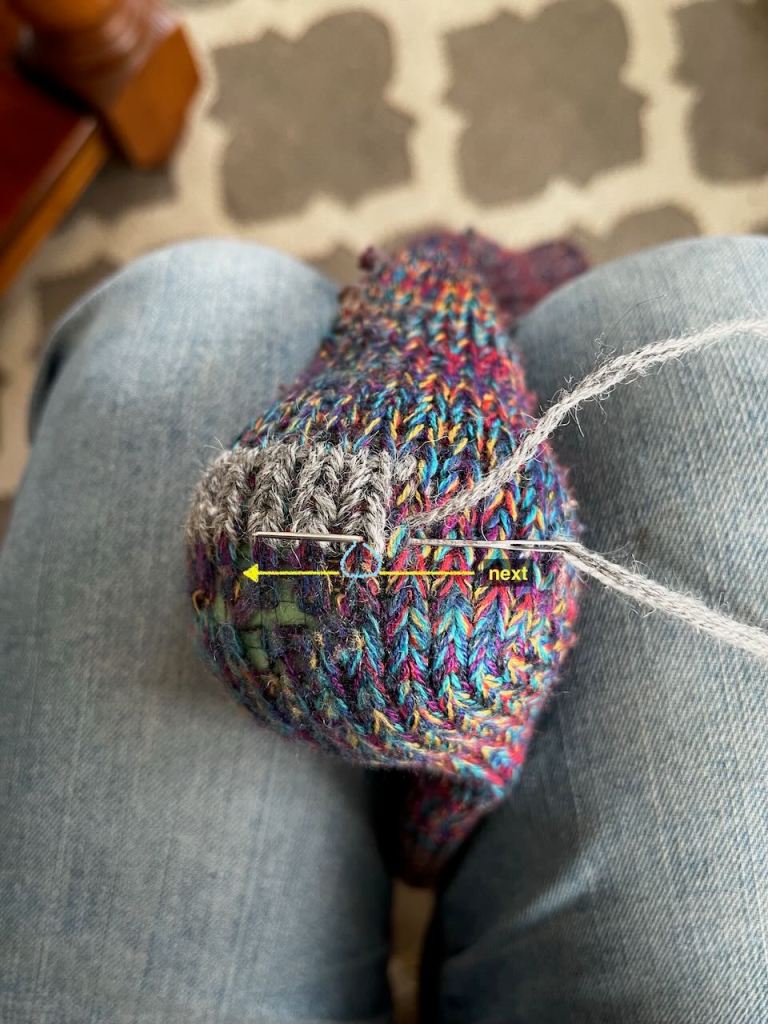
When I get to the end of the row, I flip the sock around so I can work again from right-to-left.
You start the first stitch in the row by coming out inside the stitch above. Here I’m coming sideways into that stitch.
I’ve shown the stitch I’m about to create in blue. It starts where the needle is just coming out, snakes down and around the stitch below, and comes back up to where it started.
The next needle position (shown in yellow) will form the bottom of the stitch. It goes behind the two yarn threads in the stitch below.
In this photo, I’m just completing a stitch, and I’m starting the next one. Each stitch has two sideways needle movements: at the top and the bottom.
See how I’m catching the two loops from the row above? This is what knits the fabric together!
I’m just following the original yarn around: left, down, left, up … repeat.
It’s easier to see the path of the original yarn if you stretch the hole over something smooth, round and hard.
Not too tight! You don’t want to snap the fragile threads.

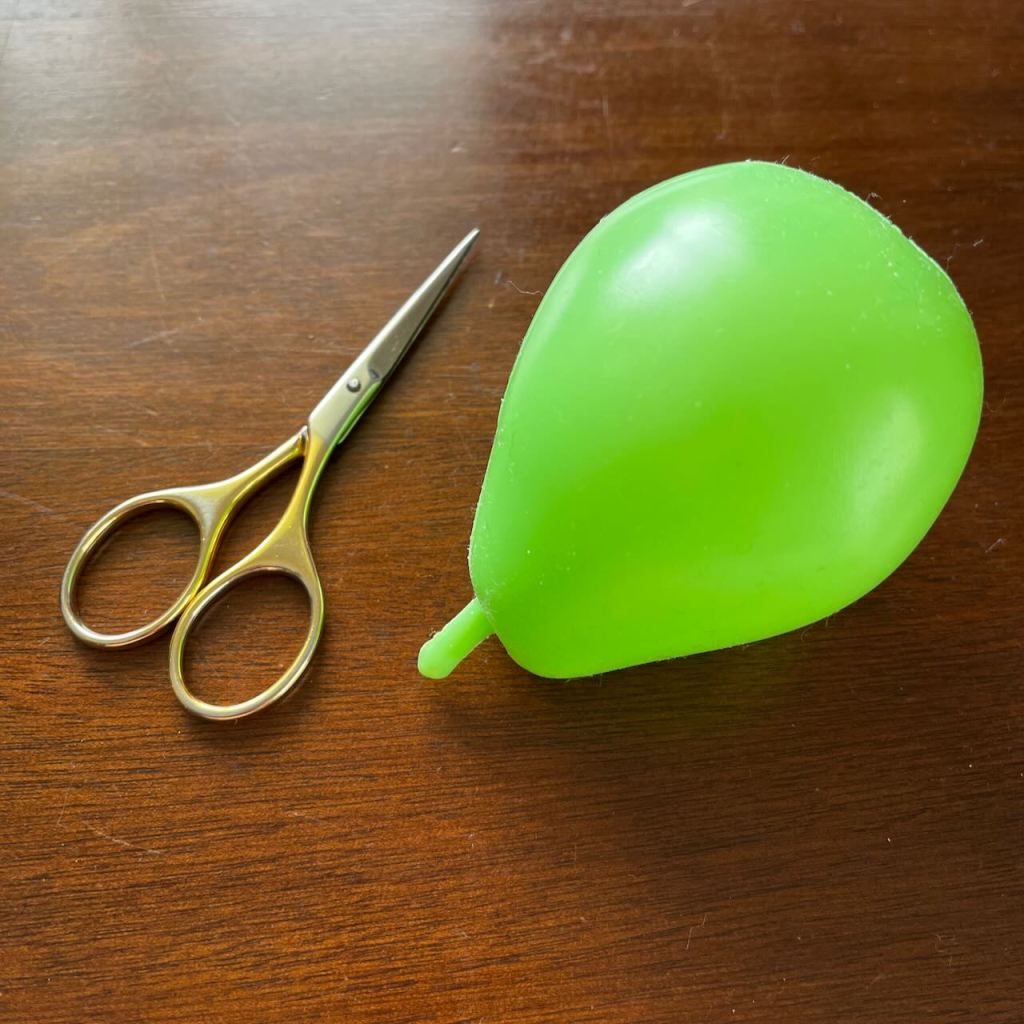
My smooth, round, hard thing is a plastic toy pear (embroidery scissors shown for scale).
You can use anything, really! The classic option is a wooden darning mushroom, and I’m sure that works brilliantly well.
I use what I have. 🤷🏼♀️
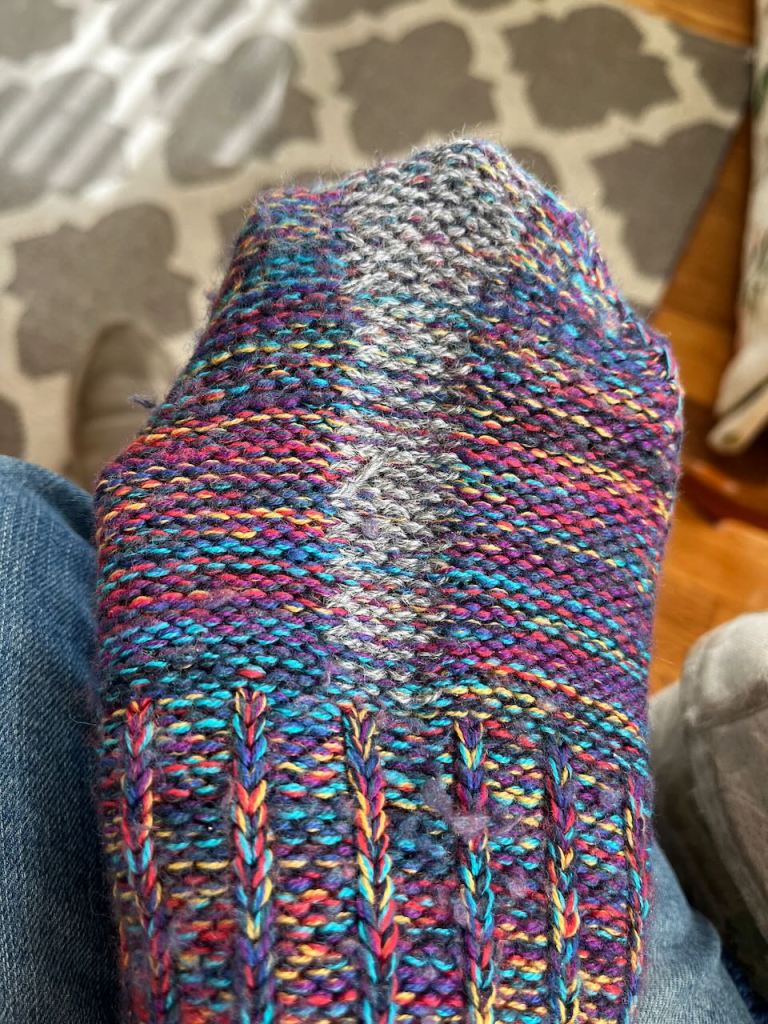
When you’re done you have a patch that is seamlessly integrated with the original sock.
It looks like knitting, and it stretches in the same way. It ends up a little chunkier, though, because it’s hard to get the same tension as the original.
I rather like the contrasting colour on my patches, and it makes it easier to work (especially on dark coloured socks).
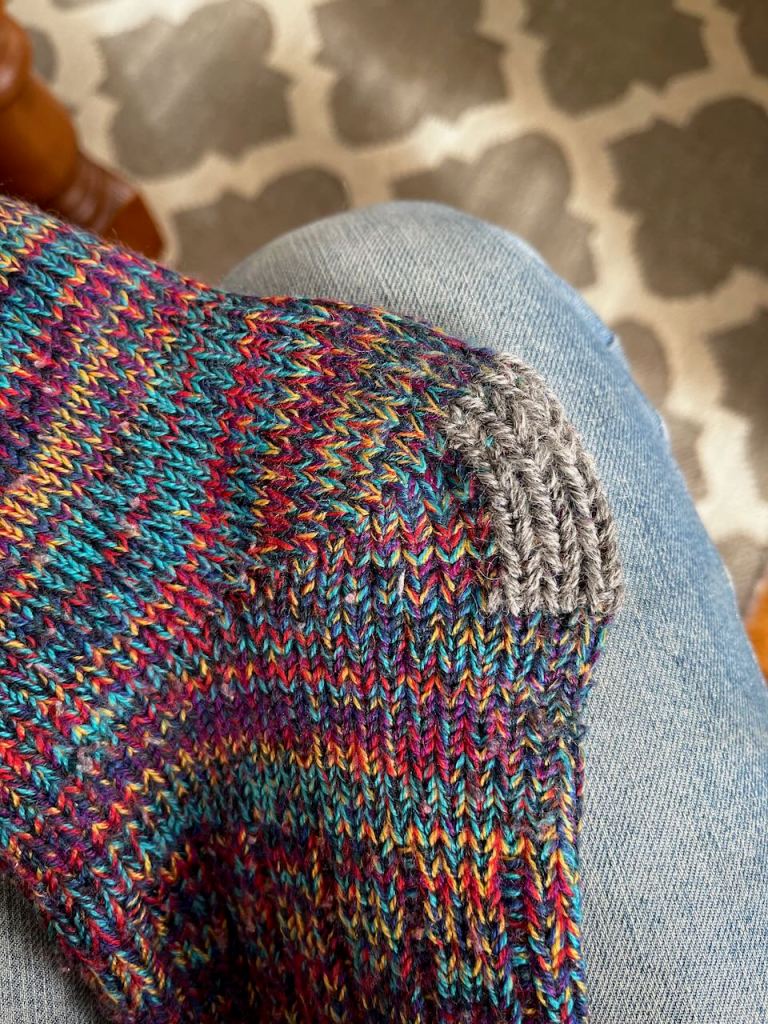
All (patch) shapes are welcome!

This technique works really well if the original yarn hasn’t completely disappeared.
If not: it’s so much harder! Almost impossible, in fact.
Once the yarn breaks, the hole tends to explode: you can easily have dropped stitches (causing a ladder in the sock). The stitches around the broken threads collapse, making it hard to follow the yarn’s path. And worst of all, there’s no way to place a new stitch without a knitting needle (or something to hold a row of stitch loops).
When this happens, I revert to just closing up the hole any-old-how, resulting in an ugly pulled-in snarl. It’s rather uncomfortable to wear a sock with a repair like this, and it usually ends up in the compost!
For now, these socks live another day. Yay! They are cheerful, comfortable socks, and I’m really glad I don’t have to pay to replace them just yet!
I’ll probably get another season out of these patches, and then I might have to darn them again.
Much cheaper than buying new pairs every year!
