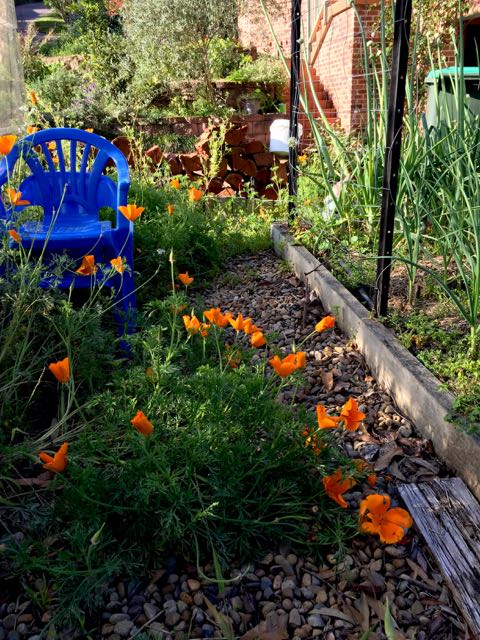
Springtime is a busy time — when we are paying attention to our garden! This year we’ve moved some garden beds around, so we’re redesigning our vegetable rotation, and what goes where.
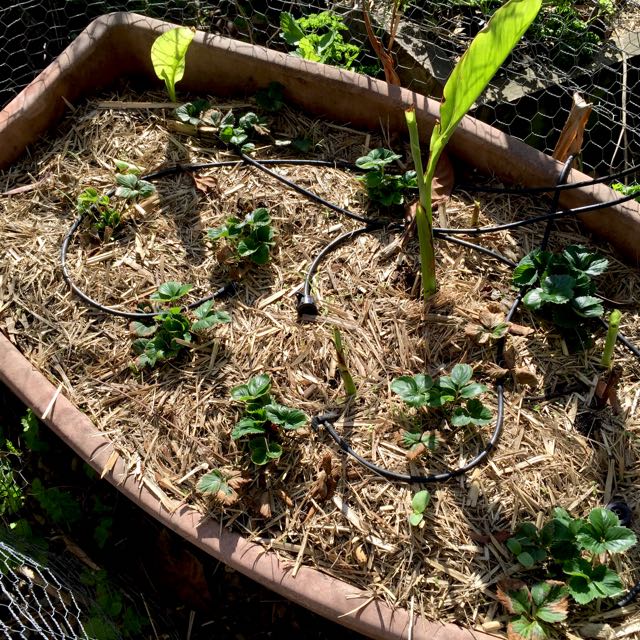
For example, we’ve moved the strawberries from their old too-shady location, to inside the netted orchard:
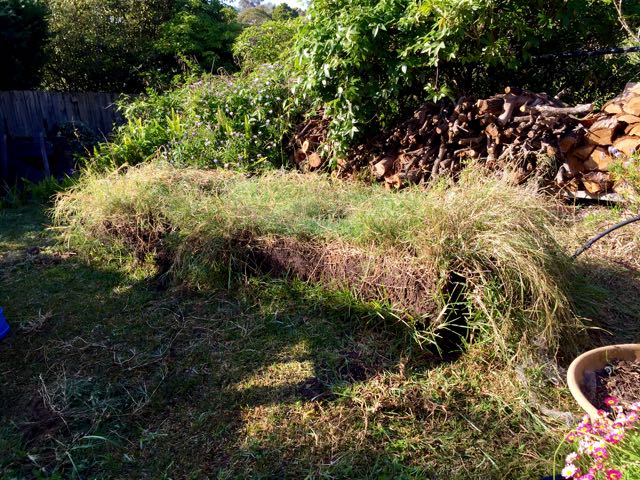
More dramatically, we disassembled the raspberry bed entirely, and rebuilt it in a more appropriate location that gets better sunshine.
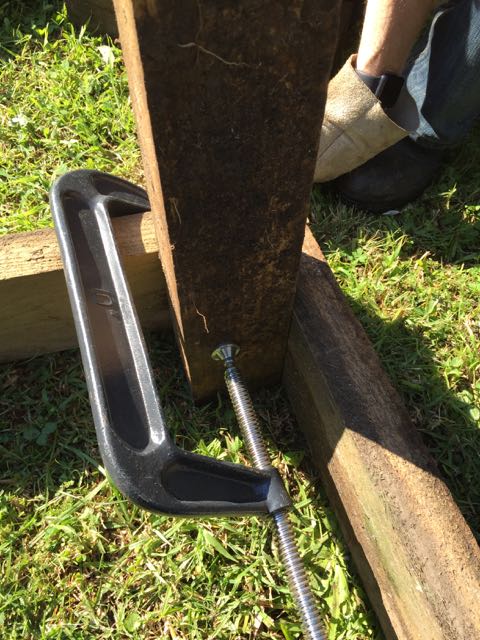
First we unscrewed the boards from the old bed — it was so overgrown and compacted that the soil just stayed in place, like a cake just come out of a springform pan!
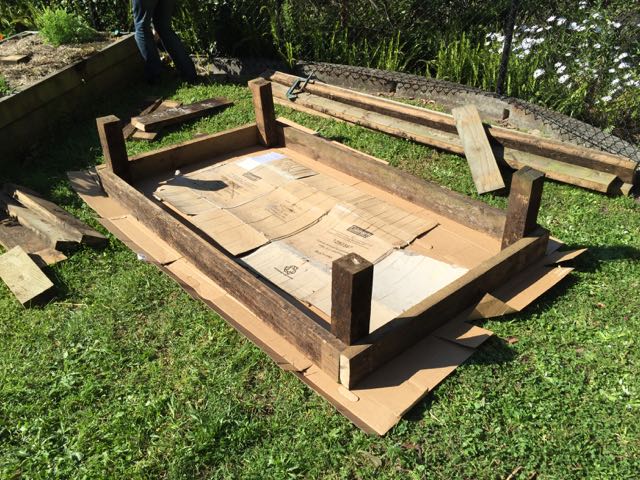
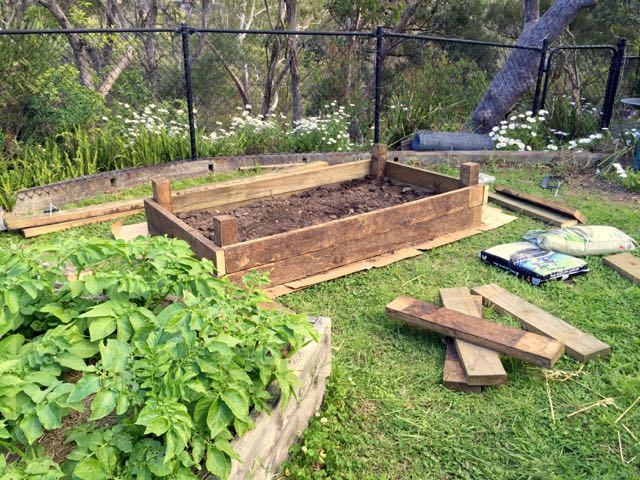
Then we laid down some cardboard in the new location, and started to cut and assemble the new bed.
We’re hoping that the cardboard skirt will stop the grass growing long right up against the boards.
At each corner we use an upright piece that gets screwed to each board.
As we add boards to the outside of the bed, we use layers of mulch, manure and soil dug from the old bed to fill as we go.


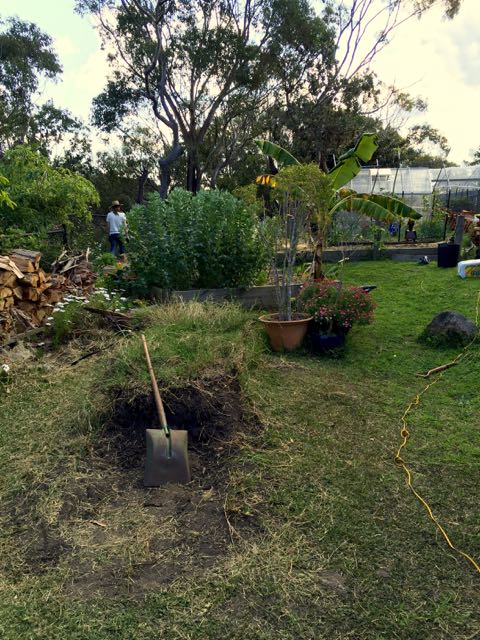
The next day, I took this sweeping picture across our backyard to show the dirty patch where the bed used to be, and the new location with our other beds. Our backyard is not shaped like this! It is straight, but the panorama gives the photo a very fish-eye lens look 🙂

This new garden bed will be growing cucurbits (cucumbers, pumpkins (winter squash), zucchini (summer squash) and lettuces and annual flowers in the centre.
I’ll leave you with a few lovely shots of our garden helpers. Enjoy!


One thought on “Moving a raised garden bed”