I mentioned that it was birthday season, right? This year I happened to be in a “quilting mood” as the September birthdays approached, so I got my mojo on and made some cushions!


Each pillow is an experiment with a new (for me) technique.
Last January I watched a fantastic Craftsy class in Free Motion Quilting (FMQ) with Christina Cameli from A Few Scraps (would totally recommend!). My initial experiments were okay, but I did experience a bit of a downer because the quilt felt very “sticky” on my sewing table. I made notes and resolved to try again … soon.
Ha.
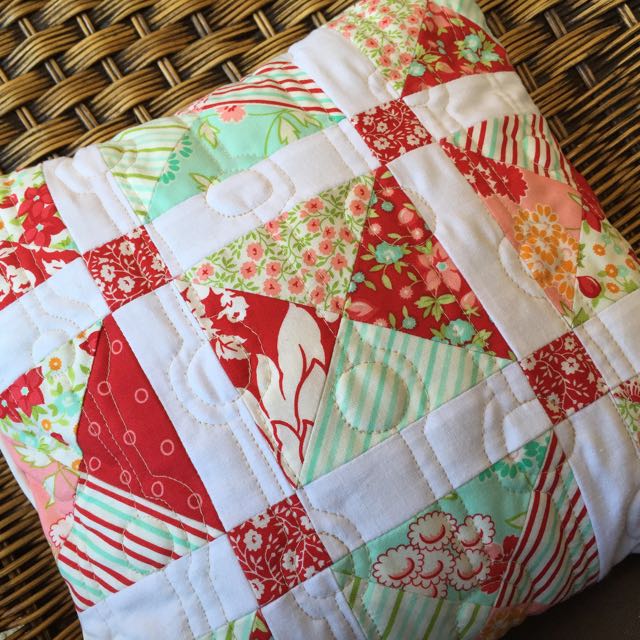
Okay, so fast forward a few months and enough time had passed for me to have another go. I had already pieced the first pillow top, and I was enthusiastic to put a simple stipple pattern onto it:
It came out so well! This time it didn’t feel “sticky” to quilt. I don’t know what changed, but I just ran with it. 🙂
I started in the centre and wiggled all around the centre diamond. Can you see the little hearts in the corners? Around the outside I became really bold and made a vine-like loop-de-loop thing which was a little tricky to make look even. But I think it looks whimsical. 🙂
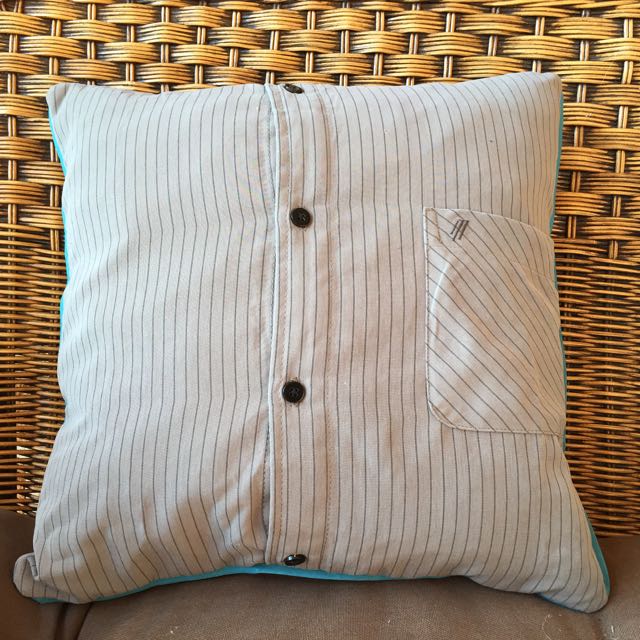
The back of this pillow is a man’s shirt front, complete with the original pocket. I thought it would be cute to have a secret pocket on a pillow! The fabric was also used on the pillow top, in the border.
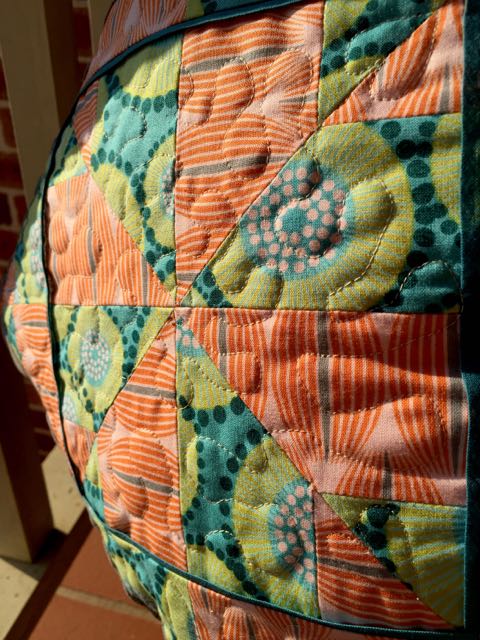
For the second pillow, I used a tutorial from “Hey Let’s Make Stuff” for quilting a Scottish Thistle. I used my pre-cut fabrics here, too, for a completely different look to the first one:


This time I kept it simple with the quilting, because I wasn’t keen to switch over to the darning foot on my sewing machine, every time I added a strip. I loved this pillow so much I almost couldn’t give it away.
The envelope backing idea was from Crazy Mom Quilts, and I basically followed her tutorial with the dimensions modified to match my pillow top. She also has great instructions for making the pillow form that goes inside of these! I made mine out of old curtain fabrics that used to hang in the kitchen. 😉


The third pillow was an experiment in piecing Half Square Triangles (HST). I taped my sewing machine extension table so that I didn’t have to do any pencil marking. This was sooo much quicker and more fun than my previous experiences! The seams were a little curvy in the middle, but I don’t think it mattered too much in the final assembly.
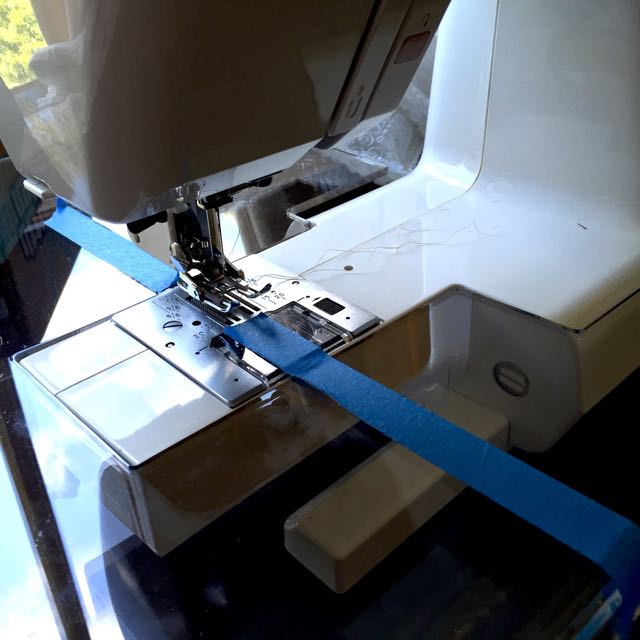
I also tried out this technique, of trimming each HST before pressing them open. This made is vastly faster to trim and press all the HSTs at once. I will definitely do this again, but be more careful with the accuracy of my seams to make sure all my points meet up!
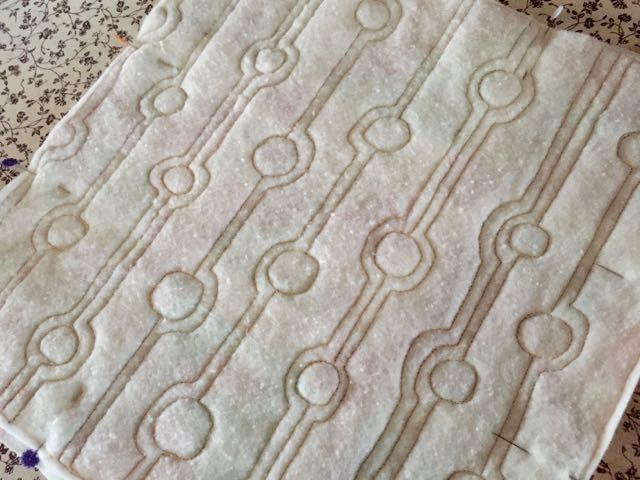
My FMQ choice here was to go with something simple, but a little more improvisational than the very traditional layout of the pillow top itself. This is a variation on one of Christina Cameli’s “beads on a string” designs.
After I completed these pillows, I was ready to keep on going. I’m working now on a baby quilt which will hopefully stretch out my FMQ skills a little further!
Linking up to Crazy Mom Quilts for Finish It Up Friday!

Great pillows, they each came out really good looking and I love that you used them to work on different skills.
LikeLike
Thank you, Judy! I really appreciate it. 🙂
LikeLike