I have almost finished William’s birthday quilt! The other night I made some scrappy quilt binding, for the first time ever, and I wanted to show you how I did it.

The idea with this binding was to use up some of the scraps from William’s quilt top and backing. I had some leftover scrappy strips that I had use to make a “wonky cross” on the back of William’s quilt:

I added more pieces to this, until I felt I had “enough” (very scientific, I know). Then I cut up a plain piece of navy fabric (an old kitchen curtain that I saved) and interleaved the scrap strip to make a bigger piece of fabric:
 I pressed all of my seams open, because I knew the binding might get pretty bulky by the time I had folded it in half.
Notice how I have a navy piece on the left, and a scrappy piece on the right? This is important because when I start making the binding, I end up sewing these two edges together. I didn’t want to have two navy pieces, or two scrappy pieces, side-by-side.
“Ha!” You say. “Sure. Right.” I think I’d better show you a diagram:
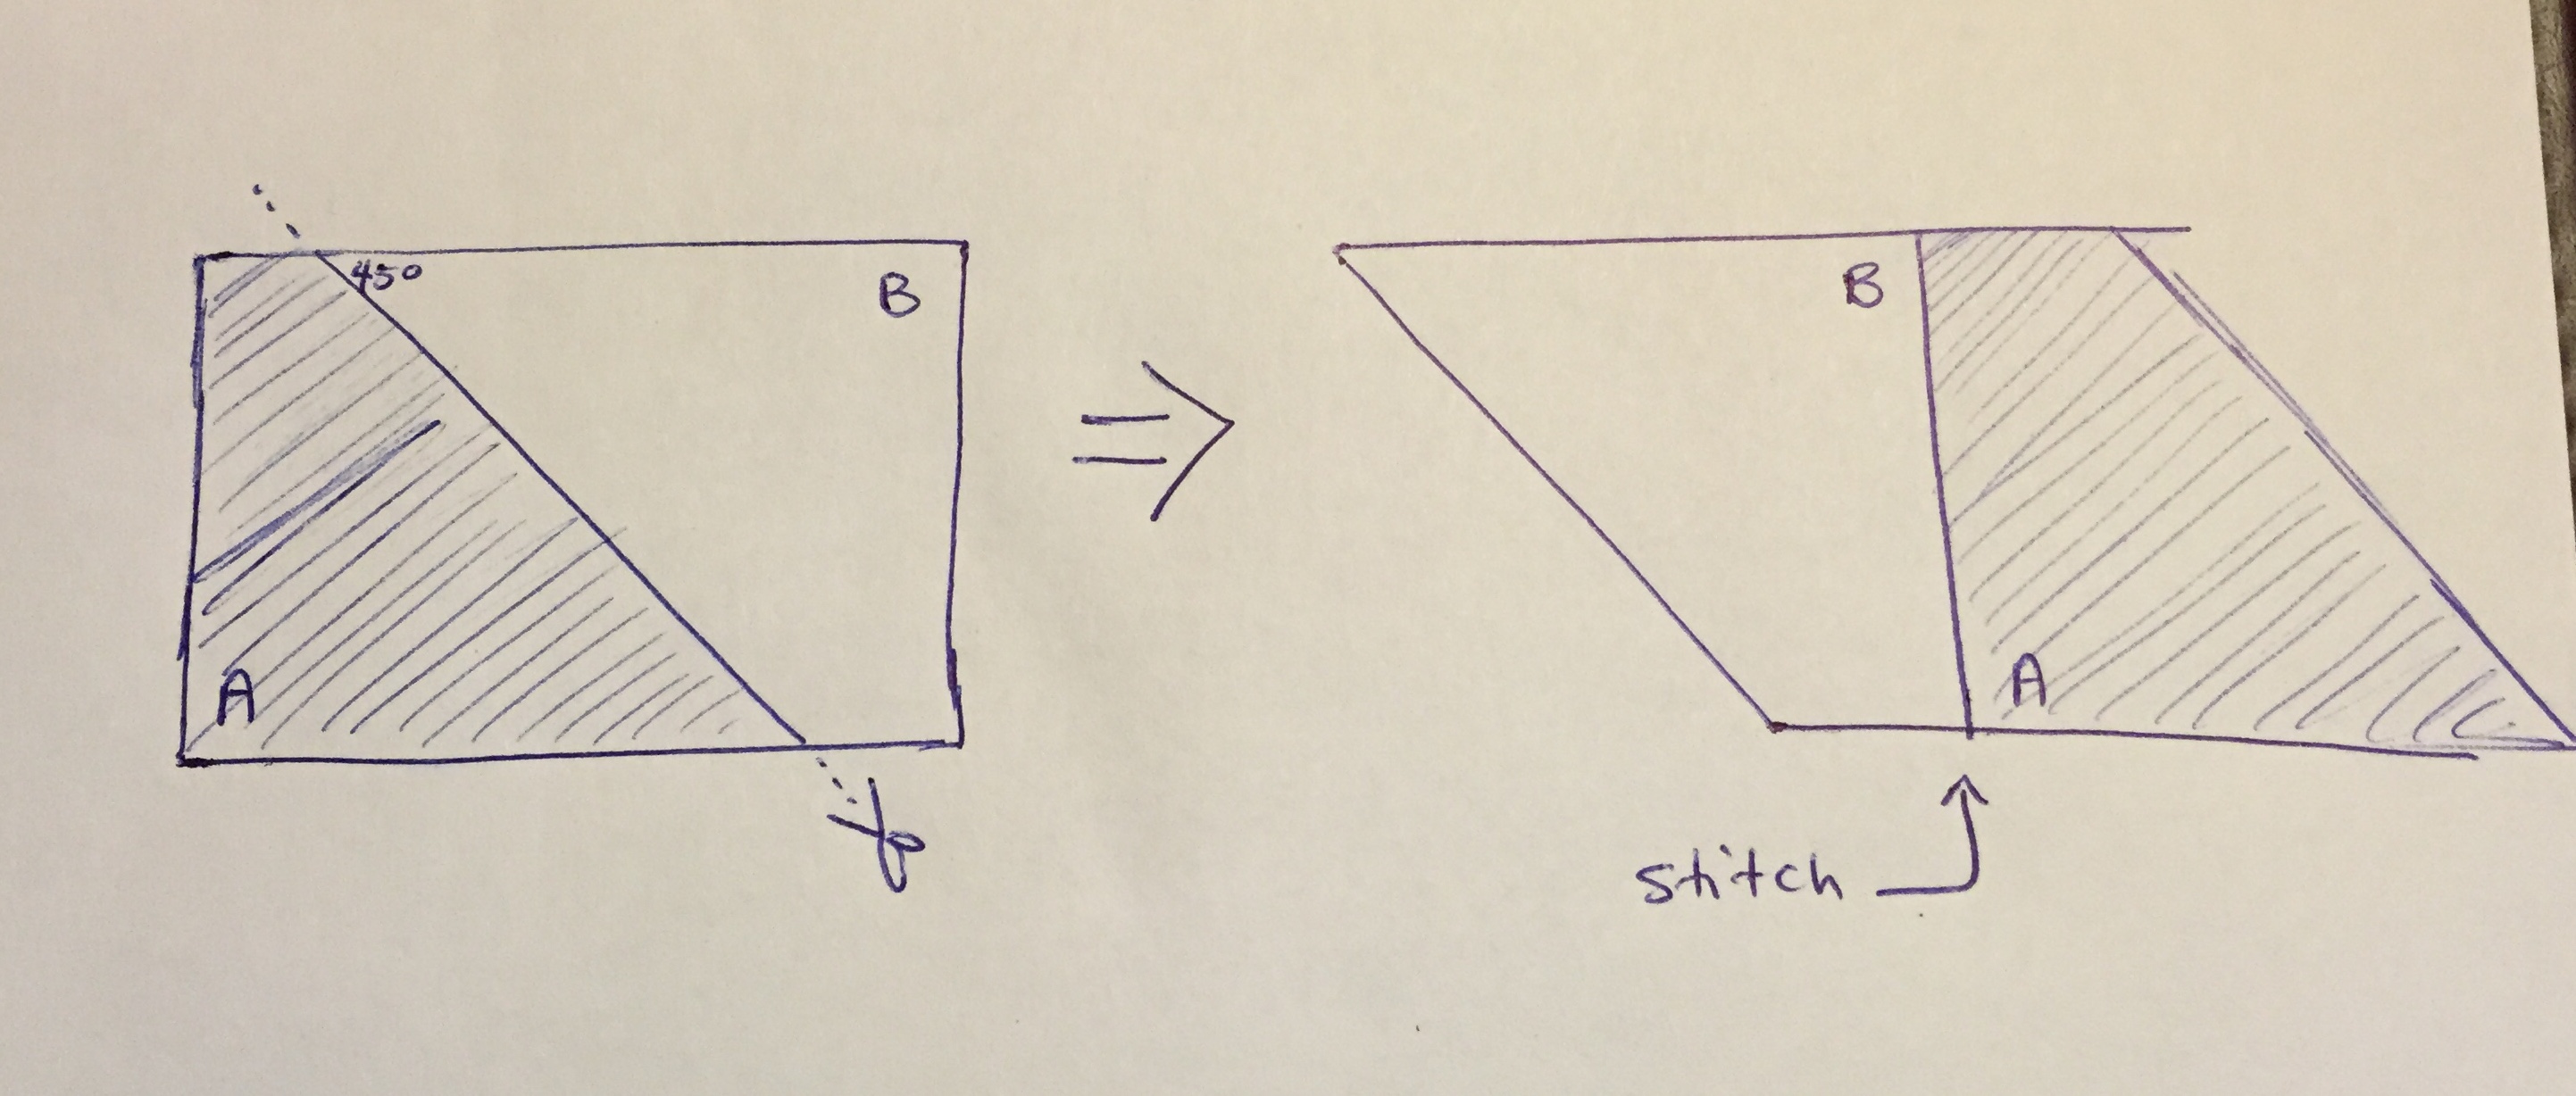
Clear as mud, right?
To make this cut I first ruled a chalk line at 45° from top to bottom. As luck would have it, I placed this line very well: a bit offset from the top left, near one of the joins between the scrappy and navy fabrics.
Once you do the cut-and-shift manouevre and sew that seam, you end up with a lovely parallelogram with 45° angles at the pointy corners. Yay.

Almost there, really. It’s becoming a bit more obvious that this is bias binding.
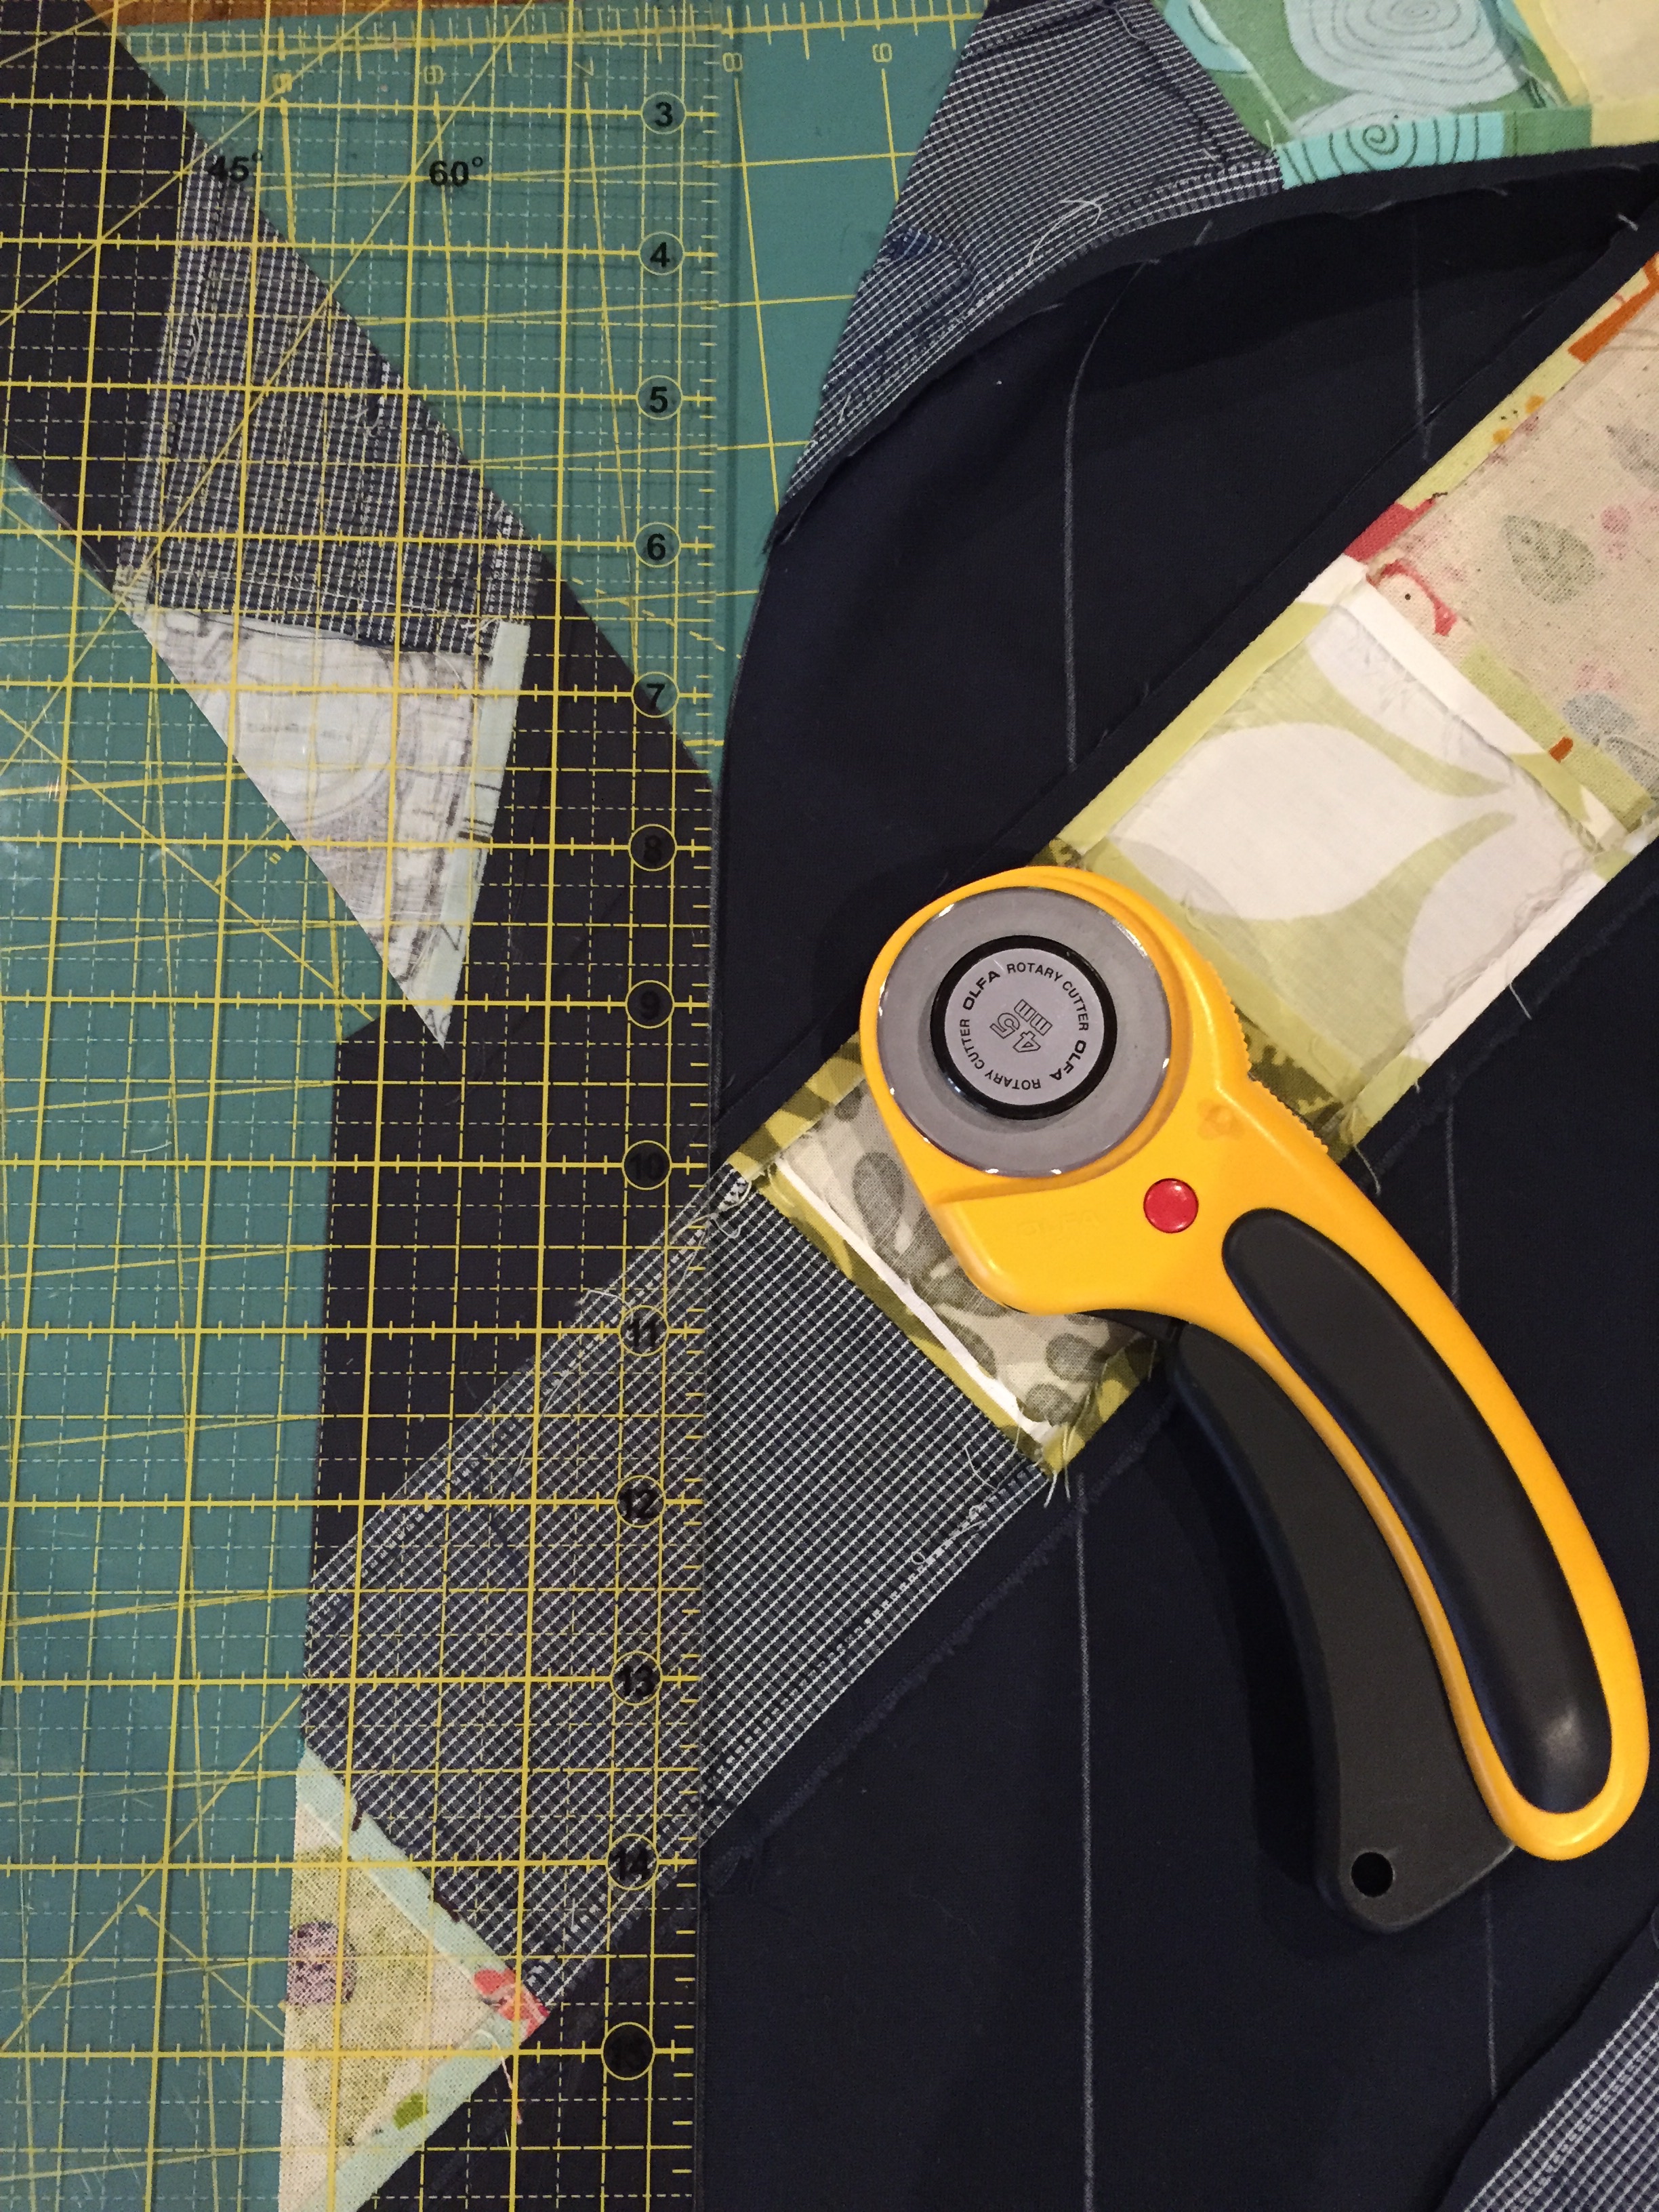
I ruled a bunch more white chalk lines onto the fabric, each line being 2¼ inches apart (which is the width of binding I like to use).
I mark the lines before cutting because my cutting mat is not big enough to do a single stroke. This way I can shift the fabric for the second cut without messing up! With bias cutting, this is important, because bias is stretchy.

In the picture above, I have cut away two strips, and made the first cut on the next one. I start at the bottom and roll the rotary cutter up to the top of my ruler.
Then I shift the fabric up, and bend the two pieces apart.
Like this! Then I can make the second cut without double-cutting the loose fabric at the top.
Putting together the bias binding is a pretty standard technique. I won’t go into detail of how to join up the strips, because there is an excellent tutorial series that I always refer to that does the job already. 🙂
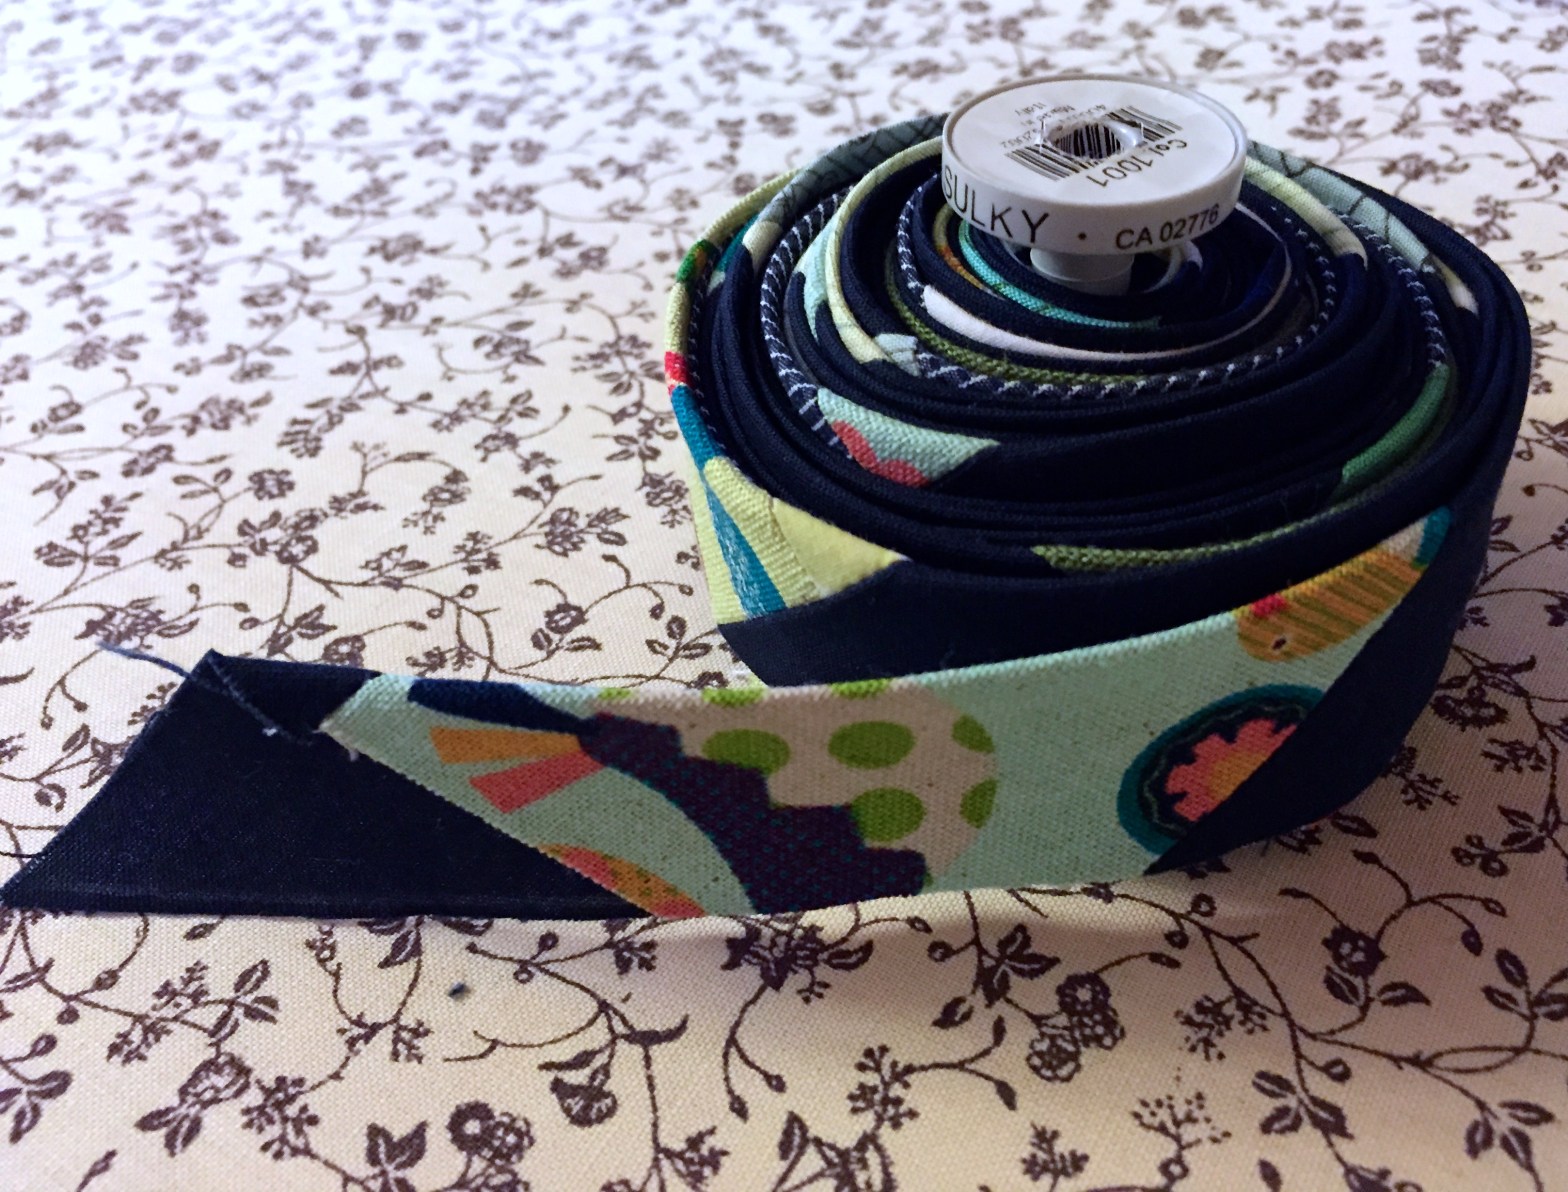
In short, you sew together the diagonal ends of each strip to make one enormously long piece. Then you press open those seams, and finally, press the long edges together. Like this:

Wow, my floor looks really dirty. Also, I just noticed my not-so-new ironing board cover needs a clean!
I use an old thread spool to roll up the binding as I go, so that it’s easy to put onto the quilt later, and it’s easy to manage as you press the edges together.
I’m hoping that this scrappy / stripey look will go really well with the quilt top I’ve put together. Stay tuned for final pictures soon!
