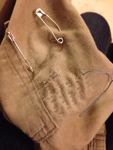
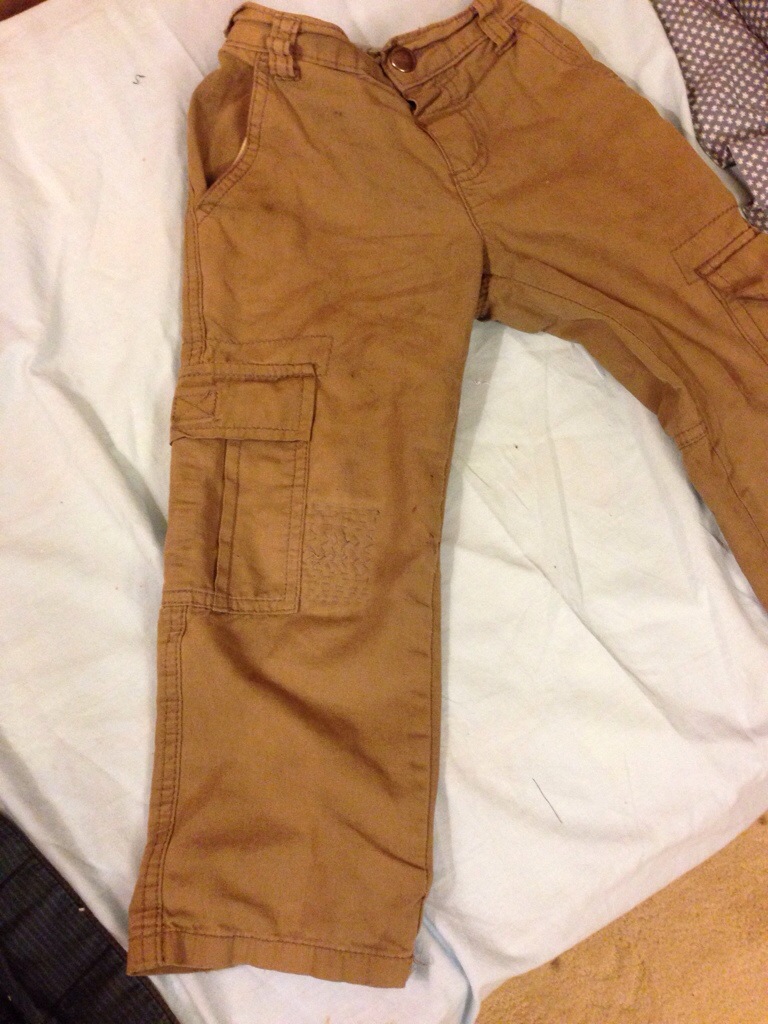
William’s cargo pants (one of two pairs of long pants in his wardrobe) had a hole in the knee on Tuesday:

Since I don’t have many long pants for him, and it’s starting to get a lot cooler, I decided to mend the hole before it got any bigger. He will be wearing the pants regardless! Mending a little hole like this is pretty quick and easy, so long as you have some kind of scrap fabric, and a needle and thread!
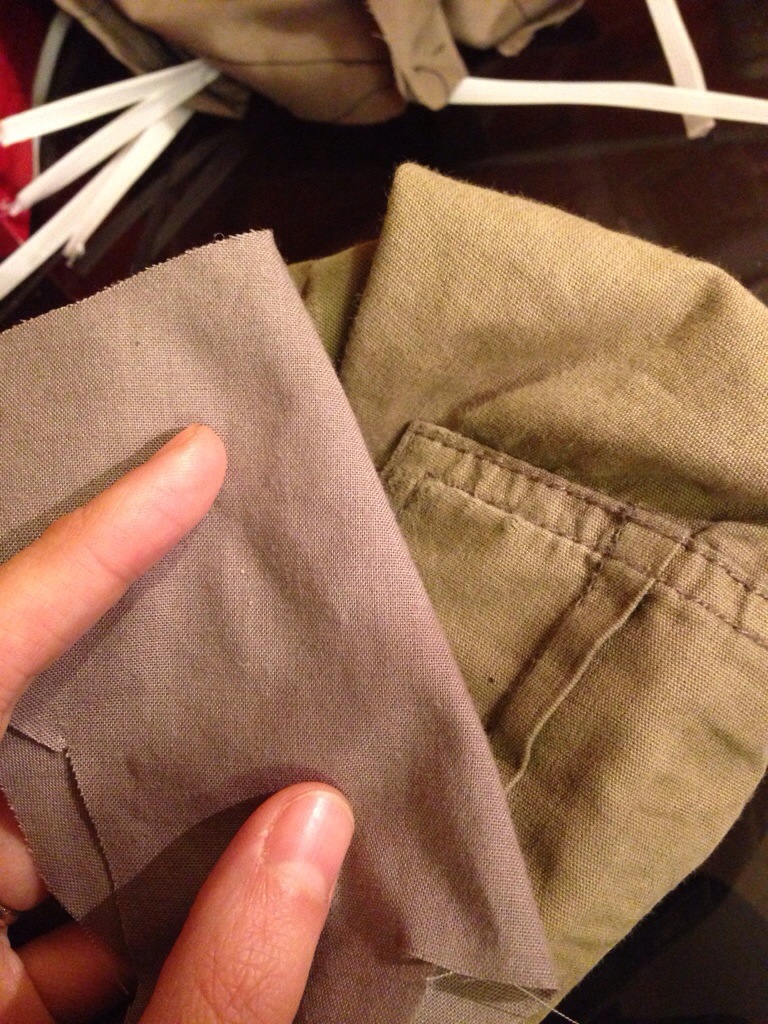
First of all, I pinned my scrap fabric on the inside of the clothing, behind the hole. I like to have a patch about three times as wide as the side of the hole to make sure any weak fabric in the area is also reinforced.
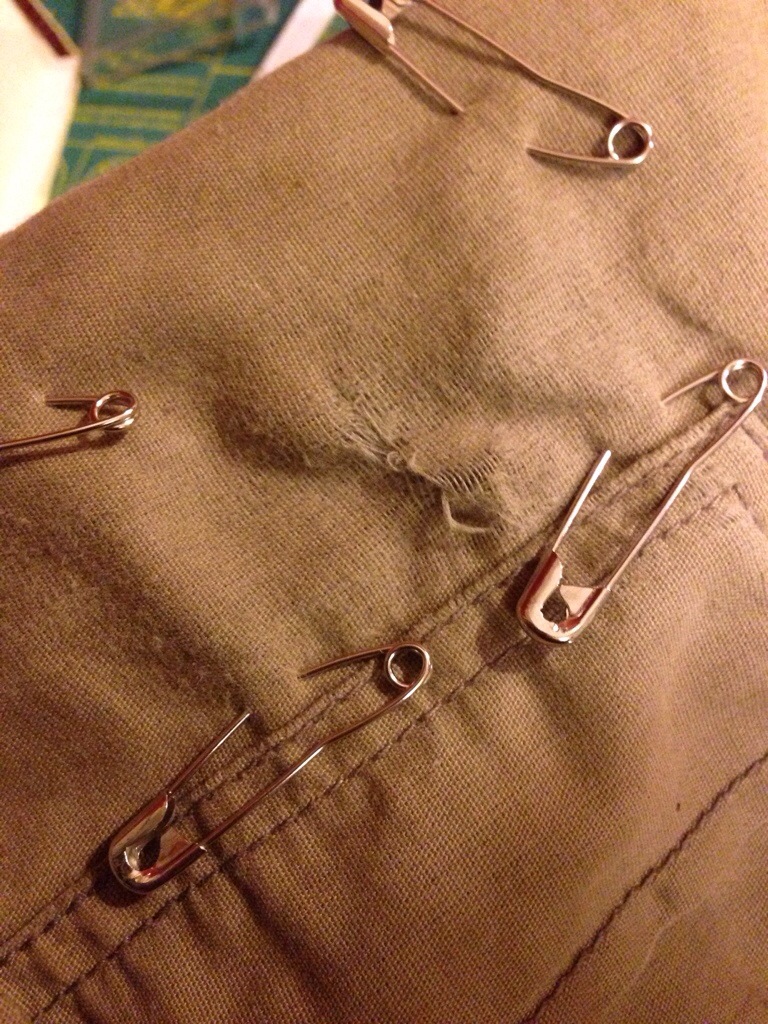
The stitching area I used is bordered by the safety pins. The scrap fabric is a piece of old sheeting which was pretty thin, so I doubled it over.

I used a contrasting-but-not-ugly thread colour because I didn’t have any matching thread. My patching is not invisible! It looks great with either white or black thread, but the paler blue colour I used made the patch a little less obtrusive.
I started with some rows of running stitches to quilt the patch onto the fabric. Next time, I think I will use pad stitch instead, as it was quicker to cover (not that it was particularly slow). Pad stitch also made a nicer ‘feel’ to the quilting.
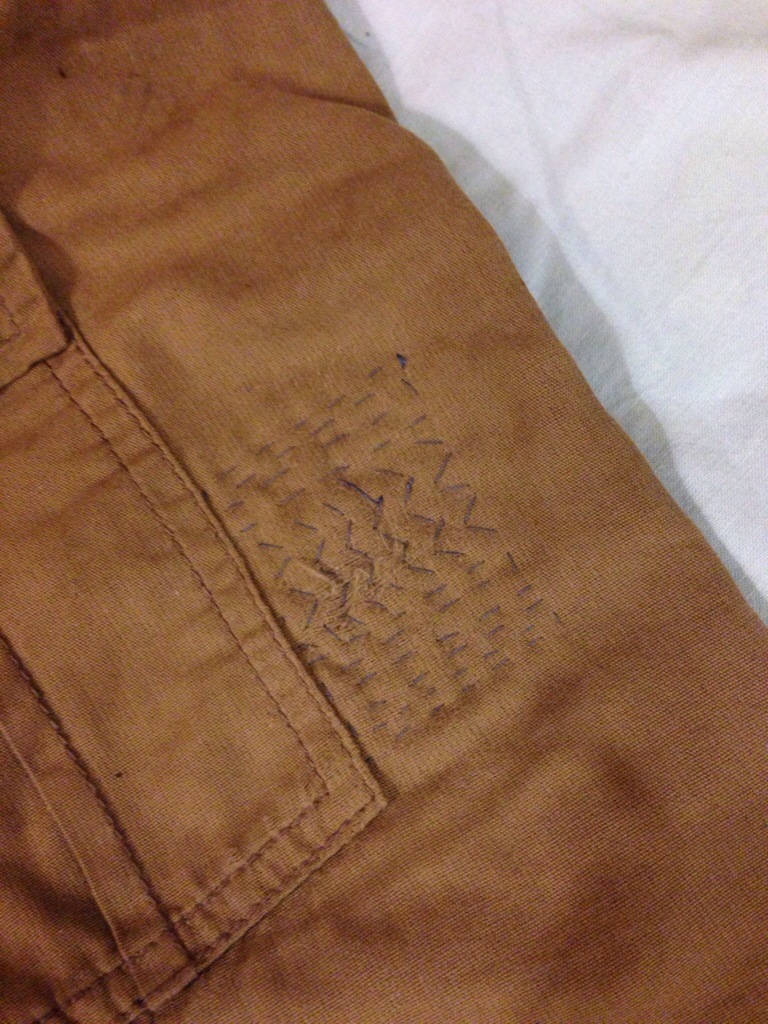
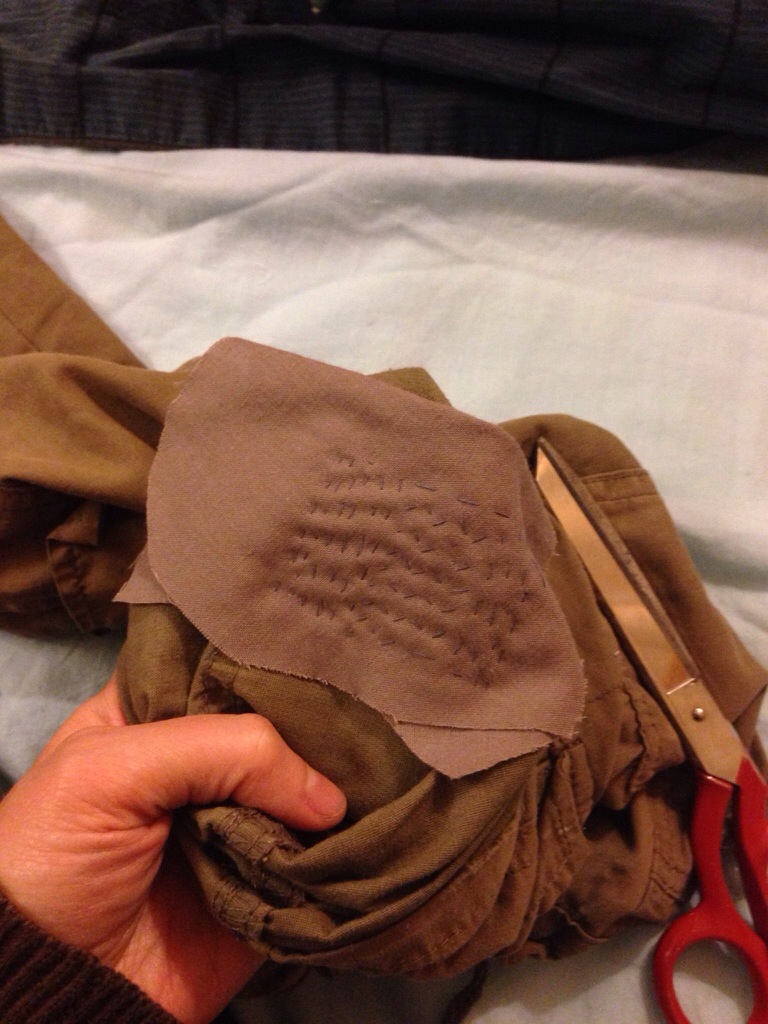
Here is the patch completed – in the centre of the patch I’ve used pad stitch, which was necessary to grab the fabric around the hole. If I’d continued with running stitch, the raw edges of the hole would have been parallel with the stitching, and would have flapped loose.
It’s not terribly noticeable, is it? The faded colour in the knee area makes it more obvious, but because the pants are pretty decorated already, the extra stitching just blends in.
Here’s what it looked like on the inside. I simply trimmed a little closer to the stitching (being careful not to clip any pants fabric) and left it.
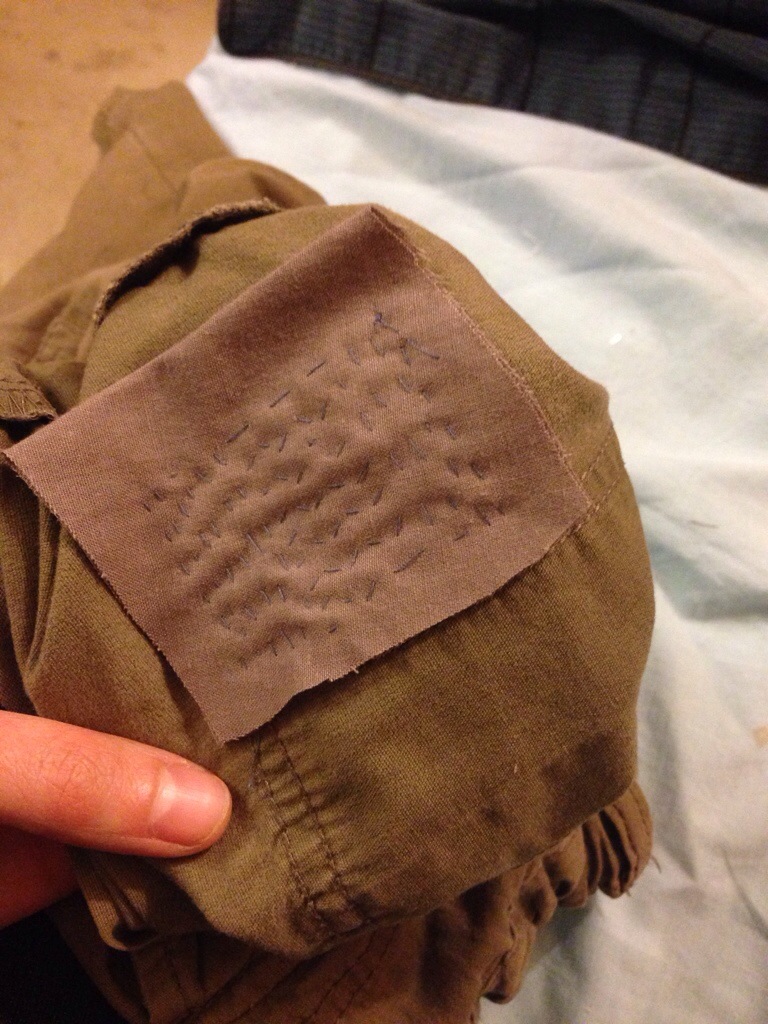
I didn’t bother finishing the raw edges of the patch because it’s likely William will grow out of these pants before the patch ravels away. If there is a lot of ravelling in the first wash, I will just whip stitch the edges to prevent it.
Why bother? Well, whilst kids clothes are cheap and I can probably get some replacement pants at my local thrift store — these pants are still good! I’m attached to them, and it will take time and effort to take the kids shopping. I’d rather spend a few minutes with a needle and thread, and my thoughts, and just get it done.
I also really hate throwing something away that I know can be saved. 🙂

Nice work… It looks perfect!
LikeLike
I think it looks pretty darn good. I think it’s become far too easy of a habit these days for our generation to toss stuff rather than trying to repair it. My husband and I have both starting looking at “broken” items and deciding if we can repair them. If not, then they go in the trash.
LikeLike
I need to do this with a pair of my son’s trousers too!
LikeLike
Great work
LikeLike
Thanks everybody! 🙂
LikeLike
I will have to try this method of mending, thank you for sharing.
LikeLike
Good on you! I don’t like throwing things out that I can mend. It just seems so wasteful. I’m not saying that I like mending, as I tend to procrastinate until the mending basket is overflowing.. However once I get started, there is a sense of satisfaction and an item that can go back into circulation again…
LikeLike
I know what you mean about procrastinating! If I don’t mend it straight away, it tend to languish for many months, if not years, in the TODO pile! 🙂
LikeLike